The Critical Role of Gear Oil in Hypoid Differentials
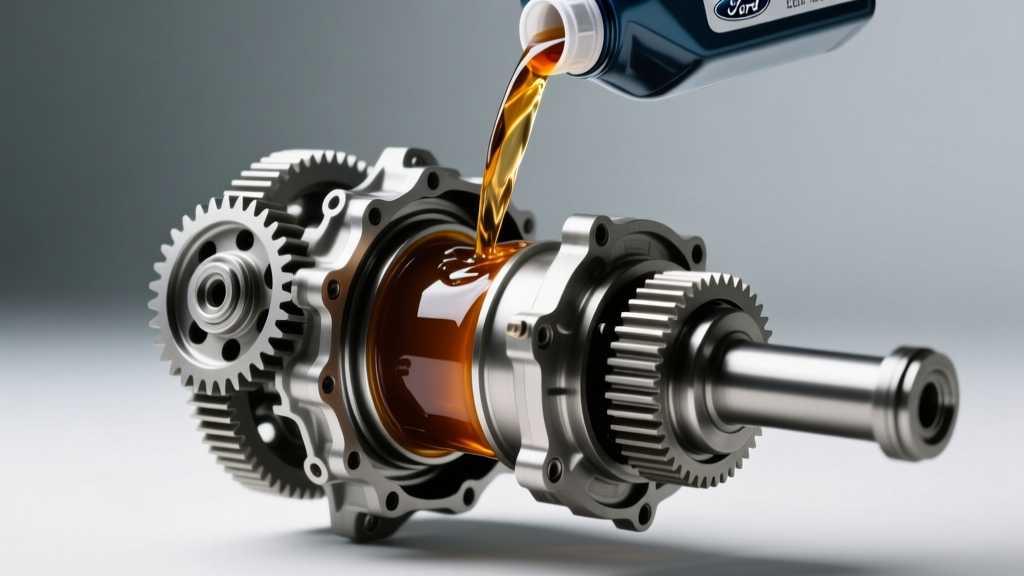
When enthusiasts and daily drivers alike map out their vehicle service schedules, engine oil and coolant often take center stage. However, comprehensive differentials car maintenance is equally vital for the longevity of your drivetrain. The hypoid ring and pinion gear sets inside your axle housings operate under extreme sliding friction and immense shear forces. To survive this environment, differentials rely on API GL-5 rated gear oils, which are packed with sulfur-phosphorus Extreme Pressure (EP) additives.
Over time, thermal cycling and mechanical shear break down the base oil's viscosity, while the EP additives deplete. If left unchecked, this leads to accelerated gear wear, bearing failure, and the dreaded 'howl' of a dying ring and pinion. According to AMSOIL Technical Services, synthetic gear oils resist shear degradation significantly better than conventional petroleum-based fluids, but they still require periodic replacement to remove suspended metallic particulates and moisture.
Differential Service Intervals: Normal vs. Severe Duty
Manufacturer recommendations for differential fluid changes vary wildly. Some modern OEMs claim their synthetic axle fluids are 'lifetime' components. In the real world of automotive repair, 'lifetime' usually means the lifetime of the warranty. For optimal performance and noise-free operation, adhering to a proactive service schedule is essential.
| Service Category | Definition | Recommended Interval (Synthetic) | Recommended Interval (Conventional) |
|---|---|---|---|
| Normal Duty | Highway commuting, light city driving, no towing. | 50,000 - 60,000 miles | 30,000 miles |
| Severe Duty | Towing, frequent off-roading, track use, snow plowing. | 25,000 - 30,000 miles | 15,000 miles |
| Submersion Event | Water crossing (axle hubs submerged). | Immediate (within 100 miles) | |
Gathering Tools and Specifications
Before putting a wrench to the axle, ensure you have the correct fluid and tools. Most standard half-ton truck and SUV axles (like the GM 10-bolt or Ford 8.8) require between 2.5 and 3.5 pints of fluid. Always purchase an extra bottle; running a differential low on fluid will cause immediate overheating of the pinion bearing.
- Fluid: 75W-90 or 75W-140 Synthetic GL-5 Gear Oil (e.g., Motul Gear 300, Royal Purple Max Gear, or Amsoil Severe Gear).
- Friction Modifier: Required ONLY for clutch-type Limited Slip Differentials (LSD). Torque-sensing (Torsen) and open diffs do not require this.
- Tools: 3/8-inch and 1/2-inch drive breaker bars, 1/2-inch drive torque wrench, fluid transfer pump, drain pan, brake cleaner, and lint-free shop towels.
- Sealant: If your axle uses a bolt-on cover (no drain plug), you will need Permatex Ultra Black RTV or a pre-cut Fel-Pro gasket.
Step-by-Step Differential Fluid Change Procedure
Step 1: Vehicle Preparation and Safety
Park the vehicle on a perfectly level surface. This is non-negotiable. The fluid level in a differential is determined by the bottom edge of the fill hole. If the vehicle is tilted on jack stands or ramps, you will either overfill or underfill the axle, both of which cause severe operational issues. Support the vehicle securely on jack stands under the axle tubes or designated frame pinch welds, and chock the front wheels.
Step 2: The Golden Rule of Axle Service
Pro Mechanic Tip: ALWAYS remove the FILL plug before you remove the DRAIN plug or drop the cover. If the fill plug is seized, rusted, or stripped, you do not want to discover this after draining three quarts of fluid onto the floor. Penetrating oil and a 6-point socket are your best friends here.
Step 3: Draining and Inspection
Once the fill plug is out, remove the drain plug (or unbolt the cover). If dropping a cover, leave the top two bolts loosely threaded so the cover hinges downward, directing the fluid into your pan rather than onto the floor. As the fluid drains, inspect it closely.
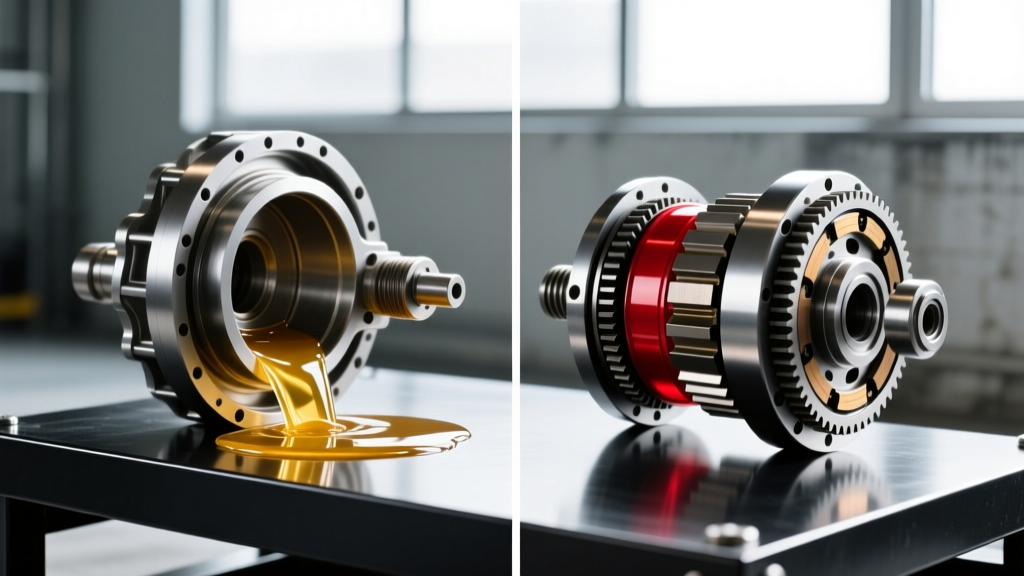
- Normal: Dark brown or black, with a strong sulfur (rotten egg) smell. This is normal for GL-5 oils.
- Warning: Milky or chocolate-milk appearance indicates water intrusion. Check the axle vent tube for blockages or submersion damage.
- Critical: Glitter or large metallic chunks. Fine metallic paste on the magnetic drain plug is normal wear. Chunky metal indicates bearing or gear tooth failure, requiring a full teardown and rebuild.
Step 4: Cleaning and Re-sealing
For cover-equipped axles like the legendary Dana 44 or Ford 8.8, thoroughly clean the mating surfaces with brake cleaner. Do not use wire wheels on aluminum covers, as this can gouge the soft metal. If using RTV silicone, apply a continuous 1/4-inch bead to the cover, wait 10 minutes for it to skin over, and then install. As noted by the drivetrain experts at Ring-Pinion.com, overtightening cover bolts will squeeze out all the RTV, leading to immediate leaks. If your axle uses drain/fill plugs (common on modern GM and Chrysler axles), simply reinstall the drain plug with a new crush washer.
Step 5: Refilling and Friction Modifier Addition
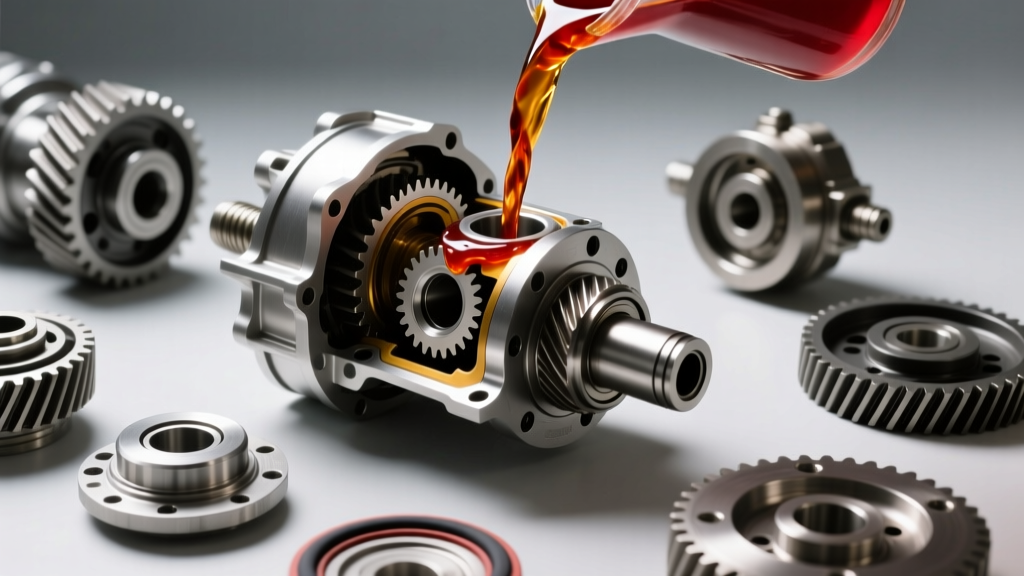
Attach your fluid pump to the gear oil bottle. If your vehicle has a clutch-type LSD (such as Ford's Traction-Lok or Auburn Gear), add the required dose of friction modifier (usually 2 to 4 oz) before pumping in the bulk gear oil. This ensures the modifier mixes thoroughly as the housing fills.
Pump fluid into the fill hole until it begins to trickle out. Wait two minutes for the fluid to settle and the air bubbles to escape, then top it off until a steady stream flows out. The fluid should be exactly level with the bottom of the fill hole threads.
Step 6: Torque Specifications and Final Checks
Reinstall the fill plug. Proper torque is critical to prevent stripping the aluminum or cast-iron housing threads. Refer to the table below for common torque specifications.
| Axle Model | Cover Bolt Torque | Fill/Drain Plug Torque | Fluid Capacity (Approx) |
|---|---|---|---|
| Ford 8.8-inch | 28 - 38 lb-ft | N/A (Cover equipped) | 2.5 - 3.0 Pints |
| Dana 44 (JK/JL Wrangler) | 25 - 30 lb-ft | 25 - 30 lb-ft | 3.0 - 3.5 Pints |
| GM 9.5-inch (14-Bolt SF) | N/A (Plug equipped) | 24 - 30 lb-ft | 3.5 - 4.0 Pints |
| Toyota 8.0-inch (IFS Rear) | N/A (Plug equipped) | 29 - 35 lb-ft | 2.8 - 3.2 Pints |
Note: Always tighten cover bolts in a crisscross, star-pattern sequence to ensure even clamping force and prevent warping the stamped steel or cast aluminum cover.
Post-Service Troubleshooting: The LSD Chatter
After completing your differentials car maintenance, take the vehicle for a 10-mile test drive, focusing on slow, tight, figure-eight turns in an empty parking lot. If you feel a binding sensation or hear a 'clunking/chattering' noise from the rear axle during low-speed turns, your clutch-type limited-slip differential is experiencing stick-slip friction.
This means the friction modifier is either insufficient or hasn't fully distributed into the clutch packs. According to Dana Spicer Support documentation, the fix is simple: add an additional 1 to 2 ounces of OEM friction modifier (such as Ford XL-3 or GM EOS), and repeat the figure-eight test drive. Avoid adding too much, as excessive modifier will cause the clutches to slip continuously under heavy acceleration, resulting in a loss of traction and premature clutch wear.
Conclusion
Routine differential fluid changes are one of the most cost-effective ways to protect your vehicle's drivetrain. A $60 investment in high-quality synthetic GL-5 gear oil and 45 minutes of labor can save you from a $2,500 ring and pinion replacement down the road. By respecting torque specifications, understanding the chemistry of your gear oil, and adhering to severe-duty intervals when necessary, you ensure your axle assemblies remain quiet, cool, and reliable for hundreds of thousands of miles.