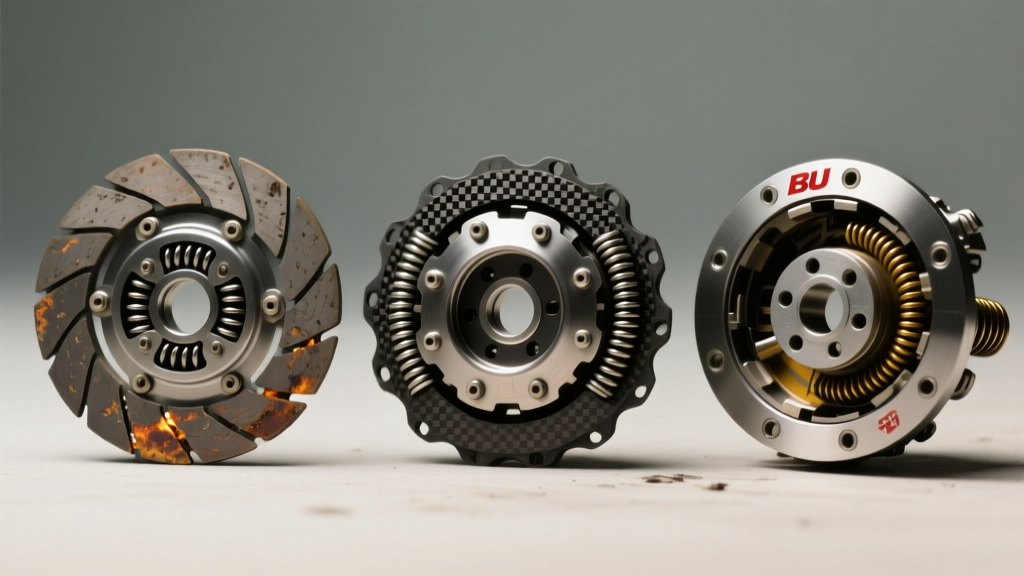
The 'Stage' Nomenclature: Marketing Myth vs. 2026 Reality
When navigating the performance aftermarket, the term 'stage' is ubiquitous. However, it is critical to understand that the Society of Automotive Engineers (SAE) does not define clutch stages. Instead, these designations are marketing frameworks developed by manufacturers like Exedy, ACT (Advanced Clutch Technology), and Clutchmasters to categorize clamp load and friction material combinations. As of 2026, with the proliferation of high-horsepower turbocharged 4-cylinders and EV-swapped track cars pushing 600+ wheel-horsepower, understanding the exact mechanical differences between a stage 1, stage 2, and stage 3 clutch is no longer optional—it is essential for drivetrain survival.
According to Exedy's engineering documentation, the true differentiator between stages is the friction coefficient ($\mu$) of the disc material and the clamping force (measured in pounds) exerted by the pressure plate's diaphragm spring. Let us break down the mechanical reality of each tier to help you select the correct setup for your specific powerband and NVH (Noise, Vibration, and Harshness) tolerance.
Stage 1: The Daily Driver Plus (Organic & Mild Clamp)
A Stage 1 clutch kit is designed for vehicles with mild bolt-on modifications (intake, exhaust, ECU tune) where the factory torque capacity is nearing its limit, but daily drivability remains the priority.
- Friction Material: High-quality organic or heavy-duty organic composite. Friction coefficient typically sits around $\mu = 0.25 - 0.30$.
- Clamp Load: 15% to 30% increase over OEM. For example, an OEM Honda K20C1 pressure plate exerts roughly 1,800 lbs of clamp force; a Stage 1 upgrade pushes this to ~2,200 lbs.
- Hub Type: Sprung hub with heavy-duty torsional springs to absorb crankshaft harmonics and prevent gear rattle.
- Torque Capacity: 250 to 350 lb-ft at the crank.
- Pricing: $300 to $500 (disc and pressure plate only).
Verdict: Stage 1 kits retain the progressive engagement and low pedal effort of a stock clutch. They are ideal for autocross and canyon carving where smooth slip is required to modulate weight transfer.
Stage 2: The Weekend Warrior (Kevlar/Carbon & Moderate Clamp)
Stage 2 bridges the gap between street manners and track abuse. This tier is the go-to for supercharged applications, aggressive street/strip cars, and dedicated time-attack builds that still need to be driven to the grid.
- Friction Material: Kevlar, carbon-kevlar blends, or segmented ceramic. Kevlar offers excellent thermal stability and a slightly more aggressive bite ($\mu = 0.30 - 0.35$).
- Clamp Load: 40% to 60% increase over OEM. Pedal effort becomes noticeably stiffer, often requiring 45-60 lbs of foot pressure.
- Hub Type: Sprung hub (often with dual-stage or polyurethane-dampened springs) to handle the increased shock loads of aggressive launches.
- Torque Capacity: 350 to 500 lb-ft at the crank.
- Pricing: $500 to $850.
Verdict: Stage 2 introduces a slightly more 'on/off' engagement feel. Kevlar requires careful bedding; if glazed from excessive slipping in stop-and-go traffic, it loses friction capability rapidly.
Stage 3 Clutch: The Track & Strip Weapon (Ceramic/Sintered & Extreme Clamp)
When you step up to a stage 3 clutch, you are leaving street comfort behind. This tier is engineered for dedicated drag racing, high-boost forced induction, and high-RPM naturally aspirated builds where instantaneous lockup and extreme thermal resistance are mandatory.
As detailed in Clutchmasters' technical guides, a stage 3 clutch utilizes aggressive friction materials that demand high operating temperatures to function correctly. The engagement is abrupt, and the clamping force is immense.
- Friction Material: Full-face ceramic, puck-style ceramic, or sintered iron. Ceramic ($\mu = 0.40 - 0.45$) provides massive bite and high heat tolerance, while sintered iron ($\mu = 0.50+$) is virtually indestructible under extreme slip conditions like drag racing launches.
- Clamp Load: 70% to 120%+ increase over OEM. Clamp loads frequently exceed 3,500 to 4,500 lbs. Pedal effort can exceed 80 lbs, making it fatiguing for daily driving.
- Hub Type: Unsprung (rigid) hub. Torsional springs are removed to eliminate the weakest point in the drivetrain under extreme shock loads.
- Torque Capacity: 550 to 900+ lb-ft at the crank.
- Pricing: $900 to $1,600+ (typically requires a matched flywheel).
Real-World Stage 3 Applications
Consider the ACT XT660 or the Clutchmasters FX400. These stage 3 setups utilize a 6-puck ceramic disc with a rigid hub. When paired with a built Tremec T56 Magnum or a sequential gearbox, the unsprung hub ensures 100% of the engine's rotational energy is transferred instantly to the input shaft. However, this instantaneous lockup transfers severe shockwaves through the driveline, which can shatter OEM axles or strip differential pins if the rest of the drivetrain is not fortified.
Stage 1 vs Stage 2 vs Stage 3: Technical Comparison Matrix
| Specification | Stage 1 (Organic) | Stage 2 (Kevlar/Carbon) | Stage 3 (Ceramic/Sintered) |
|---|---|---|---|
| Friction Coefficient ($\mu$) | 0.25 - 0.30 | 0.30 - 0.35 | 0.40 - 0.55+ |
| Clamp Load Increase | +15% to +30% | +40% to +60% | +70% to +120%+ |
| Torque Capacity | 250 - 350 lb-ft | 350 - 500 lb-ft | 550 - 900+ lb-ft |
| Hub Design | Sprung (OEM-style) | Sprung (Heavy-Duty) | Unsprung (Rigid) |
| NVH & Gear Rattle | Low (OEM equivalent) | Moderate | Severe (High gear rattle) |
| Required Flywheel | OEM or Standard Steel | Billet Steel / Chromoly | Billet Steel / Chromoly |
Flywheel Synergy: Why the Stage 3 Clutch Demands Upgraded Steel
You cannot bolt a stage 3 clutch to an OEM Dual-Mass Flywheel (DMF) or cast-iron flywheel. The aggressive bite of a ceramic puck disc will aggressively machine the surface of a soft cast-iron flywheel, causing severe chatter and eventual structural failure due to localized heat spotting.
Chromoly (4140 Steel): Lightweight and incredibly strong. Ideal for high-revving naturally aspirated engines (e.g., Honda K20, Porsche GT3) where rapid RPM drops between shifts are required. However, chromoly can be brittle under the extreme, low-RPM shock loads of drag racing.
Billet Steel (1045/4340): Heavier but vastly superior for high-torque, forced-induction applications. The added rotational mass helps absorb the initial shock of a 700 lb-ft launch, protecting the transmission input shaft. When installing a billet flywheel, always use ARP flywheel bolts and torque them to the manufacturer's specification (typically 80-90 lb-ft with moly lube) rather than the OEM torque-to-yield specs.
Transmission Impact: Torsional Vibrations and Synchro Wear
The most misunderstood aspect of upgrading to a stage 3 clutch is the impact on the transmission. Because stage 3 kits utilize an unsprung (rigid) hub, the torsional vibrations generated by the engine's power pulses are transmitted directly into the transmission's input shaft. According to Tremec engineering guidelines, excessive torsional vibration can cause premature wear to synchronizers and input shaft bearings.
In gearboxes like the Subaru 6-speed or the Porsche G50, this manifests as an aggressive 'marbles in a can' gear rattle at idle. To mitigate this, builders often increase the engine's idle speed by 100-150 RPM to maintain oil pressure and stabilize the harmonic resonance, or they opt for a stage 3 clutch that features a 'dampened rigid hub'—a compromise that uses high-durometer polyurethane instead of steel springs to absorb micro-vibrations without sacrificing lockup strength.
The Break-In Procedure: Avoiding the Glaze of Death
The most common failure mode for stage 2 and stage 3 clutches is improper bedding. Ceramic and sintered materials are porous; they require a specific heat-cycling process to transfer a uniform layer of friction material onto the flywheel surface.
Expert Break-in Protocol: For a stage 3 ceramic clutch, you must perform 500 miles of varied city driving. Use the clutch to slip gently in stop-and-go traffic to generate moderate heat, but avoid full-throttle launches or holding the car on an incline using the clutch pedal. If you overheat a ceramic disc before it is fully bedded, the resins will melt to the surface, creating a glass-like glaze that ruins the friction coefficient permanently.
Pressure plate to flywheel hardware should be torqued in a star pattern to 18-25 lb-ft (depending on the manufacturer's spec) to ensure the diaphragm spring is seated perfectly flat. Failure to do so will result in uneven clamping, leading to localized slipping and immediate thermal warping of the pressure plate fingers.
Final Verdict: Choosing Your Weapon
If your build produces under 350 lb-ft and sees heavy street use, stick to Stage 1. If you are pushing 450 lb-ft with a supercharger and want to retain cruise comfort, Stage 2 is your ceiling. However, if you are building a dedicated track car, a drag car, or pushing high-boost turbo limits beyond 600 lb-ft, the stage 3 clutch is a mandatory investment. Pair it with a billet steel flywheel, upgrade your drivetrain mounts to limit engine movement, and respect the break-in procedure to ensure your drivetrain survives the punishment you are about to inflict on it.