The Anatomy of Sportster Clutch Symptoms
The Harley-Davidson Sportster platform utilizes a wet, multi-plate clutch system bathed in primary chaincase fluid. Unlike the torque converter setups found in automatic automotive transmissions, the Sportster relies on direct mechanical actuation via a cable or hydraulic pushrod to compress a diaphragm or coil spring assembly. When riders search for a Sportster clutch adjustment guide, they are usually chasing one of three distinct symptoms: lever resistance (feel), primary chaincase rattle (noise), or high-RPM shudder (vibration). As of 2026, aftermarket manufacturers like Barnett and Screamin' Eagle have tightened their friction material tolerances, making precise mechanical adjustment more critical than ever to prevent premature basket wear and clutch slip.
Symptom Diagnosis Matrix: Feel, Noise, and Vibration
Before turning a single wrench, you must isolate the symptom. A misadjusted clutch will manifest differently depending on whether the issue lies in the external cable, the internal release ramp, or the clutch pack itself. Use the diagnostic matrix below to pinpoint your exact failure mode.
| Symptom Category | Specific Manifestation | Probable Root Cause | Diagnostic Test & Correction |
|---|---|---|---|
| Feel | Lever pulls hard, creeps at stops | Over-tightened release mechanism or warped steels | Check lever free play (1/16'-1/8'). Back off internal ramp screw. |
| Feel | Lever is loose, bike slips under load | Cable stretch, worn friction plates, or weak springs | Measure friction plates (min 0.120'). Upgrade to heavy-duty springs. |
| Noise | Clunk on engagement, primary rattle | Notched clutch basket or loose primary chain | Inspect basket fingers for grooves. Adjust primary chain tension. |
| Vibration | High-RPM shudder during takeoff | Contaminated fluid, warped steels, or basket hang-up | Drain primary. Check steels for warpage (>0.005' is reject). |
Step-by-Step Sportster Clutch Adjustment Guide
Proper adjustment requires a two-phase approach: setting the external cable tension and calibrating the internal release mechanism. Skipping the internal adjustment is the most common mistake made by novice mechanics, leading to burnt clutch plates and fried cables.
Phase 1: External Cable and Lever Free Play
The goal here is to ensure the clutch is fully engaged when your hand is off the lever, while providing enough slack to allow the internal release bearing to rest. According to Harley-Davidson's official service guidelines, the target free play at the lever perch is between 1/16-inch and 1/8-inch.
- Step 1: Roll the rubber cable adjuster cover back and loosen the 1/2-inch locknut on the inline cable barrel adjuster.
- Step 2: Turn the barrel adjuster inward (clockwise) to create maximum slack in the cable.
- Step 3: Squeeze the clutch lever and note the point where you feel resistance (the 'friction zone'). Adjust the barrel until you have exactly 1/8-inch of free play before resistance begins.
- Step 4: Tighten the locknut and re-seat the rubber boot. Note: Do not finalize this yet; Phase 2 will require a slight readjustment.
Phase 2: Internal Release Mechanism (The 'Ramp')
This is the heart of the Sportster clutch adjustment. The internal release mechanism pushes the clutch pushrod to disengage the plates.
- Drain the Primary: Remove the primary chaincase drain plug (torque spec for reinstallation: 14-21 ft-lbs) and drain the fluid into a catch pan.
- Remove the Derby Cover: Unbolt the outer primary (derby) cover. Use a T27 Torx bit. Keep track of the seal.
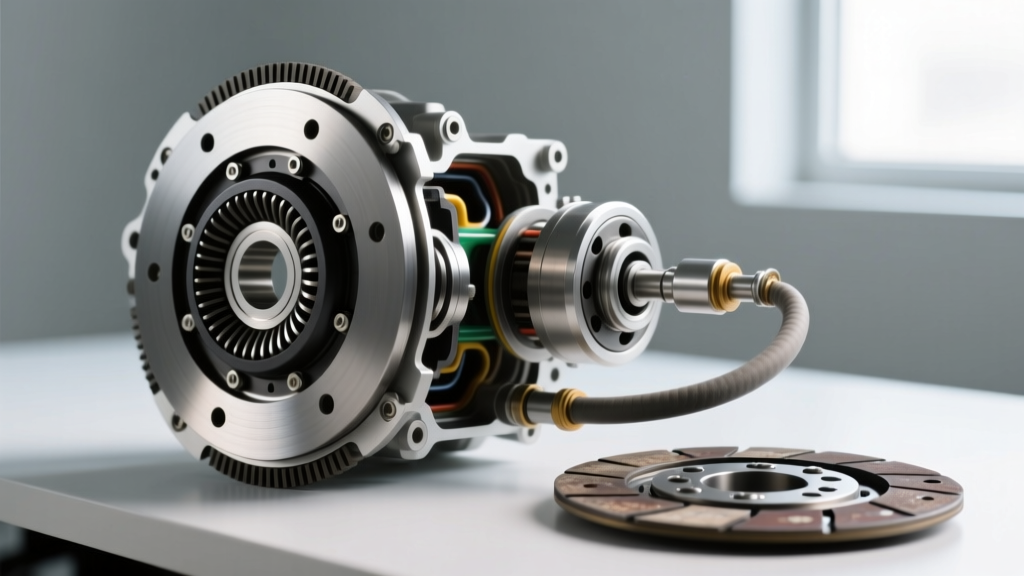
- Locate the Adjusting Screw: In the center of the clutch release mechanism (diaphragm or coil spring setup), you will find a slotted adjusting screw and a locking Allen nut.
- Set the Preload: Loosen the locking nut. Turn the slotted screw inward (clockwise) by hand until you feel mechanical resistance. Do not use a screwdriver to force it; use your fingers to prevent over-compressing the release ramp.
- The Back-Off Method: Once you hit resistance, back the screw out (counter-clockwise) exactly 1/4 to 1/2 turn. This gap is critical; it allows the pushrod to fully retract, ensuring the clutch pack clamps with 100% spring pressure.
- Lock and Seal: Hold the screw in place and tighten the locking nut to 80-100 in-lbs. Reinstall the derby cover with a new O-ring/gasket, torquing the T27 bolts to 84-108 in-lbs in a star pattern.
Phase 3: Final Cable Readjustment
Because you have now altered the internal geometry, return to the inline cable barrel adjuster (Phase 1) and reset your lever free play to the final 1/16-inch to 1/8-inch specification. Refill the primary chaincase with 32-38 oz of Harley-Davidson Formula+ or a compatible 20W-50 synthetic motorcycle oil, filling to the bottom edge of the clutch diaphragm spring.
Edge Cases: When Adjustment Fails
If you have performed the Sportster clutch adjustment perfectly but still experience chatter or slipping, you are dealing with a mechanical failure inside the primary.
Expert Insight: The Direct Primary Drive Factor
Unlike Harley's Big Twin models (which use a compensator sprocket to absorb engine pulses), the Sportster utilizes a direct primary chain drive. This means any notching in the aluminum clutch basket fingers, or a warped steel plate, will transmit violent chatter and vibration directly into the chassis during takeoff. If your clutch 'grabs' aggressively despite correct free play, the basket is likely notched and requires replacement or filing.
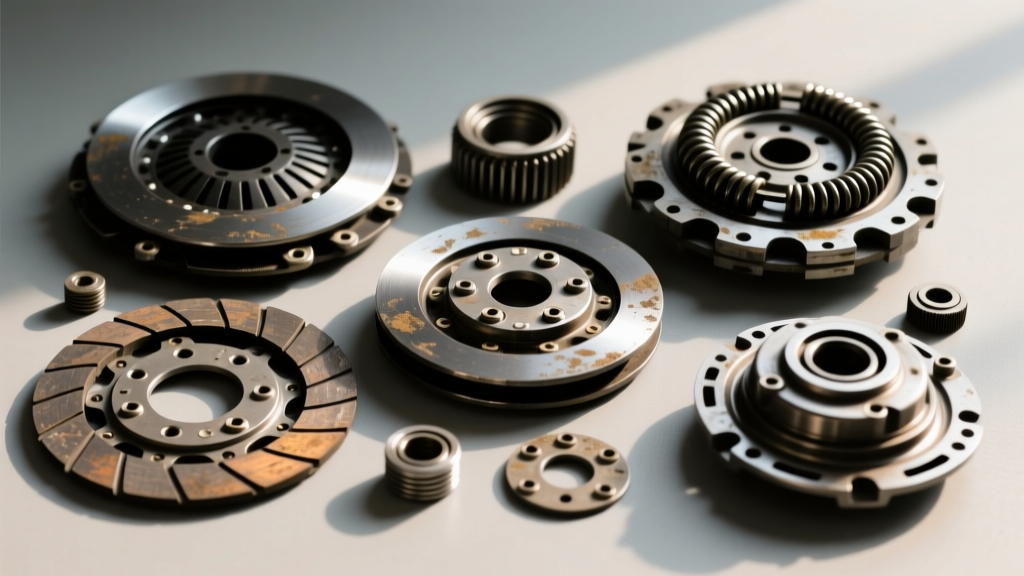
Friction Plate Wear Limits: Using a micrometer, measure your friction plates. A standard Sportster friction plate should measure around 0.140' when new. If any plate measures below 0.120', the clutch pack must be replaced. We recommend the Barnett Kevlar Clutch Kit (Part #303-30-1004) for high-torque 1200cc applications, as Kevlar resists glazing in wet environments far better than standard organic cork or paper materials.
Automotive vs. Motorcycle Wet Clutch Diagnostics
To understand the uniqueness of the Sportster's mechanical system, it is helpful to compare it to modern automotive wet clutches. In a ZF 8HP automatic transmission, the wet clutches are actuated by electro-hydraulic solenoids. Diagnosing a slipping ZF clutch requires reading adaptive pressure graphs via a bi-directional OBD2 scan tool and performing a 'clutch adaptation reset.' Similarly, in a GM 6L80 transmission, Torque Converter Clutch (TCC) shudder is diagnosed by monitoring slip RPMs and often requires a fluid friction modifier rather than a mechanical adjustment.
The Sportster, by contrast, is entirely analog. There is no TCM (Transmission Control Module) to adapt to wear. The 'sensor' is the rider's left hand, and the 'actuator' is a steel cable and a mechanical ramp. This makes the physical inspection of the clutch hub nut (torqued to 70-80 ft-lbs with Red Loctite 271) and the pushrod bearing far more critical than in automotive applications.
Required Tools and Torque Specifications Summary
- Derby Cover Bolts (T27): 84-108 in-lbs (Inch-pounds, NOT foot-pounds)
- Internal Locking Nut: 80-100 in-lbs
- Primary Chaincase Drain Plug: 14-21 ft-lbs
- Clutch Hub Mainshaft Nut: 70-80 ft-lbs (Requires clutch holding tool and Red Loctite 271)
- Feeler Gauge / Micrometer: For measuring lever free play (1/16'-1/8') and plate thickness (Min 0.120')
- Fluid: 32-38 oz Primary Chaincase Lubricant (Formula+ or Syn3 20W-50)
Mastering your Sportster clutch adjustment requires patience and a reliance on precise measurements over 'feel.' By systematically eliminating cable slack, setting the internal ramp preload, and verifying the physical health of the clutch pack, you can eliminate primary noise, restore smooth lever feel, and eradicate high-RPM vibration.