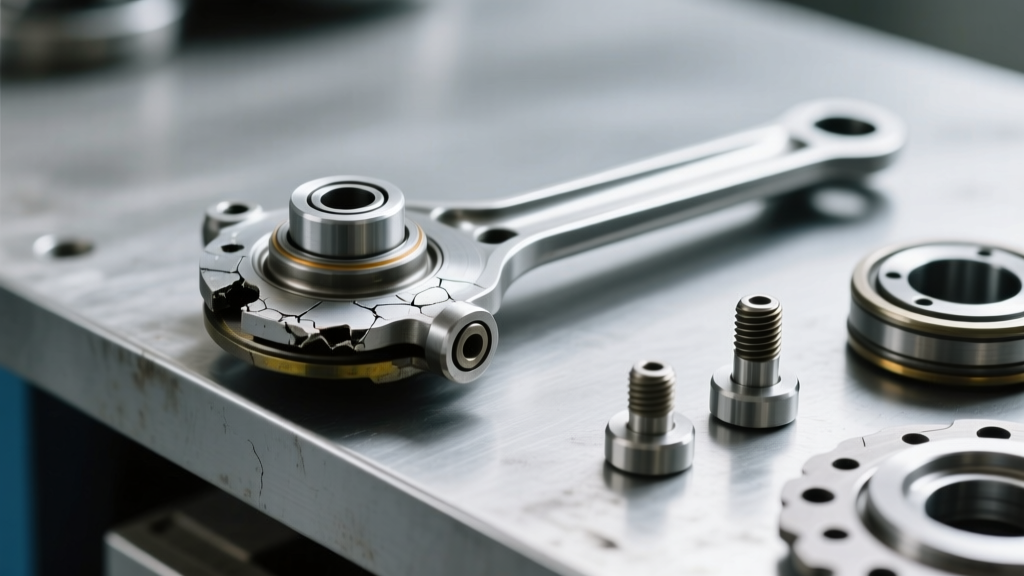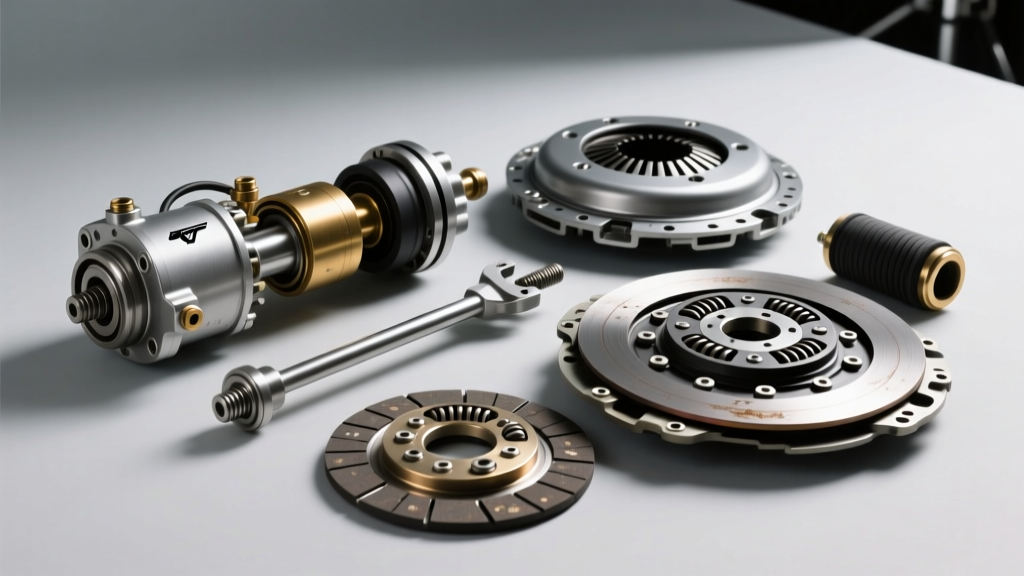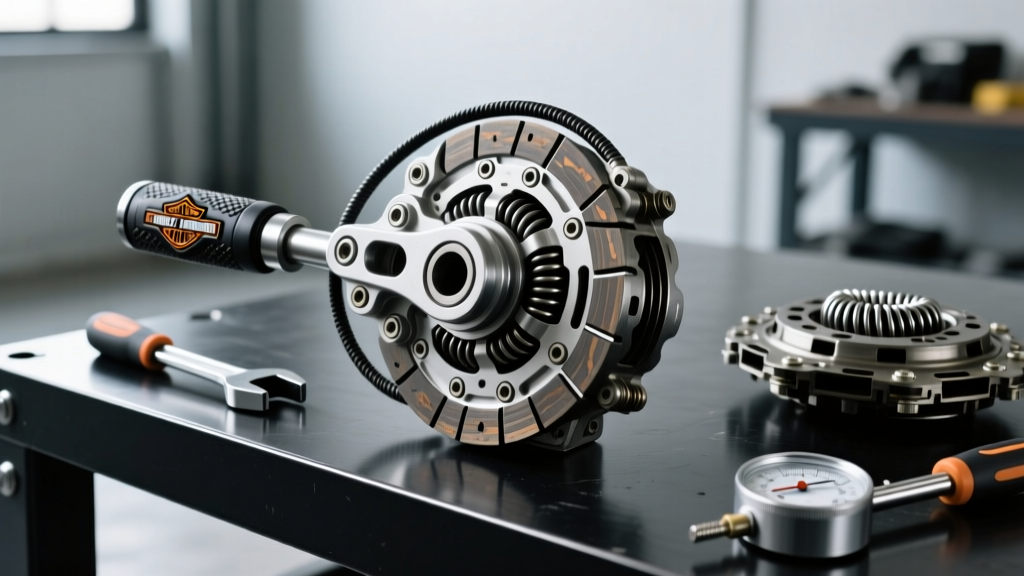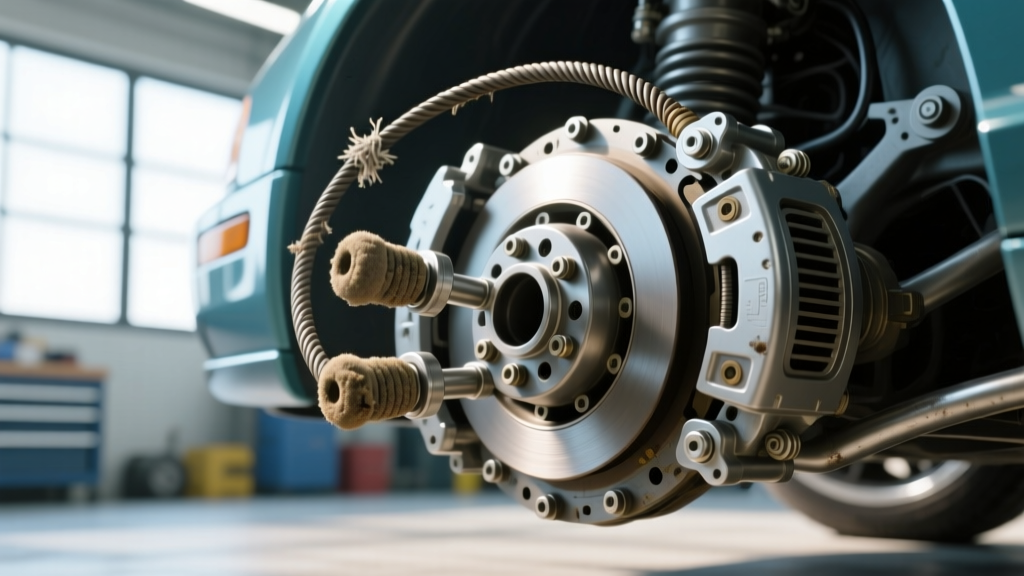
The 1994-2004 Ford Mustang (encompassing the SN95 and New Edge generations) remains a cornerstone of the manual transmission aftermarket. Whether your pony car is equipped with the legendary BorgWarner T-5, the robust Tremec T-45, or the later TR-3650, these V8 and V6 platforms rely on a mechanical cable actuation system rather than hydraulics. While inherently robust and immune to the fluid leaks that plague hydraulic setups, this mechanical design is notorious for developing severe clutch pedal problems. Owners frequently report spongy engagement, rock-hard resistance, and high-frequency pedal vibration. As these chassis cross the 20-year mark in 2026, fatigue in the factory hardware has only exacerbated these issues. In this model-specific repair guide, we diagnose these pedal anomalies and detail how upgrading your clutch cable ends and routing hardware restores factory-precise shift quality.
The Anatomy of SN95 Clutch Pedal Problems
Unlike hydraulic systems where a spongy pedal usually indicates air in the lines, a spongy or soft pedal in a cable-actuated Mustang points directly to mechanical deflection. The clutch pedal in an SN95 Mustang pushes a plastic-toothed quadrant under the dash, which pulls a steel-braided or wire-strand cable. This cable routes through the firewall, down the bellhousing, and attaches to the clutch fork via specific clutch cable ends. When any of these components flex, bind, or wear, the kinetic energy of your foot is absorbed by the hardware rather than disengaging the pressure plate.
Symptom Matrix: Spongy, Hard, and Vibrating Pedals
Accurate diagnosis requires isolating the exact pedal feel. Use the matrix below to map your symptom to the most likely mechanical failure point on the T-5, T-45, or TR-3650 bellhousing.
| Pedal Symptom | Primary Root Cause | Secondary Check |
|---|---|---|
| Spongy / Soft | Flexing stamped-steel firewall adjuster (clutch cable ends) | Worn plastic teeth on under-dash clutch quadrant |
| Hard / Binding | Cable sheath binding due to acute firewall angle | Clutch fork pivot ball wear or misaligned cable ends |
| Vibrating / Chatter | Degraded rubber isolators on OEM cable ends transferring NVH | Cable rubbing against exhaust H-pipe or steering shaft |
| Inconsistent Bite Point | Thermal expansion of OEM cable strands under heavy load | Slipping clutch quadrant adjustment gear |
Why OEM Clutch Cable Ends and Quadrants Fail
To understand why your Mustang's pedal feels disconnected, you must examine the factory engineering compromises of the mid-90s. Ford utilized a stamped steel firewall adjuster to secure the outer sheath of the clutch cable. Under the 80 to 120 lbs of clutch spring pressure generated by aftermarket pressure plates (like the Exedy Mach 400 or McLeod Street Twin), this thin steel bracket physically bends backward. This deflection is felt at your foot as a 'spongy' or 'soft' pedal, even though the clutch is fully engaging.
Furthermore, the OEM clutch cable ends feature rubber isolators designed to dampen noise, vibration, and harshness (NVH). Over two decades of heat cycling from the V8 exhaust manifolds, these rubber bushings turn to mush or crack entirely. When the rubber fails, the steel cable makes direct metal-on-metal contact with the firewall and the clutch fork. This creates a direct acoustic bridge, transferring the high-frequency chatter of the clutch disc engaging the flywheel straight up the cable and into the pedal assembly, resulting in a violently vibrating pedal during takeoff.
Expert Warning: Never attempt to 'fix' a spongy pedal by over-tightening the clutch cable to remove all free-play. Running zero free-play on a T-45 or TR-3650 transmission keeps the throwout bearing (TOB) in constant contact with the pressure plate fingers. This will glaze the TOB, score the transmission input shaft retainer collar, and lead to catastrophic clutch failure within 2,000 miles.
Step-by-Step Diagnostic & Replacement Guide
Resolving these pedal issues requires a holistic approach. You cannot simply swap the cable; you must upgrade the entire actuation pathway, focusing heavily on the clutch cable ends and the under-dash quadrant.
Phase 1: Under-Dash Billet Quadrant Swap
The factory plastic quadrant is a known failure point. The teeth strip under heavy clutch loads, causing the pedal to suddenly drop to the floor.
- Disconnect the negative battery terminal to prevent shorting the clutch pedal position switch (Ford Part #F4ZZ-9C888-A).
- Remove the lower dash trim panel (five 7mm screws) to expose the pedal box.
- Use a flathead screwdriver to carefully pry the clutch cable barrel end out of the plastic quadrant.
- Unbolt the 10mm nut securing the quadrant pivot shaft and slide the OEM unit out.
- Install a billet aluminum CNC-machined quadrant (such as the Steeda Autosports 555-7000). Torque the pivot shaft nut to 15 lb-ft. The billet teeth will eliminate under-dash mechanical flex entirely.
Phase 2: Swapping the Cable and Firewall Clutch Cable Ends
This is where the magic happens for pedal feel. We are replacing the OEM cable and the weak stamped-steel adjuster with a heavy-duty cable and a billet firewall adjuster featuring a spherical rod end (heim joint).
- Safely lift the vehicle on jack stands and remove the inspection cover on the bellhousing (if equipped) or access the clutch fork from underneath.
- Remove the 13mm retaining nut on the clutch fork that holds the OEM cable barrel. Torque spec for reassembly is 22 lb-ft.
- Under the hood, loosen the 1/2-inch locknut on the firewall adjuster and unscrew the OEM clutch cable ends from the firewall bracket.
- Feed the new heavy-duty cable (e.g., Maximum Motorsports MM-CC-1) through the firewall. Ensure the new billet firewall adjuster is threaded completely onto the cable sheath before insertion.
- Attach the new spherical rod end to the firewall bracket. The spherical bearing allows the cable to pull in a perfectly straight line, eliminating the sheath binding that causes a 'hard' or notchy pedal feel.
- Route the cable carefully, ensuring at least 1.5 inches of clearance from the exhaust H-pipe and the steering shaft U-joints. Use adhesive-backed foam tape on the cable sheath at any potential rub points to eliminate vibration transfer.
Precision Pedal Free-Play Calibration
With the new hardware installed, precise adjustment of the clutch cable ends at the firewall is critical. The goal is to achieve exactly 3/4-inch to 1-inch of free-play measured horizontally at the center of the rubber pedal pad.
Thread the billet firewall adjuster outward to increase tension, or inward to release tension. Once the 3/4-inch free-play is achieved, tighten the 1/2-inch locknut against the firewall bracket. This free-play ensures that when the clutch pedal is fully released, the clutch fork is allowed to return to its resting position, pulling the throwout bearing away from the pressure plate fingers. If the pedal feels too tight or the engine RPM hangs between shifts, you have overtightened the cable and eliminated the necessary free-play.
Cost Analysis: OEM vs. Aftermarket Billet Ends
Investing in high-quality clutch cable ends and routing hardware is significantly cheaper than replacing a scored transmission input shaft or a prematurely worn throwout bearing. Below is a 2026 market pricing comparison for SN95 Mustang clutch actuation components.
| Component | OEM / Entry-Level | Premium Aftermarket (Billet/HD) |
|---|---|---|
| Clutch Cable Assembly | $65 - $85 (Ford OEM) | $80 - $110 (MM Heavy Duty Teflon-lined) |
| Firewall Adjuster (Cable Ends) | $0 (Included w/ OEM) | $45 - $65 (Billet w/ Spherical Rod End) |
| Under-Dash Clutch Quadrant | $40 (Plastic OEM Replacement) | $55 - $75 (CNC Billet Aluminum) |
| Total System Upgrade Cost | ~$105 - $125 | ~$180 - $250 |
Final Thoughts on SN95 Clutch Diagnostics
Diagnosing clutch pedal problems on the SN95 and New Edge Mustangs requires looking past the clutch disc and pressure plate themselves. The mechanical linkage is only as strong as its weakest flex point. By eliminating the stamped steel brackets and degraded rubber isolators, and replacing them with precision-machined billet clutch cable ends and a heavy-duty inner cable, you transform the driving experience. The sponginess vanishes, the high-frequency vibration is isolated, and the engagement becomes linear and predictable. For further technical schematics and installation torque specs, consult the engineering archives at Maximum Motorsports or the extensive community-driven repair databases at Corral.net. Proper maintenance of your mechanical linkage ensures your T-45 or TR-3650 transmission will survive the torque of modern engine modifications for years to come.