The Anatomy of a Slipping Clutch: Friction vs. Hydraulics
When your tachometer flares wildly but your vehicle speed stagnates, you might find yourself frustrated, distracted, or even inexplicably searching the web for clutch careful with that mic lyrics as a bizarre coping mechanism for your mechanical woes. However, diagnosing a slipping clutch in modern manual and automated-manual transmissions requires cold, hard data—not song lyrics. A slipping clutch is not merely an inconvenience; it is a critical failure in the drivetrain's torque-transfer pathway that, if ignored, will rapidly escalate from a worn friction disc to a catastrophically scored flywheel and a destroyed release bearing.
As we navigate the 2026 automotive landscape, manual transmissions have evolved. We are seeing higher torque outputs from smaller displacement turbocharged engines (like the FA20DIT and EcoBoost platforms), placing unprecedented thermal and mechanical stress on OEM clutch assemblies. Preventive maintenance and precise symptom diagnosis are the only ways to avoid a $2,500+ drivetrain teardown.
4 Definitive Symptoms of Clutch Slippage
Before pulling the transmission, you must confirm that the friction assembly is indeed the culprit. Clutch slip manifests in several distinct ways:
- RPM Flare Under Load: The most classic symptom. When accelerating in higher gears (4th, 5th, or 6th) at low RPMs under heavy throttle, engine speed increases disproportionately to vehicle speed.
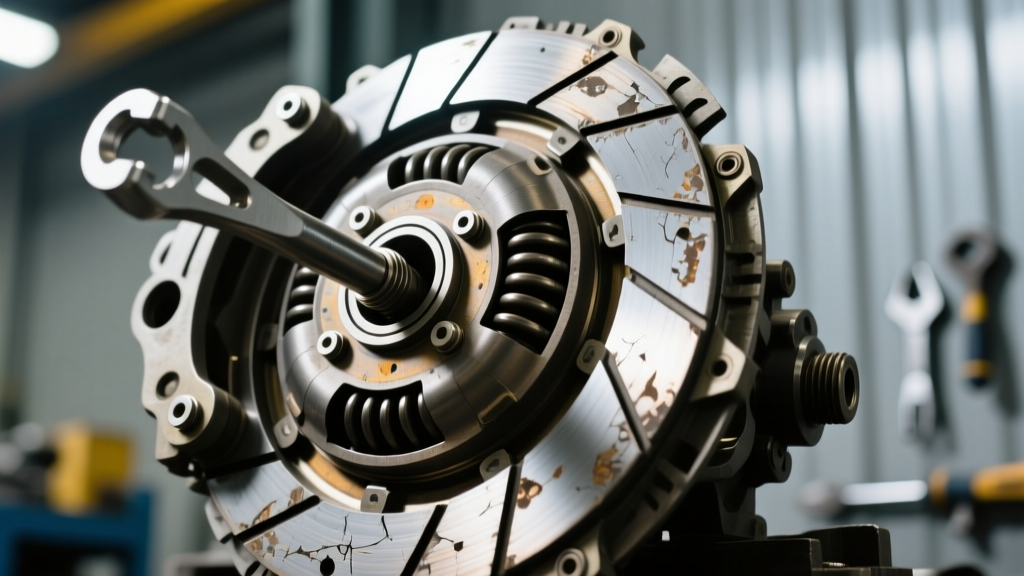
- Thermal Degradation Odor: A pungent, acrid smell resembling burnt brake pads or sulfur. This occurs when the friction material's phenolic resin binder overheats past 450°F (232°C), causing glazing.
- Loss of Top-End Pull: The vehicle struggles to maintain speed on inclines or against headwinds, indicating the clamping force can no longer overcome aerodynamic and rolling resistance.
- Spongy or Inconsistent Pedal Return: While often a hydraulic issue, a swollen internal hydraulic line can restrict fluid return, keeping the throwout bearing partially engaged against the diaphragm spring, artificially reducing clamping force.
Diagnostic Framework: Isolating the Failure Point
Professional drivetrain technicians do not simply guess and replace. They use a systematic approach to isolate whether the slip is caused by mechanical wear, oil contamination, or hydraulic restriction.
Step 1: The High-Gear Load Test
Find a safe, empty stretch of road. Shift into 4th or 5th gear at approximately 2,000 RPM. Apply wide-open throttle (WOT). If the engine RPM surges immediately but the vehicle accelerates sluggishly, the clutch is slipping. If the RPMs hold steady and the vehicle pulls, the friction disc is still within service limits.
Step 2: Hydraulic Return Line Verification
A frequently misdiagnosed cause of clutch slip is a restricted hydraulic flexible hose. Over time, the inner lining of the rubber flex line can delaminate, creating a one-way 'check valve' effect. When you release the pedal, fluid cannot return to the master cylinder fast enough, leaving residual pressure on the concentric slave cylinder (CSC). This prevents the pressure plate from applying 100% of its clamping force.
Test: With the engine off, have an assistant press and release the clutch pedal rapidly. Feel the slave cylinder pushrod. If it returns sluggishly or feels bound, crack the bleeder valve. If fluid spurts out under pressure and the pushrod instantly retracts, you have a restricted line or master cylinder compensation port issue, not a worn friction disc.
Platform-Specific Clamping Force & Failure Data
Different platforms require different diagnostic thresholds. Below is a preventive maintenance and diagnostic matrix for common performance platforms:
| Vehicle Platform | Transmission | OEM Clamping Force (lbs) | Common Failure Point | Preventive Action |
|---|---|---|---|---|
| Subaru WRX (2015-2025) | 6-Speed Manual | ~2,100 | Friction disc glazing under Stage 2 boost | Upgrade to Exedy Stage 1; verify rear main seal integrity |
| Ford Mustang GT | MT-82 / MT-82D4 | ~2,400 | Hydraulic CSC restriction & fluid boil | Flush DOT 4 fluid every 30k miles; upgrade braided lines |
| Porsche 997.2 / 991 | 6 / 7-Speed Manual | ~2,800 | Dual-Mass Flywheel (DMF) secondary plate wear | Measure DMF angular play; replace with Schaeffler LuK RepSet |
| Honda Civic Type R | 6-Speed (Rev-Match) | ~2,600 | Carbon-ceramic friction material delamination | Inspect flywheel hot-spots; avoid aggressive rev-matching on cold discs |
Preventive Maintenance: Stopping Slippage Before It Starts
Clutch slip is rarely an overnight event. It is the culmination of ignored maintenance intervals. To maximize the lifespan of your friction assembly, adhere to the following preventive protocols:
1. Hydraulic Fluid Hygiene
Clutch systems share fluid with the brake system or use dedicated DOT 4 reservoirs. Brake fluid is hygroscopic—it absorbs moisture from the atmosphere. As water content increases, the fluid's boiling point plummets from 446°F (230°C) down to 311°F (155°C). Under heavy stop-and-go traffic, heat transfers from the transmission bell housing to the slave cylinder, boiling the contaminated fluid and causing vapor lock. This leads to incomplete disengagement (causing gear grind) and incomplete engagement (causing slip). Preventive Rule: Perform a complete hydraulic flush with fresh DOT 4 or DOT 5.1 fluid every 24 months or 30,000 miles.
2. Flywheel Runout and Resurfacing Limits
When replacing a slipping clutch, the flywheel mating surface must be pristine. If the flywheel has developed hard spots (martensite formation from extreme heat), the new clutch will chatter and slip prematurely. According to SAE International standards, maximum allowable flywheel lateral runout is typically 0.003 inches (0.076mm). If you are resurfacing a dual-mass flywheel (DMF), be aware that most OEMs prohibit resurfacing; replacement with a complete LuK RepSet or Sachs DMF kit is mandatory to maintain the torsional damping geometry.
3. Precision Torque Sequences
A slipping clutch can be induced by improper installation. If the pressure plate bolts are torqued unevenly, the diaphragm spring becomes distorted, resulting in unequal clamping force across the friction disc. Standard Torque Specs (Verify with OEM Service Manual):
- GM LS/LT V8 Flywheel Bolts: 74 lb-ft + 90 degrees of rotation.
- Ford Modular/Coyote Pressure Plate: 25 lb-ft in a star pattern.
- Subaru FA20 Flywheel Bolt: 69 lb-ft + 60 degrees.
Cost Breakdown & Part Sourcing
Ignoring early symptoms of clutch slip will ultimately cost you. A standard friction disc replacement is a fraction of the cost of replacing a flywheel destroyed by slip-induced thermal warping.
Expert Diagnostic Tip: Never reuse a worn concentric slave cylinder (CSC) when replacing a clutch. The CSC has been cycling through the exact same heat and wear as the failing clutch. A $60 CSC failure inside the bell housing a month later will cost you $1,200 in repeated labor. Always buy a kit that includes the CSC, fork, and pivot ball.
Expect to pay between $250 and $600 for a high-quality OEM-replacement clutch kit (brands like Exedy, Sachs, or LuK). Labor for a rear-wheel-drive application typically ranges from $600 to $900, while all-wheel-drive platforms (requiring driveshaft and rear differential subframe removal) can push labor costs to $1,400+. By diagnosing the hydraulic system and verifying flywheel integrity before the friction material completely vaporizes, you keep your repair costs firmly in the preventive bracket.
Summary
Diagnosing a slipping clutch requires moving past the initial frustration—and perhaps putting aside your search for obscure internet lyrics—to focus on mechanical realities. By testing hydraulic return pressures, verifying clamping forces against your specific platform's torque output, and adhering to strict fluid and torque maintenance schedules, you can accurately diagnose slip and implement preventive measures that keep your drivetrain engaged and efficient for the long haul.