The True Cost of Knowledge: DIY vs. Formal Training
Many gearheads and aspiring mechanics assume that mastering a high-performance transmission overhaul requires enrolling in a formal transmission rebuild school. While institutional training offers valuable baseline theory, the tuition often ranges from $3,500 to over $6,000, not including months of lost shop time. For the dedicated enthusiast or independent shop owner focusing on modern rear-wheel-drive performance platforms like the GM 6L80 and 6L90, a structured, step-by-step performance overhaul guide paired with high-quality aftermarket support can yield superior, track-ready results at a fraction of the cost.
In this guide, we break down the exact steps to execute a bulletproof performance rebuild on the ubiquitous GM 6L80 6-speed automatic. We will also compare the real-world costs of the DIY performance route against formal schooling and professional shop rates, proving that hands-on mechanical aptitude and the right upgrade components are your best investments.
Investment Breakdown: Overhaul Costs & Education
Before tearing into the bellhousing, it is critical to understand where your money is going. A performance build requires shifting budget away from basic OEM replacement parts and toward metallurgical upgrades and hydraulic recalibration.
| Investment Route | Estimated Cost | Time Commitment | Performance Outcome |
|---|---|---|---|
| Transmission Rebuild School (Tuition Only) | $3,500 - $6,500 | 2 to 6 Months | Theory-based; OEM-focused curriculum |
| Professional Shop Performance Rebuild | $3,800 - $5,500 | 2 to 4 Weeks (Wait time) | High; dependent on shop's specific expertise |
| DIY Step-by-Step Performance Overhaul | $1,400 - $2,100 | 15 to 25 Hours (Weekend build) | Maximum; custom-tailored to your horsepower goals |
By choosing the DIY route, you reallocate the $4,000 you would have spent on a pro-build or school tuition directly into premium hardware: billet shafts, heavy-duty clutch packs, and recalibrated valve bodies. According to the Transmission Repair Cost Guide, labor makes up nearly 60% of a professional rebuild invoice. Eliminating this labor cost allows you to afford top-tier performance components that most standard shops will not include in a base quote.
Step-by-Step Performance Overhaul: GM 6L80/6L90
The GM 6L80 is a masterpiece of modular design, but in high-horsepower applications (450+ hp at the wheels), it suffers from specific failure points. This step-by-step protocol addresses those weak links.
Phase 1: Teardown and Case Triage
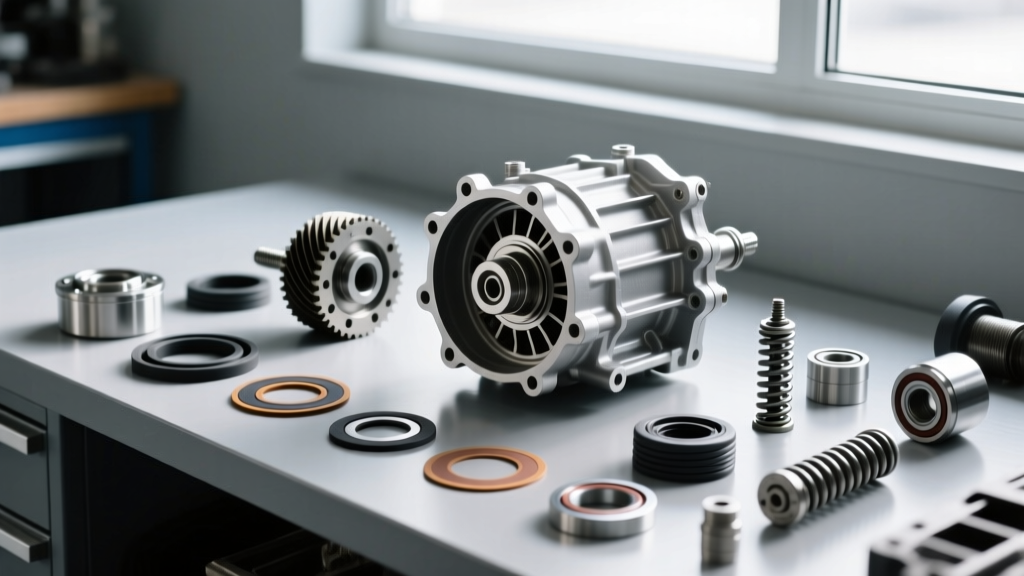
Begin by securing the transmission on a dedicated rotary stand. Remove the TEHCM (Transmission Electro-Hydraulic Control Module) and store it in an anti-static bag. The TEHCM contains the TCM and solenoid body; contamination from clutch debris or static discharge will ruin it.
As you disassemble the gear train, pay special attention to the pump stator support tube. In high-torque applications, the splines on the OEM tube wear rapidly, causing converter drain-back and delayed engagements. Inspect the pump slide and rotor for scoring. If the pump halves show wear exceeding 0.002 inches, replace the entire pump assembly with a CNC-machined performance unit.
Phase 2: Upgrading the Drivetrain Bottlenecks
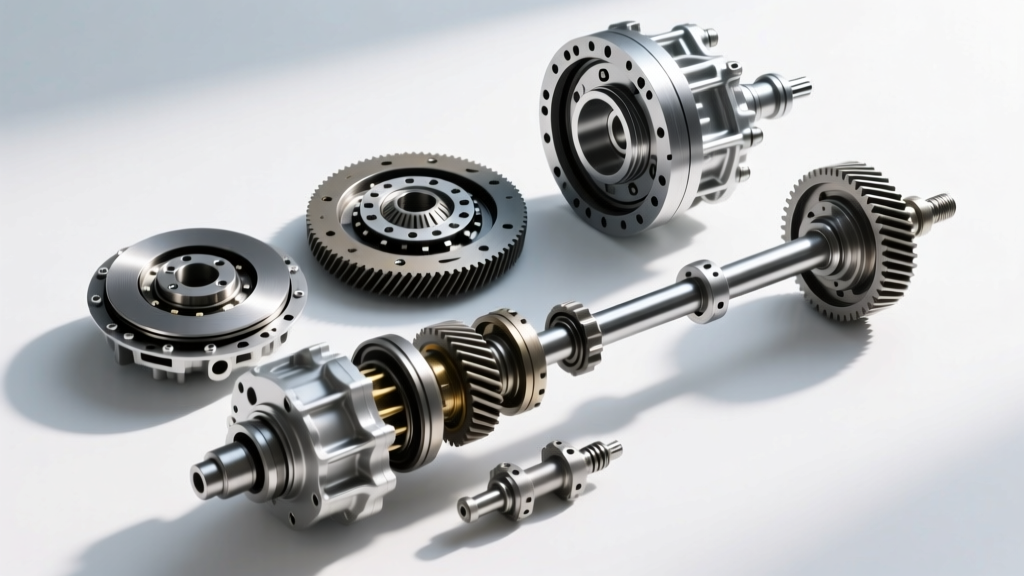
The OEM 6L80 input shaft and 1-2-3-4 clutch hub are notorious failure points when subjected to aggressive drag radials and trans-brake launches. To fortify the rotating assembly:
- Input Shaft: Install a billet 300M steel input shaft. This eliminates the risk of torsional twisting and spline shear common in the OEM powdered-metal shaft.
- Clutch Packs: Discard the OEM paper-based frictions. Upgrade to Raybestos GPZ or Performance Friction carbon-Kevlar lined clutches. These materials handle 30% more heat and resist glazing under severe slip conditions.
- 1-2-3-4 Clutch Hub: Replace the OEM stamped steel hub with a billet aluminum or reinforced steel drum to prevent the tabs from shearing under high line pressure.
Phase 3: Valve Body Calibration and Solenoid Prep
Hydraulic control is the nervous system of your performance build. The OEM valve body suffers from bore wear in the pressure regulator and clutch apply circuits. Rather than replacing the entire cast aluminum unit, utilize a targeted recalibration approach.
According to Sonnax Technical Resources, installing a comprehensive Zip Kit (such as the GM-6L80-6L90-ZIP) addresses the most critical wear areas. This kit includes sleeved pressure regulator valves, reinforced separator plates, and upgraded check balls. When reinstalling the valve body to the case, adhere strictly to the torque sequence. The valve body to case bolts must be torqued to exactly 8 Nm (71 lb-in). Over-torquing these fasteners will distort the delicate aluminum casting, leading to cross-leaks and burnt clutches.
Phase 4: Clutch Pack Indexing and Final Assembly
Clearance is everything in a performance automatic. While an OEM rebuild might call for 0.040 to 0.060 inches of total clutch pack clearance, a high-performance 6L80 build requires tighter indexing to ensure immediate lockup and minimize shift flares. Target a clearance of 0.005 to 0.008 inches per friction plate. For a 6-friction pack, your total clearance should be between 0.030 and 0.048 inches.
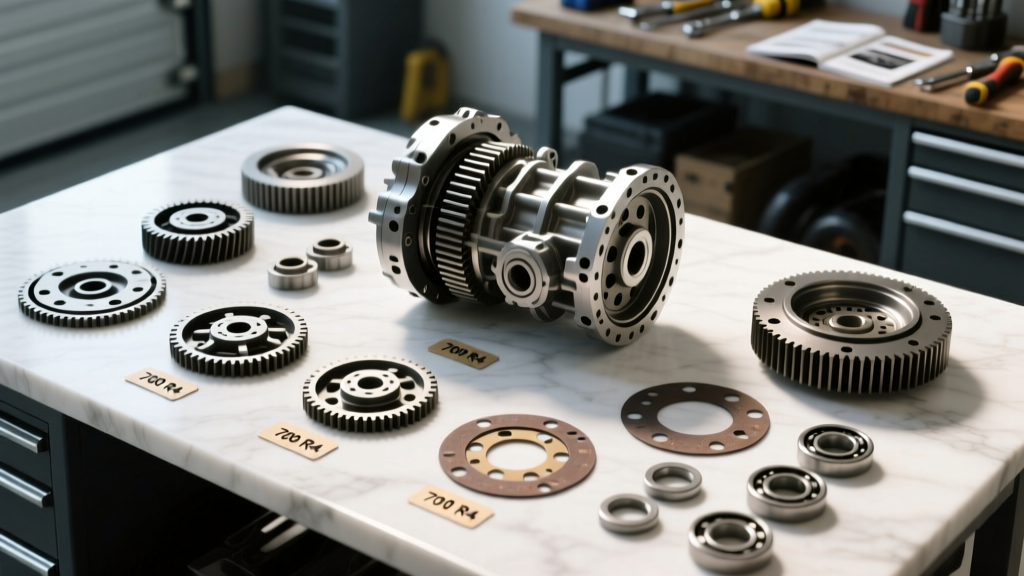
Use a dial indicator and a selective snap-ring kit to dial in these exact measurements. Once the clutch packs are indexed, compress the return springs using a specialized 6L80 clutch compressor tool. Never use a generic C-clamp, as uneven pressure will warp the apply pistons.
During final assembly, prime the oil pump by packing the gear teeth with assembly lube or petroleum jelly. This ensures immediate hydraulic pressure upon initial startup, preventing catastrophic dry-start damage to the bushings and clutches.
Fluid Selection and Break-In Protocol
Expert Insight: Do not rely on standard DEXRON VI for a dedicated track or heavy-tow 6L80 build. While DEXRON VI is excellent for daily driving, its viscosity breaks down rapidly at sump temperatures exceeding 250°F. For severe-duty performance applications, consult the Automatic Transmission Rebuilders Association (ATRA) guidelines and consider specialized synthetic racing fluids with higher zinc and phosphorus anti-wear additives, paired with an auxiliary transmission cooler rated for at least 20,000 GVW.
After installation, the break-in procedure is critical. Fill the pan with 6.5 to 7.5 quarts of fluid (depending on torque converter size). Start the engine, cycle the gear selector through all positions while holding the brake, and check the fluid level via the dipstick tube plug while the fluid temperature is between 86°F and 122°F. Drive the vehicle conservatively for the first 500 miles, allowing the GPZ friction materials to mate perfectly with the steel separator plates. Avoid wide-open-throttle (WOT) pulls or trans-brake loading until this bedding period is complete.
Final Verdict: Is Formal Schooling Necessary?
Enrolling in a transmission rebuild school is a fantastic path for someone looking to open a generalist repair shop and service a wide variety of continuously variable (CVT) and dual-clutch (DCT) transmissions. However, if your goal is to build high-horsepower, track-capable drivetrains for specific platforms like the GM 6L80, 4L80E, or Ford 10R80, hands-on experience guided by specialized performance literature is vastly superior. By skipping the classroom and investing directly into premium upgrade kits, precision measuring tools, and step-by-step technical documentation, you achieve a stronger, more reliable transmission while keeping thousands of dollars in your project budget.