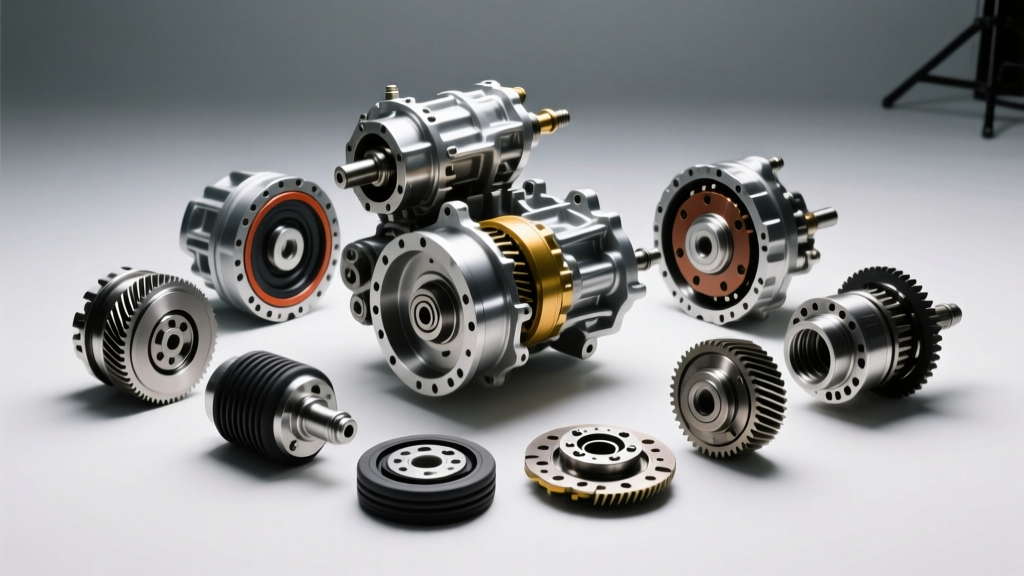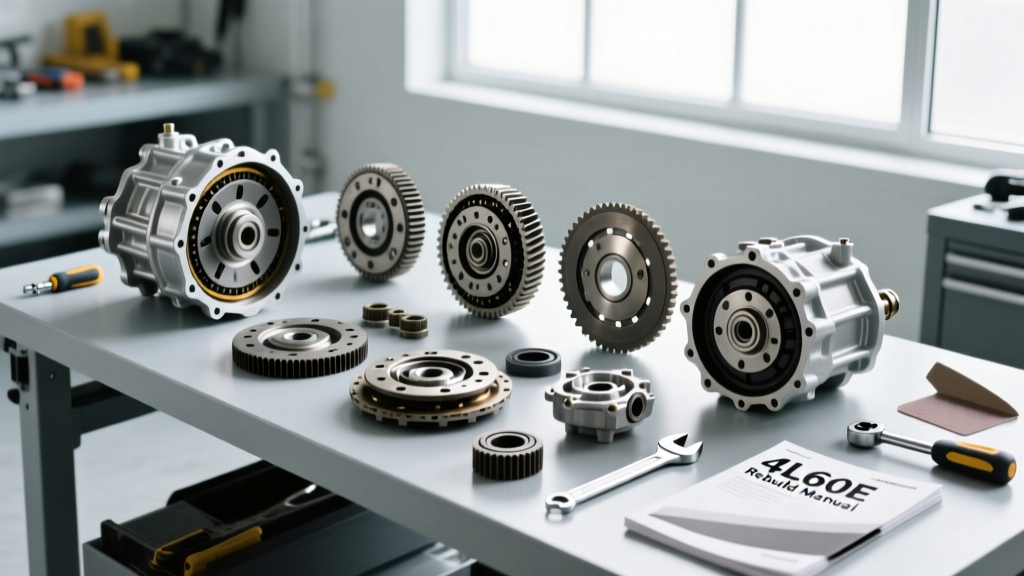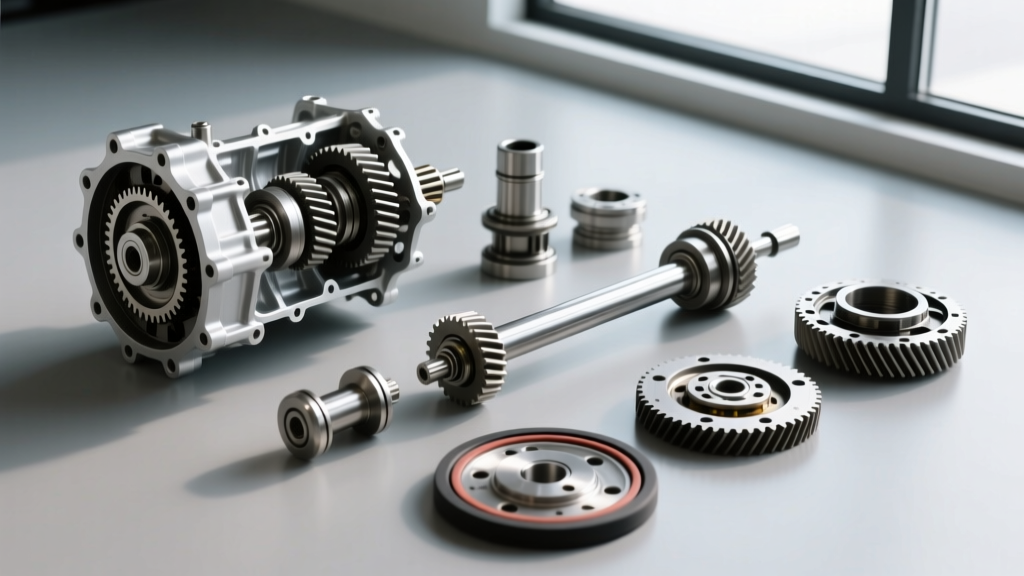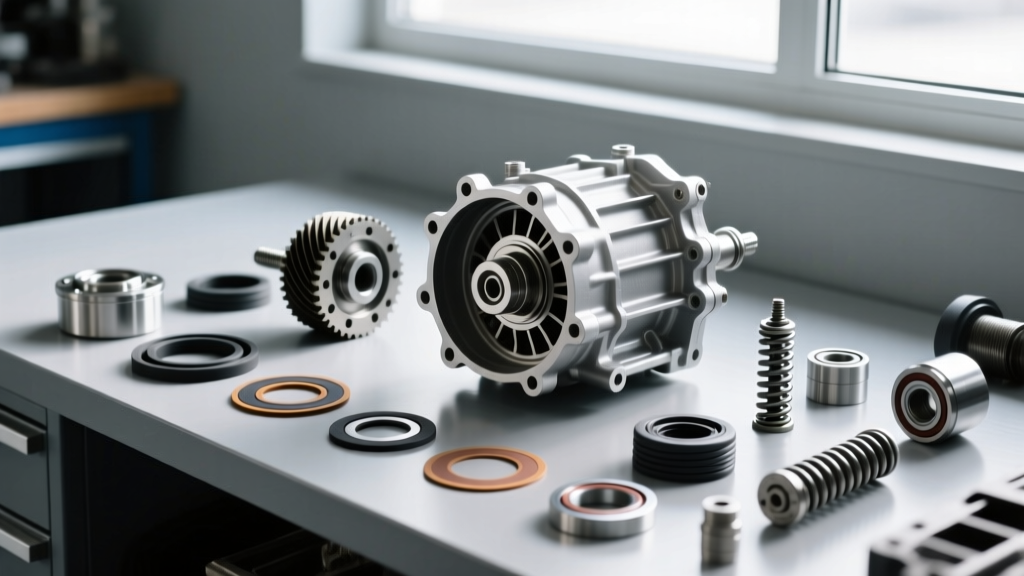
The General Motors 4L60E transmission remains one of the most prolific automatic gearboxes ever produced, powering millions of Chevrolet, GMC, and Cadillac vehicles from the early 1990s through the late 2010s. Despite its robust planetary gearsets and adaptable electronic controls, the 4L60E harbors a well-documented Achilles heel: the front gear pump. When line pressure drops or cavitation destroys the internal gerotor gears, a complete transmission failure is imminent. For DIY mechanics and professional rebuilders alike, understanding the intricacies of a 4L60E transmission pump rebuild kit is the difference between a reliable daily driver and a stranded vehicle.
Why the 4L60E Front Pump Dictates Transmission Survival
The front pump on the 4L60E is a variable-displacement gerotor design driven directly by the torque converter hub. Its primary responsibility is generating the hydraulic line pressure required to actuate the clutch packs, bands, and servo pistons. Furthermore, it supplies continuous lubrication to the planetary gearsets and maintains torque converter charge pressure. When the pump's internal clearances exceed factory specifications, the Electronic Pressure Control (EPC) solenoid is forced to work at maximum duty cycle to compensate for internal hydraulic leaks. This leads to overheated fluid, glazed clutch friction materials, and ultimately, catastrophic slip codes like P0894 (Transmission Component Slipping).
Identifying Pump Wear: Codes, Symptoms, and Teardown
Before tearing into the bellhousing, accurate diagnosis is critical. A failing 4L60E pump typically presents with a high-pitched whining noise that correlates directly with engine RPM, rather than vehicle speed. This whine is the sound of cavitation—where the pump is starving for fluid or internally bypassing it. On the OBD-II scanner, you may encounter P1870 (Transmission Component Slipping) or P0894. During teardown, inspect the pump housing slide valve bore. The aluminum housing is notorious for wearing where the steel slide valve oscillates. If you can catch a fingernail on a ridge inside the slide valve bore, the housing must be machined, sleeved, or replaced; a standard rebuild kit will not fix a scored aluminum bore.
Anatomy of a 4L60E Transmission Pump Rebuild Kit
When sourcing a high-quality 4L60E transmission pump rebuild kit, you must look beyond basic paper gaskets and O-rings. A comprehensive master-level pump kit should include the following critical components:
- Gerotor Gears: Inner and outer pump gears (often upgraded to billet steel or precision-ground OEM replacements).
- Slide Valve and Springs: Including the pressure regulator spring and slide valve bushings.
- Boost Valve Assembly: The valve that multiplies EPC solenoid pressure to regulate main line pressure.
- Stator Support Bushings and Seals: Critical for sealing the torque converter turbine shaft.
- Pump Body Gaskets and O-Rings: Specifically formulated for Dexron VI fluid compatibility.
Essential Upgrades: Boost Valves and Slide Springs
According to technical bulletins from Sonnax Industries, the factory boost valve in the 4L60E pump is severely undersized for heavy-duty or high-torque applications. As the factory valve wears the aluminum bore, EPC fluid leaks to exhaust, resulting in low line pressure and burnt 3-4 clutch packs. Upgrading to an oversized, hardened steel boost valve kit (such as the Sonnax 55211-01K) requires reaming the pump bore but virtually eliminates this failure point. Additionally, installing a stiffer aftermarket slide valve spring increases base line pressure, providing firmer shifts and extending clutch life.
4L60E Pump Rebuild vs. Replacement: Cost Analysis
Deciding whether to rebuild the existing pump using a kit, purchase a remanufactured assembly, or pay for professional machine shop services depends on your budget, tooling, and the condition of your core casting. Below is a breakdown of current market pricing for 4L60E pump repairs.
| Repair Strategy | Parts Cost | Labor / Machining | Total Estimated Cost | Best Application |
|---|---|---|---|---|
| Basic Rebuild Kit (OEM Gears, Seals) | $45 - $85 | $0 (DIY) | $45 - $85 | Low-mileage cores with zero bore wear |
| Master Kit + Sonnax Boost Valve Upgrade | $120 - $180 | $40 (Machine shop reaming) | $160 - $220 | Performance, towing, or high-heat applications |
| Remanufactured Pump Assembly | $250 - $380 | $0 (Bolt-on) | $250 - $380 | Severely scored housings or shop warranty requirements |
| Professional Shop Full Rebuild (Pump Included) | N/A | $1,800 - $2,600 | $1,800 - $2,600 | Turnkey vehicle repair with warranty |
Note: Pricing reflects average 2026 aftermarket and machine shop rates. Core charges may apply to remanufactured units.
Precision Assembly: Clearances and Torque Specifications
Rebuilding a hydraulic gerotor pump is an exercise in precision. The Automatic Transmission Service Group (ATSG) emphasizes that improper gear clearances will lead to immediate volumetric loss or pump seizure upon startup. You must use feeler gauges and a machinist's straightedge to verify the following specifications before bolting the pump to the transmission case.
| Measurement Point | Factory Specification | Maximum Wear Limit | Verification Tool |
|---|---|---|---|
| Gear Tip Clearance (Outer gear to housing) | 0.0015' - 0.0055' | 0.008' | Feeler Gauge |
| Gear Side Clearance (Gear face to pocket) | 0.0015' - 0.0045' | 0.006' | Feeler Gauge & Straightedge |
| Slide Valve to Bore Clearance | 0.0005' - 0.0020' | 0.004' | Telescoping Gauge & Micrometer |
| Stator Support to Turbine Shaft | 0.002' - 0.005' | 0.008' | Feeler Gauge |
| Pump to Case Bolt Torque (M8 x 1.25) | 18 lb-ft (24 Nm) | N/A | Calibrated Torque Wrench |
The Importance of the Stator Support Tube
The stator support tube presses into the pump cover and routes fluid to the torque converter and lubrication circuits. When installing the new O-rings and Teflon seals on the support tube, use a specialized seal installer tool. Rolling or cutting a Teflon seal during assembly will result in immediate torque converter drain-back and delayed forward engagements. Furthermore, ensure the splines on the support tube are free of burrs, as they mate directly with the stator assembly and can cause binding if damaged during previous teardowns.
The Dry-Start Danger: Priming the Rebuilt Pump
The most common mistake made during a 4L60E rebuild is failing to prime the front pump. A dry gerotor pump cannot generate the vacuum required to draw fluid up from the deep transmission pan. If the engine is started with a dry pump, the gears will spin without moving fluid, resulting in instant scoring of the gear tips and complete loss of line pressure within seconds.
To prevent this, pack the pump gear cavity with a high-melting-point petroleum jelly (Vaseline) or a dedicated transmission assembly lube during final assembly. The jelly will hold the gears in place, create an immediate hydraulic seal, and pull Dexron VI fluid into the housing the moment the engine cranks. Alternatively, use a specialized transmission priming tool to force fluid backward through the cooler return line directly into the pump cavity before the initial startup. Always verify line pressure via the passenger-side case port using a 300 PSI mechanical gauge immediately upon engine start; base pressure should read 50-70 PSI in Park/Neutral and spike to 180-220 PSI in Reverse.
Final Thoughts on 4L60E Pump Longevity
Investing in a premium 4L60E transmission pump rebuild kit and taking the time to blueprint the internal clearances ensures the hydraulic heart of your transmission beats reliably for miles to come. By addressing the inherent boost valve weaknesses and adhering strictly to torque and clearance specifications, you can transform the 4L60E from a fragile weak point into a highly capable, street-proven drivetrain component. For further technical documentation and visual teardown guides, consult resources like Summit Racing Equipment's technical library or OEM GM service manuals.