The 700-R4 Legacy and the DIY Appeal in 2026
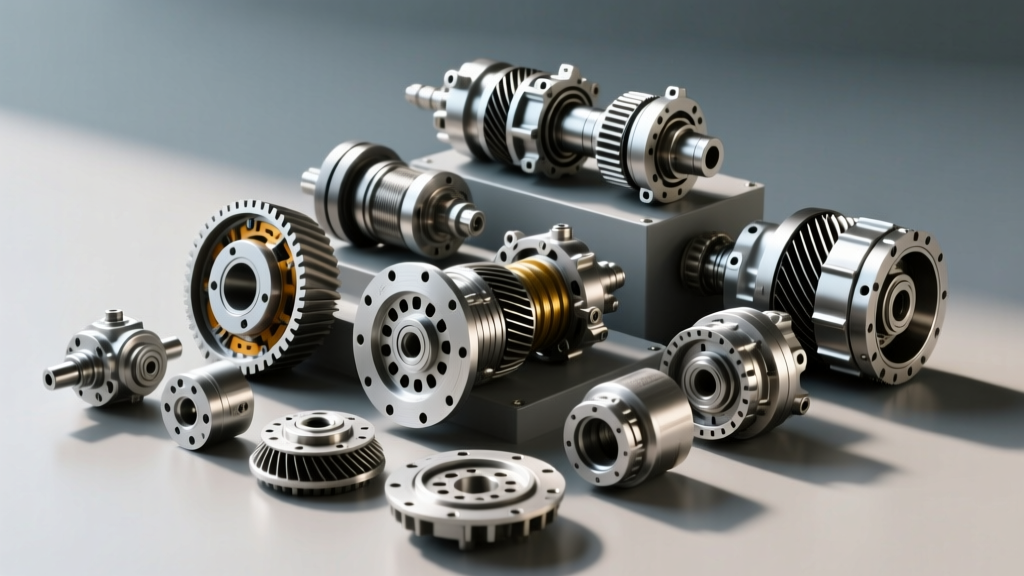
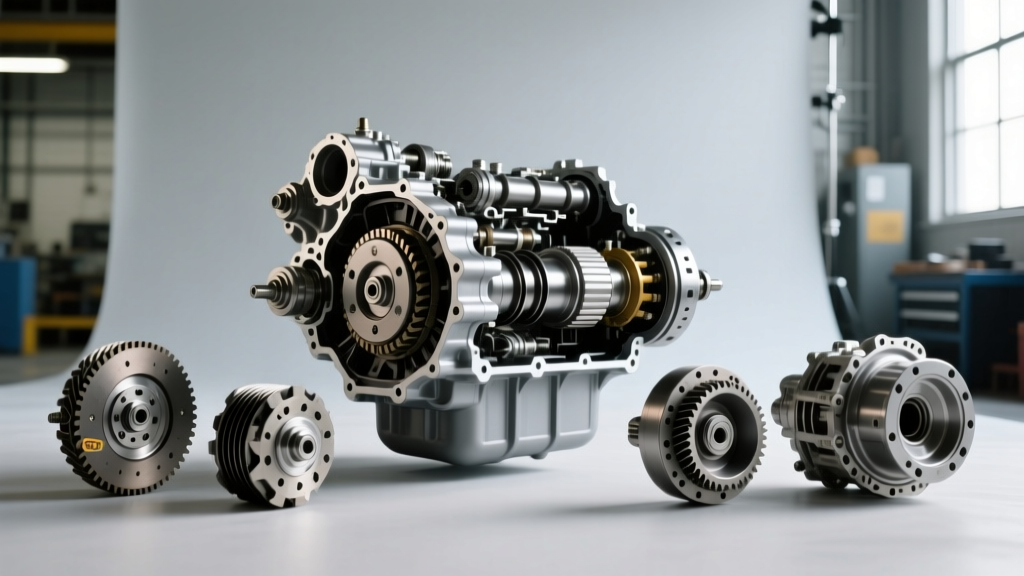
The GM Turbo Hydra-Matic 700-R4, introduced in 1982 and later renamed the 4L60 in 1990, remains one of the most iconic and widely swapped rear-wheel-drive overdrive transmissions in automotive history. Whether you are restoring a third-generation Camaro, building a C10 square body, or dropping a carbureted V8 into a classic muscle car, the 700-R4's mechanical simplicity and robust aftermarket support make it a prime candidate for a home garage overhaul. However, a successful 700 R4 transmission rebuild requires more than just a wrench set; it demands precision, specific clearances, and an understanding of the transmission's notorious hydraulic quirks.
In this comprehensive buyer's guide and DIY comparison, we break down the real-world costs of rebuilding a 700-R4 at home versus paying a professional shop in 2026. We will also compare the top master rebuild kits on the market and provide the critical assembly specifications that separate a bulletproof build from a burnt-up clutch pack.
Cost Breakdown: DIY 700 R4 Transmission Rebuild vs. Professional Shop
Before tearing into the case, it is vital to understand the financial landscape. Professional transmission shops have seen labor rates and core surcharges climb steadily over the last few years. Here is how the costs compare for a standard rear-wheel-drive 700-R4 rebuild.
| Expense Category | Professional Shop (Average) | DIY Home Rebuild (Average) |
|---|---|---|
| Labor / Bench Time | $1,200 - $1,600 | $0 (Your Time) |
| Master Rebuild Kit (Frictions, Steels, Seals) | Included in Shop Rate | $250 - $450 |
| Hard Parts (Pump, Sun Shell, Drums) | $300 - $600 (If needed) | $150 - $400 (If needed) |
| Shift Kit / Valve Body Upgrades | $150 - $250 | $80 - $150 |
| Specialty Tools & Fluids (Dexron VI) | Included | $150 - $250 |
| Total Estimated Cost | $2,200 - $3,200+ | $630 - $1,350 |
Note: The DIY route assumes you already possess standard hand tools, a torque wrench, and a clean workspace. The hidden cost of DIY is the initial investment in specialty tools like a clutch spring compressor and a dial indicator.
Master Rebuild Kit Comparison: Choosing the Right Hardware
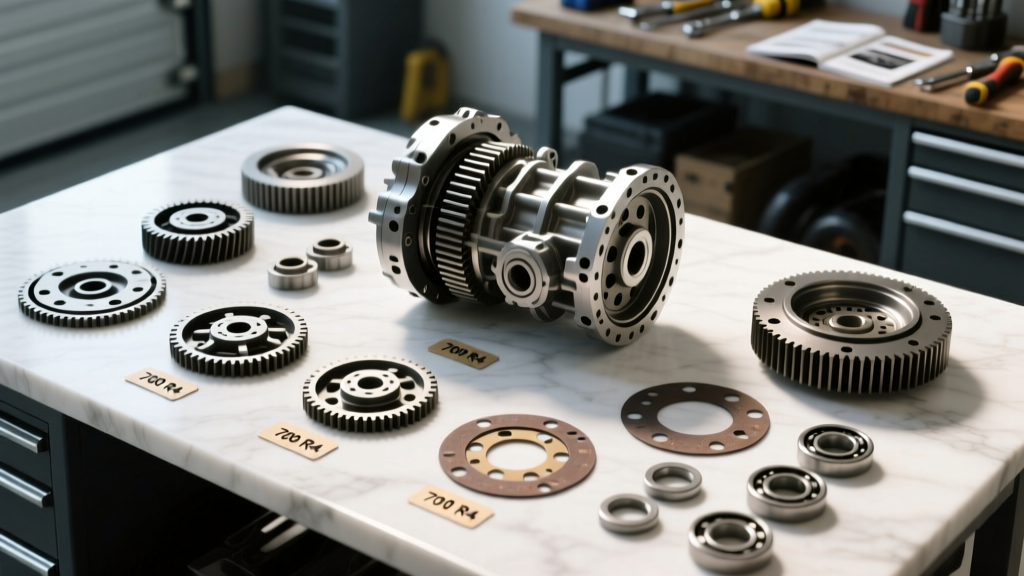
Not all 700 R4 transmission rebuild kits are created equal. The friction materials, steel thicknesses, and rubber compounds vary wildly between manufacturers. Choosing the wrong kit for your application is a common DIY pitfall.
1. Master Powertrain (OEM Replacement)
Best For: Stock daily drivers, mild V6 applications, and budget-conscious restorations.
Features: Uses standard OE-style paper and rubber gaskets, basic Raybestos or BorgWarner frictions, and standard thickness steels.
Verdict: A solid, no-frills kit if your 700-R4 is behind a stock 305 or 4.3L V6. However, the OE paper gaskets can be unforgiving during assembly if the mating surfaces aren't perfectly clean.
2. Superior K700R4 (Towing & Street Performance)
Best For: Street/strip cars, towing trucks, and carbureted V8 swaps.
Features: Includes high-energy Kevlar or carbon-fiber frictions, thick Raybestos steels, and a complete TransGo or Superior shift kit. Often includes an upgraded 2-4 servo and a reinforced sun shell.
Verdict: This is the sweet spot for most DIYers. The inclusion of the shift kit and upgraded servo addresses the 700-R4's factory weak points right out of the box.
3. Performance Automotive Warehouse (PAW) / Omegatron (Heavy Duty)
Best For: High-horsepower builds (500+ HP), drag racing, and severe abuse.
Features: Kolene-coated steels, extra-capacity clutch packs (requires machining or specific snap rings), and billet apply components.
Verdict: Overkill for a street car and requires advanced machining knowledge to fit extra clutches into the direct and forward drums.
Essential DIY Tools and Bench Setup
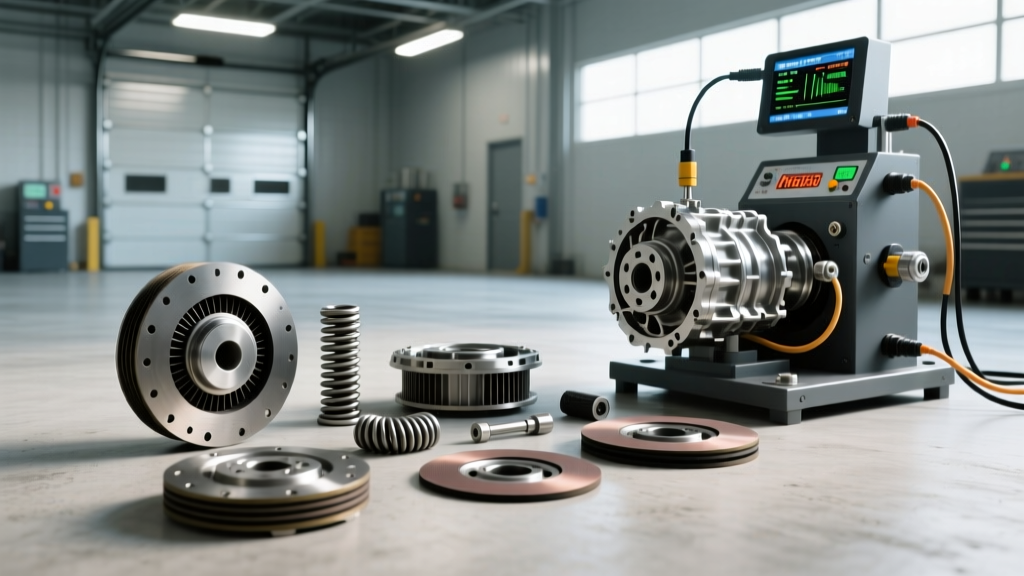
Attempting a 700-R4 rebuild with just standard sockets and pliers will result in failure. To do the job correctly, you must acquire the following specialty items:
- Clutch Spring Compressor: The 700-R4 uses heavy return springs in the forward and direct clutch drums. A universal clutch spring compressor is mandatory to safely remove and install the snap rings.
- Dial Indicator with Magnetic Base: Required for measuring total endplay and checking pump rotor clearances.
- Inch-Pound Torque Wrench: The valve body bolts require extremely precise, low-torque settings. Using a standard foot-pound wrench will strip the aluminum case threads instantly.
- Internal/External Snap Ring Pliers: Specifically, heavy-duty 90-degree and straight-tip pliers for the stubborn snap rings inside the clutch drums.
- Alignment Dowels: The 700-R4 oil pump must be perfectly aligned to the case. Many rebuilders use two modified bolts with the heads cut off and a slot ground into the top to act as guide pins during pump installation.
Critical Assembly Specs: Clearances and Torque Values
The difference between a transmission that shifts smoothly for 150,000 miles and one that fails in 15 miles lies in the clearances. Always refer to a factory GM service manual or a comprehensive aftermarket guide like those provided by Sonnax for the most up-to-date technical bulletins.
| Component / Fastener | Specification / Clearance | Notes & Expert Tips |
|---|---|---|
| Forward Clutch Pack Clearance | 0.040' - 0.060' | Use selective snap rings to adjust. Too tight causes drag; too loose causes delayed engagements. |
| Direct (3-4) Clutch Pack Clearance | 0.020' - 0.040' | Critical for the 3-4 shift. Tighter is better for performance, but ensure the piston moves freely. |
| Total Geartrain Endplay | 0.010' - 0.025' | Measured with a dial indicator on the output shaft. Adjust using selective thrust washers. |
| Valve Body to Case Bolts | 97 - 115 in-lbs | INCH-POUNDS. Do not over-torque. Use a star-pattern tightening sequence. |
| Oil Pump to Case Bolts | 10 - 13 ft-lbs | Tighten only AFTER the torque converter is fully seated and the pump is aligned with dowels. |
| Tailshaft Housing Bolts | 25 - 30 ft-lbs | Apply a small amount of thread sealant to the bolts that pass into the fluid gallery. |
Common 700-R4 Failure Points to Address During Rebuild
When performing a DIY 700 R4 transmission rebuild, you are not just replacing worn clutches; you are engineering out the factory flaws. If you ignore these three areas, your rebuild will likely fail prematurely.
1. The Sun Shell and the 'Beast' Upgrade
The factory stamped-steel sun shell is notorious for stripping its splines or snapping at the weld joint, resulting in an instant loss of Reverse, 2nd, and 4th gears. Upgrading to a hardened aftermarket sun shell, such as the legendary 'Beast' shell (available through retailers like Summit Racing), is non-negotiable for any V8 application.
2. The 2-4 Servo and the 2-3 Flare
The factory 2-4 servo apply area is too small, leading to a slow, flaring shift from 2nd to 3rd gear, which glazes the 3-4 clutch pack. Install the GM Corvette servo (Part #24225182) or an aftermarket billet servo. This increases the apply pressure on the 2-4 band, resulting in a crisp, immediate 2-3 shift that saves the clutches.
3. The Throttle Valve (TV) Cable Geometry
This is the number one reason DIY 700-R4 rebuilds fail within the first 100 miles. The TV cable dictates line pressure based on throttle position. If the cable geometry at the carburetor or throttle body is incorrect, the transmission will not raise line pressure at wide-open throttle, causing immediate clutch burnout. You must use a TV cable geometry corrector bracket or meticulously measure the sweep radius (the distance from the pivot point to the cable attachment) to match the factory specification of roughly 1.125 inches. For deeper calibration insights, TransGo offers excellent technical documentation on matching TV pressure to their shift kits.
Fluid Selection and Cooler Flushing
Do not reuse old fluid or attempt to use obsolete Dexron III. Modern Dexron VI synthetic fluid offers vastly superior shear stability and friction characteristics. A freshly rebuilt 700-R4 with a standard 245mm torque converter will require approximately 11.5 to 12 quarts of fluid.
Furthermore, you must thoroughly flush the transmission cooler lines and the radiator cooler. A single piece of debris from the old transmission lodged in the cooler will restrict flow to the lubrication circuit, starving the rear planetary gearset and destroying it in minutes. Use a dedicated cooler flush or compressed air followed by fresh fluid to ensure the cooling circuit is entirely unobstructed.
Final Verdict: Is the DIY Route Right for Your 700-R4?
A 700 R4 transmission rebuild is an incredibly rewarding DIY project that can save you upwards of $1,500 compared to professional labor. However, it is not a weekend job for the impatient. It requires a methodical approach, a clean environment, and a willingness to invest in precision measuring tools. If you are willing to respect the inch-pound torque specs, verify your endplay with a dial indicator, and meticulously set your TV cable geometry, your home-built 700-R4 will deliver miles of reliable, crisp overdrive performance.