The Anatomy of the Shovelhead Clutch Release Mechanism
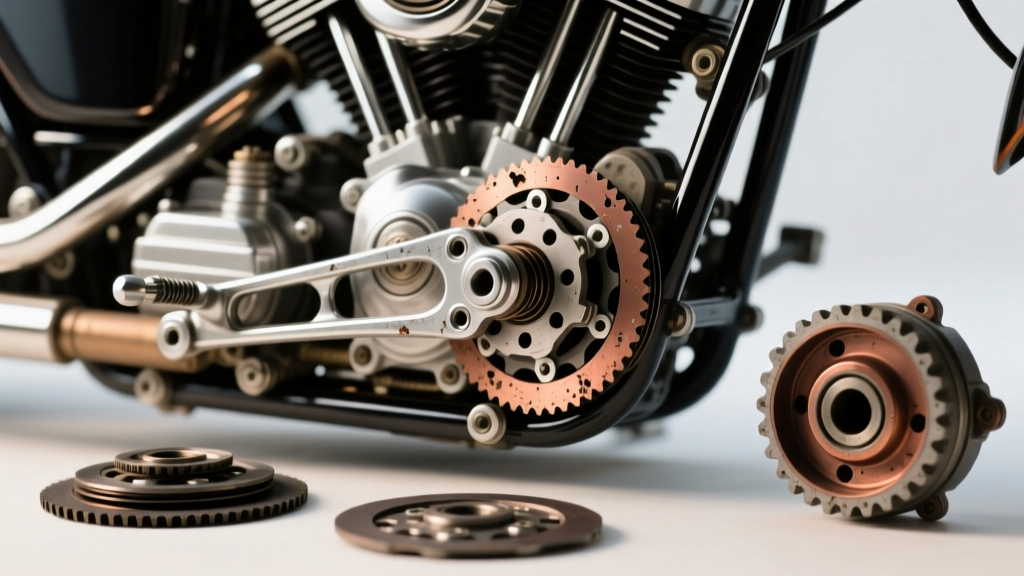
When automotive enthusiasts and mechanics transition to classic Harley-Davidson motorcycles, the terminology and mechanical layout can cause initial confusion. In a standard automotive manual transmission, a clutch fork pivots on a pivot ball to engage and disengage the pressure plate. The Harley-Davidson Shovelhead (produced from 1966 to 1984) utilizes a functionally identical concept housed within the primary chaincase. While often referred to in factory service manuals as the 'clutch release arm,' veteran mechanics and custom builders frequently refer to this component as the clutch fork. This arm pivots on a hardened steel pivot shaft (or pivot ball, depending on the specific year and aftermarket primary setup) to actuate the clutch release screw and ramp mechanism.
Performing a precise shovelhead clutch adjustment is impossible if the underlying clutch fork and pivot components are worn. A worn pivot shaft or an elongated bronze bushing inside the release arm introduces lateral play. This means that when you pull the clutch lever at the handlebar, a significant portion of your cable travel is wasted taking up the slack in the worn pivot rather than linearly pushing the clutch release screw. In this comprehensive guide, we will explore the symptoms of clutch fork and pivot wear, provide exact measurement tolerances, and detail the expert-level adjustment procedure required to restore crisp, predictable clutch engagement.
Diagnosing Clutch Fork and Pivot Wear
Before you touch a single adjuster nut, you must verify the mechanical integrity of the pivot system. The Shovelhead's 4-speed transmission (and early aftermarket 5-speed conversions like those from Baker Driveline or Rivera Primo) relies on precise geometry. When the pivot degrades, the symptoms mimic a warped clutch basket or a failing clutch cable. Look for the following diagnostic indicators:
1. Inconsistent Engagement Points
If your clutch engagement point wanders—sometimes grabbing near the handlebar grip and other times releasing at the very end of the lever's travel—the pivot shaft is likely grooved. The release arm shifts laterally on the worn shaft, altering the geometry between the release screw and the clutch ramp.
2. Phantom Cable Stretching
Riders often complain of a 'stretching' clutch cable, constantly tightening the barrel adjuster at the handlebar only to find the lever pulling to the grip again a few days later. In reality, the bronze bushing inside the clutch fork is wearing out, creating a larger inner diameter (ID) and resulting in perceived cable slack.
3. Clutch Drag and Gear Clunking
When the pivot ball or shaft is heavily grooved, the release arm cannot push the clutch release screw deep enough to fully separate the friction discs from the steel plates. This results in clutch drag, making it notoriously difficult to find neutral at a stoplight and causing a violent 'clunk' when shifting into first gear.
Wear Tolerances and Replacement Data
To maintain factory-level performance, you must measure the clutch fork bore and the pivot shaft during your primary chaincase service. Below is the definitive data table for Shovelhead clutch pivot diagnostics and 2026 aftermarket replacement costs.
| Component | OEM / Aftermarket Reference | Maximum Wear Tolerance | Avg. Replacement Cost |
|---|---|---|---|
| Clutch Release Arm (Fork) | Jim's 572 / OEM 37939-52B | 0.005-inch bore play | $45 - $85 |
| Pivot Shaft / Ball | OEM 37970-75 | 0.003-inch groove depth | $15 - $30 |
| Clutch Release Screw | OEM 37943-52A | Stripped threads / rounded tip | $12 - $25 |
| Primary Cover Gasket | Cometic or OEM equivalent | Any tear, crush, or oil weep | $8 - $18 |
Note: Always inspect the clutch release ramp (the bearing and ramp assembly inside the clutch hub). If the release screw has been adjusted too tightly against a worn pivot, it can pit or score the ramp bearing, necessitating a full clutch hub rebuild.
Step-by-Step Shovelhead Clutch Adjustment Procedure
Once you have confirmed that your clutch fork and pivot shaft are within spec (or have installed new components), you must perform the adjustment in a very specific sequence. Adjusting the cable before the internal release screw is the most common mistake made by amateur mechanics, leading to burnt friction plates and premature cable failure.
Phase 1: Internal Release Screw Adjustment
- Access the Primary: Drain the primary chaincase fluid (typically 32 oz of Harley-Davidson Formula+ or a high-quality synthetic 20W-50 motorcycle oil) and remove the derby cover, followed by the outer primary cover.
- Slack the Cable: Completely back off the cable adjuster at the handlebar lever and the lower cable casing adjuster. You need maximum slack to prevent the cable from pulling on the release arm during internal adjustment.
- Seat the Release Screw: Locate the clutch release arm and the locknut on the clutch release screw. Loosen the locknut (usually a 1/2-inch or 11mm wrench). Using a flathead screwdriver or Allen key (depending on the screw style), turn the release screw inward (clockwise) until you feel firm resistance. This means the screw is fully seated against the clutch release ramp bearing.
- Set the Thermal Gap: This is the most critical step. Back the release screw out (counter-clockwise) exactly 1/4 to 1/2 of a turn. This gap is non-negotiable; it accounts for the thermal expansion of the engine and transmission cases as the Shovelhead reaches operating temperature. If you leave it seated tight, the clutch will slip when the engine gets hot.
- Secure the Locknut: Hold the screw perfectly stationary with your screwdriver while tightening the locknut. Apply a drop of Loctite 242 (Blue) to the locknut threads to prevent vibration from backing it out. Torque the locknut to roughly 80-100 in-lbs (snug, but do not overtighten and strip the soft steel screw).
Phase 2: External Cable Adjustment
- Set the Lower Adjuster: At the bottom of the clutch cable casing (where it meets the primary cover), turn the adjuster to remove the bulk of the slack.
- Set the Handlebar Freeplay: Move to the handlebar. Adjust the barrel adjuster until you have exactly 1/16-inch to 1/8-inch of freeplay measured at the hole in the clutch lever. This small amount of slack ensures the clutch is fully engaged when you release the lever, preventing slip.
- Secure the Jam Nuts: Tighten all jam nuts on the cable adjusters. Re-check the freeplay, as tightening the jam nuts often pulls the cable slightly tighter.
Expert Best Practices for Longevity
Pro-Tip: The Shovelhead primary chain tension directly affects clutch feel. If your primary chain is too loose, it can whip and bind the clutch release arm, causing erratic lever feel. Always set your primary chain deflection to 3/8-inch to 1/2-inch up-and-down play on the bottom run with the engine cold before finalizing your shovelhead clutch adjustment.
Upgrading to a modern aftermarket clutch cable, such as those engineered by Barnett Clutch Cables, can drastically improve lever feel. Barnett utilizes a specialized Kevlar-lined housing and a high-tensile inner wire that resists the stretching common in cheap OEM-style replacement cables. Furthermore, if you are running a high-torque Shovelhead motor (e.g., a 93-cubic-inch or larger S&S stroker kit), consider upgrading to a reinforced clutch release arm. Aftermarket manufacturers like J&P Cycles stock billet aluminum release arms with replaceable bronze bushings and integrated grease zerks, allowing you to lubricate the pivot shaft without removing the primary cover.
Addressing 5-Speed Conversion Nuances
Many Shovelheads on the road today have been upgraded from the factory 4-speed to an aftermarket 5-speed transmission, such as the Baker N1 or Rivera Primo. While the fundamental pivot and fork logic remains the same, the internal clutch release mechanisms differ. Baker 5-speeds often utilize a pushrod system that extends through the mainshaft rather than a side-mounted ramp. When performing a shovelhead clutch adjustment on a 5-speed conversion, the internal pushrod clearance is typically set using a specialized dial indicator or by bottoming the pushrod and backing it off exactly one full turn. Always consult the specific transmission manufacturer's service addendum, as applying 4-speed ramp geometry rules to a 5-speed pushrod system will result in immediate clutch drag and transmission damage.
Conclusion
A flawless shovelhead clutch adjustment is a hallmark of a meticulous mechanic. By understanding the relationship between the clutch fork (release arm), the pivot shaft, and the internal release geometry, you can eliminate clutch drag, prevent premature cable failure, and ensure your classic Harley shifts smoothly for thousands of miles. Never ignore lateral play in the pivot, and always respect the thermal expansion gap during your internal adjustments.