The Critical Intersection of Fluid Volume and Seal Integrity
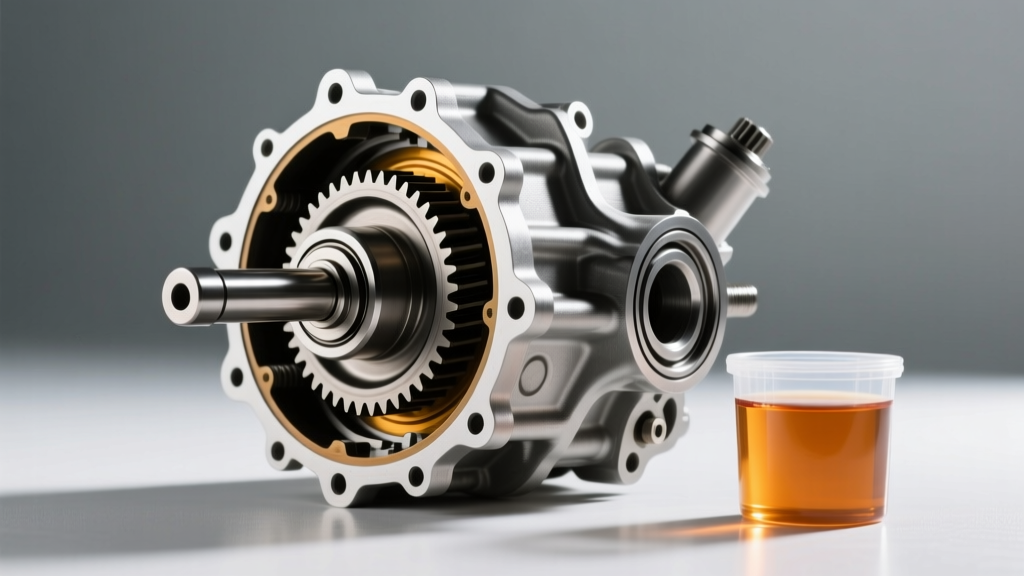
When a Class 8 commercial vehicle suffers a catastrophic wheel bearing failure or a blown pinion seal, the immediate repair protocol involves a complete teardown of the axle assembly. However, the most common mistake made by novice technicians post-repair is improper fluid fill. This is precisely why keeping an accurate semi truck differential oil capacity chart on hand is just as critical as having the right bearing puller and seal mandrel. Overfilling a heavy-duty differential leads to gear oil aeration, excessive internal pressure, and the immediate blowout of your newly installed seals. Underfilling starves the pinion and carrier bearings, leading to premature spalling and total axle failure within a few thousand miles.
As of 2026, with fleet specifications pushing extended drain intervals up to 500,000 miles using advanced synthetic 75W-90 and 80W-140 lubricants, the margin for error during a bearing and seal replacement is virtually zero. This guide bridges the gap between precision mechanical rebuilds and proper fluid management, providing expert tips, exact torque specifications, and real-world troubleshooting for heavy-duty drivetrain technicians.
2026 Semi Truck Differential Oil Capacity Chart
Before initiating any seal or bearing replacement, you must know the exact fluid volume required for your specific axle housing. The chart below outlines standard capacities for the most prevalent heavy-duty tandem and single-drive axles on the road today. Always verify with the manufacturer's specific service manual, as aftermarket deep-drop housings or PTO-equipped carriers may alter baseline volumes.
| Axle Manufacturer & Model | Axle Rating | Standard Capacity (Pints) | Standard Capacity (Quarts) | Recommended Gear Oil (2026 Spec) |
|---|---|---|---|---|
| Dana Spicer S170-190 | 40,000 lbs | 28 - 34 | 14 - 17 | Synthetic 75W-90 (API GL-5) |
| Meritor MT-40-14X | 40,000 lbs | 32 - 36 | 16 - 18 | Synthetic 75W-90 / 80W-140 |
| Eaton 40,000 lb Series | 40,000 lbs | 28 - 32 | 14 - 16 | Synthetic 75W-90 (API GL-5) |
| Dana Spicer S230-S260 | 46,000+ lbs | 36 - 44 | 18 - 22 | Synthetic 80W-140 (Severe Duty) |
| Meritor MT-44-14X | 46,000 lbs | 38 - 42 | 19 - 21 | Synthetic 80W-140 (Severe Duty) |
Note: Capacities represent the total volume of the single axle housing. For tandem setups, calculate the forward and rear axle housings independently, as the rear power divider and inter-axle shaft housing require separate fluid fills.
Diagnosing Heavy-Duty Axle Failures
Before ordering parts from suppliers like Timken Heavy-Duty Tapered Roller Bearings or SKF Automotive Aftermarket, accurate diagnosis is essential to prevent throwing expensive parts at a misdiagnosed issue.
Pinion Seal vs. Wheel Seal Leakage
Pinion seal failures typically present as gear oil flung forward from the driveshaft yoke, coating the underside of the cab and the axle pumpkin. This is often caused by a worn yoke sealing surface (which requires a sleeve repair kit or a new yoke) or excessive pinion bearing play. Wheel seal failures, conversely, manifest as oil migrating outward into the brake drum or disc rotor assembly. If a truck is parked and you see a puddle forming directly behind the wheel hub, the wheel seal is compromised. Always inspect the axle shaft bearing journal for deep grooving; if the shaft is scored, a speedy sleeve or a replacement axle shaft is mandatory before installing the new seal.
Bearing Spalling and Cage Failure
If the differential fluid drained during teardown resembles metallic paint or contains visible brass flakes, the tapered roller bearings or the differential side gears are experiencing catastrophic spalling. Brass flakes specifically indicate cage wear or thrust washer degradation. In these scenarios, a simple seal replacement is insufficient; a full carrier and pinion bearing rebuild is required.
Expert Bearing and Seal Replacement Protocol
Executing a heavy-duty axle rebuild requires adherence to strict mechanical tolerances. Below is the professional protocol for replacing wheel bearings and pinion components.
1. Wheel End Rebuild and TMC RP-618 Compliance
For wheel bearing replacements (commonly utilizing Timken SET 401 or SET 403 kits, costing between $150 and $280 per wheel end), technicians must strictly follow the Technology & Maintenance Council (TMC) RP-618 recommended practice for wheel bearing adjustment.
- Clean and Inspect: Solvent-clean the bearings and cups. Inspect the hub bore for spinning bearings, which will require a new hub casting ($600-$1,200).
- Initial Torque: Tighten the inner adjusting nut to 200 lb-ft while rotating the hub to seat the rollers.
- Back-Off: Back off the inner nut by 1/4 to 1/2 turn (depending on the specific lock ring mechanism).
- Dial Indicator Verification: Mount a magnetic base dial indicator to the hub. Push and pull the hub assembly to measure endplay. The target endplay is strictly between 0.001" and 0.005". Anything tighter will cause bearing overheating and seal blowout; anything looser will cause wheel wobble and uneven tire wear.
2. Pinion Bearing Preload and Nut Torque
When replacing the pinion bearings and the pinion seal on a Dana S190 or Meritor MT-40, establishing the correct pinion bearing preload is non-negotiable. Using a collapsible spacer or precision shims, the pinion nut must be tightened until the rolling torque (measured with an inch-pound dial torque wrench on the pinion nut) reaches the manufacturer's specification. For most Class 8 axles, the target preload is 15 to 25 in-lbs for reused bearings, and 25 to 35 in-lbs for brand-new bearings.
Once preload is achieved, the final pinion nut torque is typically staggering—ranging from 450 to 600 lb-ft. This requires a heavy-duty 1-inch drive torque wrench or a specialized torque multiplier. Never use an impact wrench to establish final preload, as the kinetic energy will shatter the new bearing cages.
3. Seal Installation Best Practices
Whether installing an SKF 37352 wheel seal ($45-$75) or a Spicer pinion seal ($30-$50), the installation technique dictates the lifespan of the component.
Expert Tip: Never hammer a seal directly into the housing. Always use a machined aluminum or steel seal driver mandrel that matches the exact outer diameter of the seal case. Before installation, pack the sealing lip with high-temperature lithium-complex grease to prevent dry-start friction, which will burn the rubber lip within the first five miles of operation.
Post-Rebuild Refill: Why the Capacity Chart is Law
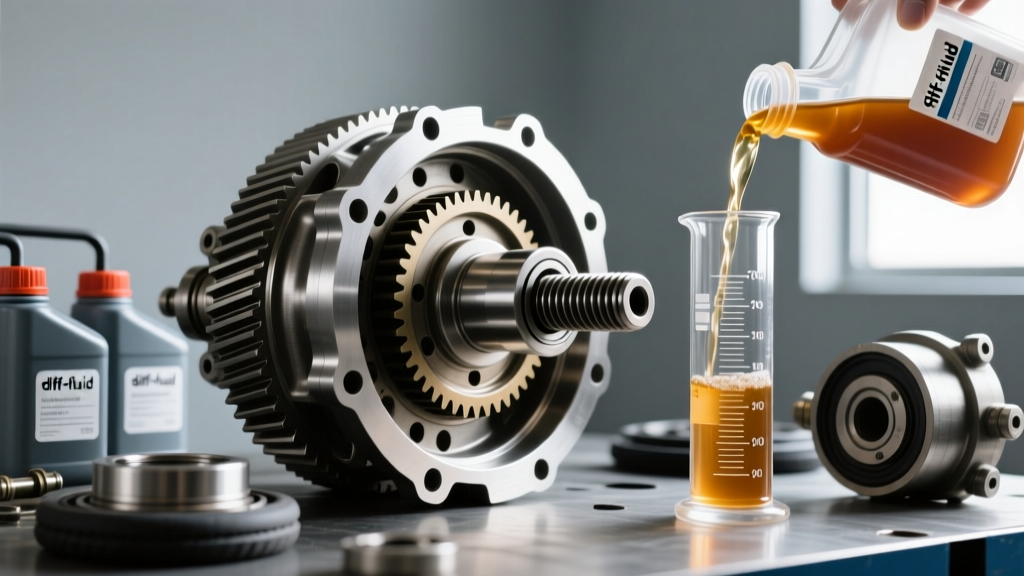
With the bearings preloaded, the seals driven, and the hubs reassembled, the final step is the fluid refill. This is where referencing your semi truck differential oil capacity chart becomes the ultimate safeguard for your warranty and your labor.
Modern heavy-duty differentials operate with tight internal clearances. If the chart specifies 16 quarts (32 pints) for a Meritor MT-40-14X, do not simply pour oil until it weeps out the fill plug. The fill plug is often located slightly above the true maximum dynamic fluid level to account for fluid displacement by the ring gear and pinion assembly. Overfilling by even two quarts can cause the churning ring gear to whip the synthetic oil into a foam. Aerated oil cannot maintain a hydrodynamic lubricating film, leading to immediate metal-on-metal contact and rapid thermal degradation. Furthermore, the thermal expansion of overfilled, aerated oil will spike internal crankcase pressure, forcing the fluid right back out of the brand-new wheel and pinion seals you just spent hours installing.
Measure the exact volume using a calibrated pneumatic fluid pump or a marked transfer jug. Fill to the exact specification on the chart, run the truck on a hoist for 10 minutes to circulate the oil into the axle tubes and bearing journals, shut it down, and recheck the level.
Sourcing OEM vs. Aftermarket Components
When sourcing parts for differential bearing and seal replacements, the heavy-duty aftermarket offers robust alternatives to OEM dealership parts. According to Dana Commercial Vehicle Service Manuals, utilizing matched sets of bearings and cups is mandatory. Never mix a Timken cone with an SKF cup; the micro-geometry of the roller contact angles will not align, resulting in catastrophic edge-loading and failure within 10,000 miles. Always purchase complete bearing kits (Cone + Cup) and opt for premium fluoroelastomer (FKM/Viton) lip seals, which offer vastly superior resistance to the extreme heat generated by modern high-efficiency synthetic gear oils compared to standard nitrile rubber.