The Ultimate Racing Clutch Selection Guide: Step-by-Step
When building a dedicated track car, time-attack machine, or high-powered street/strip build, the drivetrain is only as strong as its weakest link. For many enthusiasts navigating the 2026 track season, selecting a competition clutch stage 2 represents the ultimate sweet spot. It bridges the gap between the slip-prone nature of stock organic clutches and the unforgiving, on-off switch characteristics of full sintered multi-disc racing setups. However, simply buying a 'Stage 2' kit off the shelf is a recipe for chatter, premature wear, or catastrophic track failure.
This step-by-step racing clutch selection guide will walk you through the exact engineering metrics, material science, and installation specifications required to correctly size, select, and install a Stage 2 performance clutch for your specific application.
Step 1: Calculate True Flywheel Torque and Shock Loads
The most common mistake in clutch selection is rating the clutch to wheel horsepower (WHP) rather than flywheel torque, while ignoring shock loading. A Grassroots Motorsports tech study highlighted that drivetrain shock loads during aggressive, no-prep track launches can spike torque momentarily by 20% to 35% above peak engine output.
The Sizing Formula
To find your minimum required clutch torque rating:
- Calculate Flywheel Torque: Take your peak wheel torque and divide by 0.85 (assuming a standard 15% drivetrain loss for a RWD manual). Example: 450 lb-ft WTQ / 0.85 = 529 lb-ft at the flywheel.
- Apply the Shock Load Multiplier: Multiply the flywheel torque by 1.25 for drag racing or aggressive track launches. (529 x 1.25 = 661 lb-ft).
- Select the Rating: You need a competition clutch stage 2 rated for a minimum of 660 lb-ft to ensure the friction material does not glaze under peak transient spike loads.
Step 2: Decode Friction Materials for Stage 2 Applications
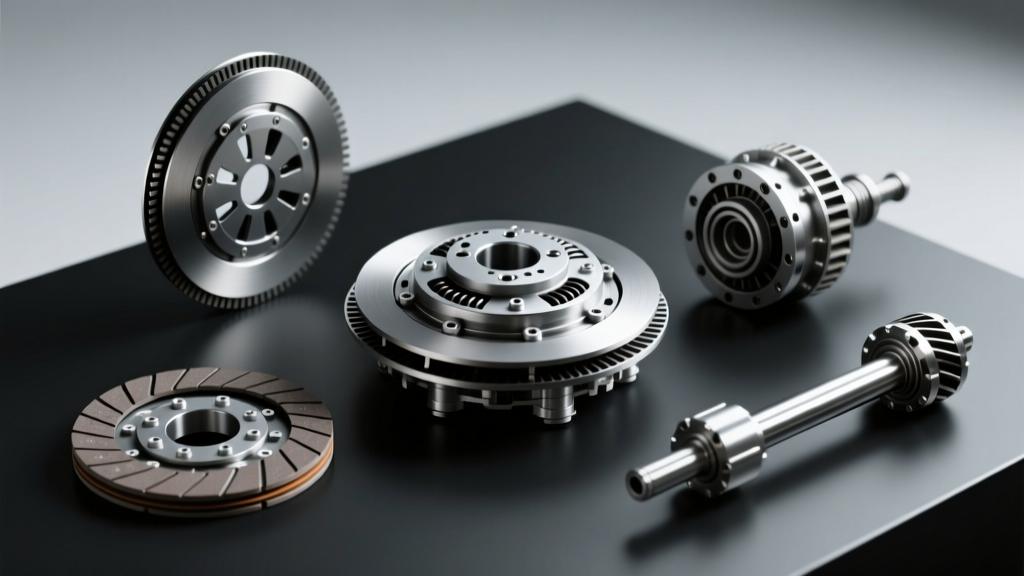
In the aftermarket industry, 'Stage 2' typically designates a high-clamp pressure plate paired with a full-face Kevlar, Carbon-Kevlar blend, or a 4-to-6 puck Cerametallic disc. Your choice of friction material dictates the clutch's thermal threshold and engagement modulation.
| Material Type | Coefficient of Friction (CoF) | Max Temp Threshold | Engagement Feel | Best Application |
|---|---|---|---|---|
| Full-Face Kevlar | 0.38 - 0.42 | 750°F | Smooth, linear bite | Time Attack, Road Racing, Drift |
| Carbon-Kevlar Blend | 0.40 - 0.45 | 900°F | Slightly aggressive | High-HP Street/Track Hybrids |
| 4-Puck Cerametallic | 0.48 - 0.52 | 1000°F+ | Abrupt, on/off switch | Drag Racing, Standing Mile |
Expert Insight: For road racing and time attack where left-foot braking and mid-corner modulation are required, a full-face Kevlar disc is mandatory. Puck-style cerametallic discs will cause severe drivetrain shock and tire lock-up during trail-braking downshifts.
Step 3: Match the Pressure Plate and Clamp Load
A competition clutch stage 2 relies heavily on increased clamp load to multiply the friction generated by the disc. Standard OEM diaphragm pressure plates exert between 1,800 and 2,400 lbs of clamp load. A Stage 2 Heavy Duty diaphragm unit typically pushes 2,800 to 3,400 lbs.
Diaphragm vs. Borg & Beck (Multi-Finger)
- Diaphragm Style: Ideal for dual-purpose cars. It offers progressive pedal feel and requires less hydraulic pressure. However, centrifugal force at high RPMs (above 7,500 RPM) can cause the diaphragm fingers to pull inward, slightly reducing clamp load.
- Borg & Beck (Lever Style): Used in dedicated racing. As RPM increases, centrifugal force pulls the levers outward, increasing clamp load dynamically. The tradeoff is a brutally heavy pedal that requires a heavily modified hydraulic master cylinder setup (e.g., upgrading to a 0.850" bore Tilton master cylinder).
Step 4: Select the Correct Flywheel Mass and MOI
Your clutch is only half of the friction assembly. The flywheel's Moment of Inertia (MOI) dictates how the engine responds to load. When stepping up to a Stage 2 racing clutch, pairing it with the correct flywheel is critical for drivability and launch control.
- 4340 Chromoly Steel (15-18 lbs): Retains enough rotational mass to pull the car out of slow corners on a road course without stalling. Highly recommended for Tremec T56 Magnum and Nissan CD009 transmissions in grip-racing applications.
- Billet Aluminum (9-11 lbs): Drastically reduces MOI, allowing the engine to rev and drop instantly. Essential for drag racing and sequential transmission swaps, but requires immense driver skill to launch from a standstill without burning the friction material.
Pro-Tip: Never pair an ultra-light aluminum flywheel with a 6-puck sintered iron disc for street use. The lack of rotational mass combined with the aggressive bite of the puck will cause uncontrollable clutch chatter, ultimately cracking the bell housing or transmission input shaft bearings.
Step 5: Precision Installation and Torque Specifications
Even the most expensive competition clutch stage 2 kit will fail if installation protocols are ignored. The mating surfaces, hardware, and clearances must be exact.
Machining and Surface Prep
Always install a new clutch on a fresh or freshly resurfaced flywheel. The surface finish (RA) should be between 16 and 32 micro-inches. Wipe the flywheel and pressure plate friction surfaces with acetone or brake cleaner to remove any shipping cosmoline or fingerprints. Oil contamination on a Kevlar disc will permanently ruin the friction matrix.
Hardware and Torque Specs
Do not reuse OEM flywheel or pressure plate bolts. According to ARP (Automotive Racing Products) engineering data, you must use high-tensile hardware and precise lubrication:
- Flywheel Bolts (ARP 2000 Series): For standard 3/8-24 threads, torque to 55 ft-lbs using ARP Ultra-Torque lubricant. For larger 1/2-20 threads (common on big-block V8s and diesel applications), torque to 110 ft-lbs.
- Pressure Plate Bolts: Typically 3/8-16 or 8mm x 1.25. Torque to 25-30 ft-lbs in a star pattern, applying a medium-strength thread locker (e.g., Loctite 243) to prevent backing out under high-frequency track vibrations.
- Release Bearing Clearance: This is the most missed step. You must maintain exactly 0.100" to 0.150" of air gap between the release bearing face and the pressure plate fingers. Zero clearance will cause the bearing to spin constantly, leading to catastrophic hydraulic failure and pressure plate overheating within a single track day.
Step 6: The Critical Bedding Procedure
A competition clutch stage 2 requires a meticulous bedding process to transfer a uniform layer of friction material onto the flywheel and pressure plate faces. Skipping this step will result in localized hot spots, judder, and a 40% reduction in overall torque capacity.
- Initial Heat Cycles (Miles 1-20): Drive in moderate traffic. Perform 10-15 gentle stop-and-go engagements from 30 mph in 3rd gear. Allow 30 seconds of cooling between each slip.
- Medium Load Bedding (Miles 20-50): Find an empty road. Accelerate to 50 mph in 3rd gear, and slip the clutch while applying moderate throttle to decelerate the car to 20 mph. Repeat 10 times. You will smell the clutch—this is the resin in the Kevlar/Ceramic matrix curing and is completely normal.
- Cool Down: Park the vehicle and allow the drivetrain to cool completely to ambient temperature (minimum 4 hours). Do not engage the parking brake while the clutch and flywheel are hot, as the heat can transfer to the rear brakes and warp the rotors.
Final Thoughts on Stage 2 Selection
Selecting the right competition clutch stage 2 is an exercise in balancing physics, material science, and driver intent. By accurately calculating your shock-loaded flywheel torque, choosing a friction material that matches your racing discipline, and adhering to strict installation torque specs, you ensure your drivetrain will hook off the line and survive the rigors of the 2026 racing season. For further reading on drivetrain dynamics and transmission limits, consult the engineering resources available at Tremec to ensure your gearbox can handle the torque your new clutch will transmit.