As we navigate the 2026 classic car landscape, the Honda S2000 (AP1 and AP2) continues to be a benchmark for high-revving analog driving. However, as these vehicles cross the 20-year mark, hydraulic clutch system degradation becomes a primary culprit for drivetrain complaints. If you are experiencing notchy shifts, gear crunch, or a spongy pedal, your S2000 clutch fluid is the first place to look.
This beginner-friendly explainer will demystify clutch engagement and disengagement issues specific to the F20C and F22C1 6-speed manual transmissions, providing exact part numbers, torque specifications, and diagnostic frameworks to get your roadster shifting flawlessly again.
Why Degraded S2000 Clutch Fluid Ruins Engagement
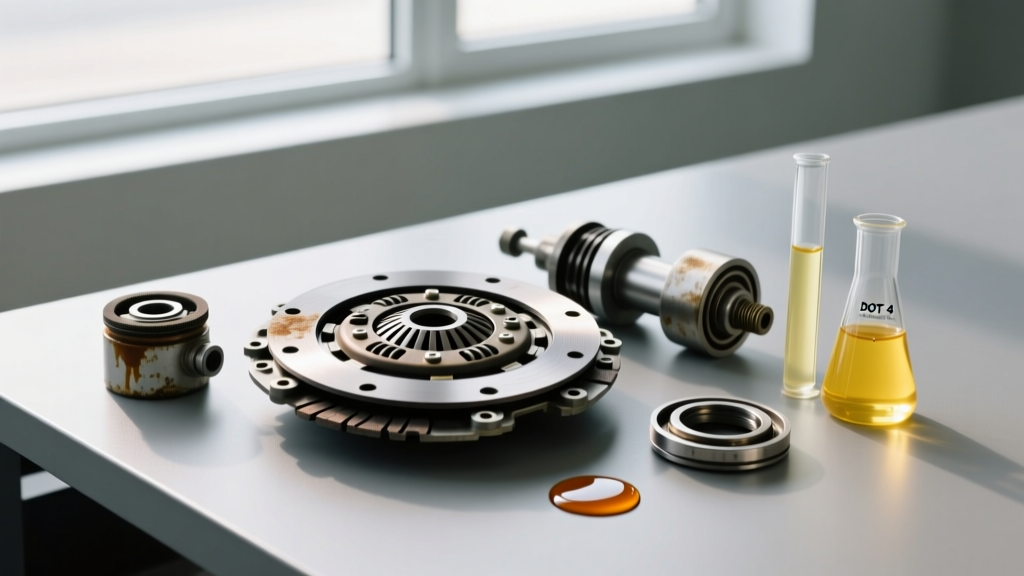
The Honda S2000 utilizes a shared hydraulic reservoir for both the brake master cylinder and the clutch master cylinder (CMC). The factory-recommended fluid is Honda Heavy Duty DOT 3. Like all glycol-based brake fluids, DOT 3 and DOT 4 are highly hygroscopic, meaning they actively absorb moisture from the atmosphere through microscopic pores in the rubber hydraulic lines and reservoir cap diaphragm.
When water contaminates your S2000 clutch fluid, two critical failures occur:
- Lowered Boiling Point: Water boils at 212°F (100°C). Under the high heat of the S2000 engine bay, contaminated fluid can vaporize, creating compressible gas bubbles in the line. This results in a spongy pedal and incomplete clutch disengagement.
- Internal Seal Degradation: Moisture-laden fluid causes the internal rubber cups inside the CMC and the clutch slave cylinder to swell, harden, and eventually bypass fluid. This leads to the dreaded 'pedal to the floor' symptom.
Diagnosing S2000 Disengagement Symptoms
Before ordering replacement parts from Honda Parts Now, you must accurately diagnose whether your engagement issue is hydraulic or mechanical. Here is a diagnostic framework for the most common F20C/F22C1 shifting complaints:
1. Crunching Into Reverse or 1st Gear
If the transmission grinds when shifting into reverse from a standstill, the clutch is not fully disengaging. The input shaft is still spinning due to incomplete hydraulic separation. This is almost always caused by air in the hydraulic line or a failing slave cylinder.
2. Notchy 1st-to-2nd Gear Shifts (The AP2 Syndrome)
The AP2 (2004-2009) is notorious for stiff 1st-to-2nd shifts when cold. While part of this is due to thicker factory gear oil and tighter synchro tolerances, a restricted hydraulic flow exacerbates the issue. If the clutch delay valve (CDV) is intact and the fluid is old, the clutch engages too slowly, causing synchro clash.
3. Pedal Sticking to the Floor
If you press the clutch pedal and it fails to return, the internal seals of the CMC have bypassed, or the slave cylinder is leaking externally onto the transmission bell housing. Inspect the rubber boot on the slave cylinder; if it is wet with fluid, replacement is mandatory.
The Clutch Delay Valve (CDV) Factor
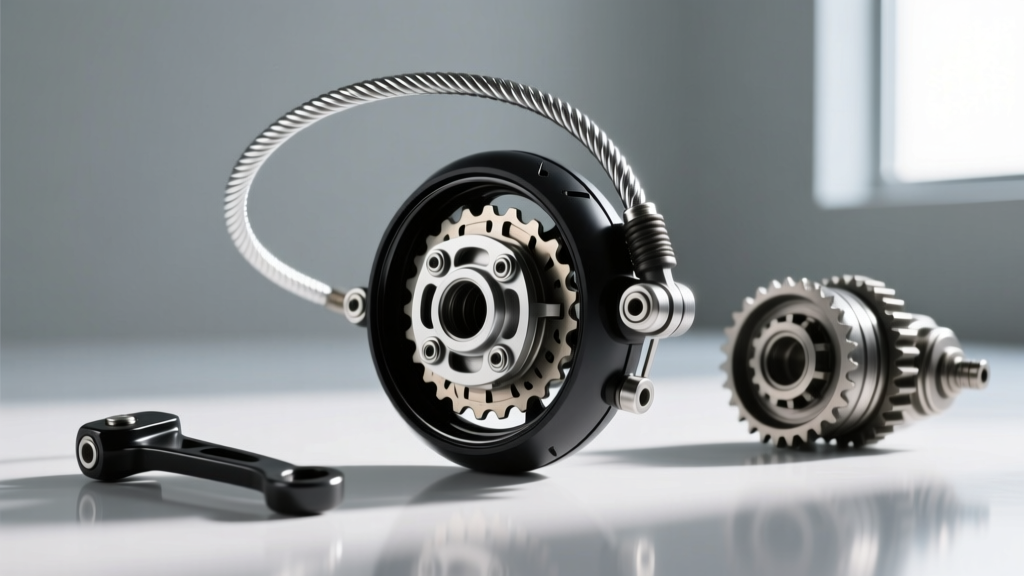
Introduced primarily to smooth out shifts for novice drivers and reduce drivetrain shock, the Clutch Delay Valve is a small restriction orifice located inside the flexible hydraulic hose connecting the hard line to the slave cylinder. While it makes engagement softer, it artificially slows down the hydraulic fluid flow, leading to delayed disengagement and increased synchro wear during fast shifts.
Many S2000 owners opt for a CDV delete. By replacing the factory delay hose with a standard, unrestricted braided stainless steel clutch line, hydraulic flow is unimpeded, resulting in instantaneous clutch engagement and vastly improved shift feel. You can read extensive community consensus on CDV deletes at the S2Ki Basic Technical Forums.
S2000 Clutch Fluid Comparison Chart
Choosing the right fluid is critical. While Honda specifies DOT 3, upgrading to a high-quality DOT 4 offers better thermal stability and a higher boiling point without damaging the factory S2000 rubber seals. Avoid DOT 5 (Silicone-based), as it will destroy the Honda hydraulic seals.
| Fluid Type | Dry Boiling Point | Wet Boiling Point | Avg. Price (1L) | Best Use Case |
|---|---|---|---|---|
| Honda Heavy Duty (DOT 3) | 401°F (205°C) | 284°F (140°C) | $12 - $15 | Strict OEM Restoration |
| ATE Original TYP 200 (DOT 4) | 536°F (280°C) | 392°F (200°C) | $22 - $28 | Street / Canyon Carving |
| Motul RBF 600 (DOT 4) | 594°F (312°C) | 421°F (216°C) | $35 - $45 | Track Days / Autocross |
Note: High-performance racing fluids like Motul RBF 600 absorb moisture faster than standard DOT 4 and require bleeding every 6 months. For a weekend-driven S2000, ATE TYP 200 is the optimal choice for longevity and performance.
Step-by-Step S2000 Clutch Bleeding Procedure
Flushing your S2000 clutch fluid is a straightforward task that requires basic hand tools. Because the clutch slave cylinder is the lowest point in the shared hydraulic system, air naturally migrates here.
Required Tools and Parts
- 10mm box-end wrench (for the slave bleed nipple)
- Vacuum bleeder or a helper for manual pumping
- 500ml of fresh ATE DOT 4 fluid
- Catch bottle and clear vinyl tubing
The Bleeding Process
- Prep the Reservoir: Use a turkey baster to extract the old fluid from the shared brake/clutch master cylinder reservoir. Refill with fresh DOT 4 fluid to the MAX line. Never let the reservoir run dry during this process, or you will introduce air into the ABS module.
- Locate the Slave Cylinder: Jack up the driver’s side and remove the front wheel. The clutch slave cylinder is mounted on the front of the transmission bell housing.
- Attach the Bleeder Hose: Remove the rubber dust cap from the 10mm bleed nipple. Attach your clear vinyl tubing and route it into a catch bottle.
- Crack the Nipple: Using the 10mm wrench, open the nipple about one-half turn. If using a vacuum bleeder, pull the fluid through until it runs completely clear and free of micro-bubbles. If pumping manually, have your helper press the clutch pedal to the floor, hold it, close the nipple, and then release the pedal. Repeat 15-20 times.
- Torque and Clean: Once the fluid is pristine, tighten the bleed nipple. CRITICAL: The bleed nipple is hollow and fragile. Torque it to exactly 5 to 7 lb-ft (7-9 Nm). Over-torquing will snap the nipple inside the slave cylinder, forcing a full replacement. Reinstall the dust cap and top off the master reservoir.
Advanced AP2 Diagnosis: CMC Pushrod Adjustment
If you have bled the system, installed fresh fluid, and removed the CDV, but the clutch still drags or fails to disengage fully, the issue may lie in the Clutch Master Cylinder pushrod adjustment. This is a highly specific AP2 quirk that many general mechanics miss.
The pushrod connects the clutch pedal arm to the CMC piston. If the pushrod is adjusted too tightly (zero clearance), the CMC piston is held slightly depressed even when your foot is off the pedal. This covers the internal fluid return port. As the fluid heats up and expands in the engine bay, it has nowhere to go, resulting in hydraulic pressure that partially engages the clutch, causing massive friction disc wear and gear crunch.
How to Check Pushrod Clearance
- Locate the CMC under the dashboard, attached to the clutch pedal.
- Loosen the 11mm locknut on the pushrod.
- Adjust the pushrod length until there is a slight free-play of 0.04mm to 0.08mm between the pushrod tip and the CMC piston.
- Tighten the 11mm locknut to 7 lb-ft (10 Nm).
When to Replace the CMC and Slave Cylinder
Fluid and adjustments cannot cure physical wear. If the CMC is leaking internally (fluid bypassing into the boot) or the slave cylinder is weeping, replacement is required. Stick to OEM Honda components for the best pedal feel and longevity; aftermarket cylinders often suffer from incorrect bore sizing or poor seal materials.
- AP1 Clutch Master Cylinder: 46920-S2A-005 (Approx. $95)
- AP2 Clutch Master Cylinder: 46920-S2A-015 (Approx. $110)
- Clutch Slave Cylinder (All Years): 46930-S2A-005 (Approx. $85)
Installation Torque Specs: When installing the new slave cylinder, the two 8mm mounting bolts must be torqued to 16 lb-ft (22 Nm). Ensure the pushrod ball seats correctly into the clutch fork dimple before tightening.
Final Thoughts on S2000 Maintenance
Maintaining pristine S2000 clutch fluid is one of the cheapest and most effective ways to preserve the legendary F20C and F22C1 driving experience. By understanding the hygroscopic nature of DOT fluids, addressing the CDV restriction, and verifying CMC pushrod clearances, you can eliminate engagement issues and ensure razor-sharp shifts for decades to come. For more deep-dive transmission diagnostics and OEM torque specs, consult the factory service manual or trusted community archives and ATE Brakes Technical Documentation.