The Hidden Financial Toll of Improper Road King Clutch Cable Routing
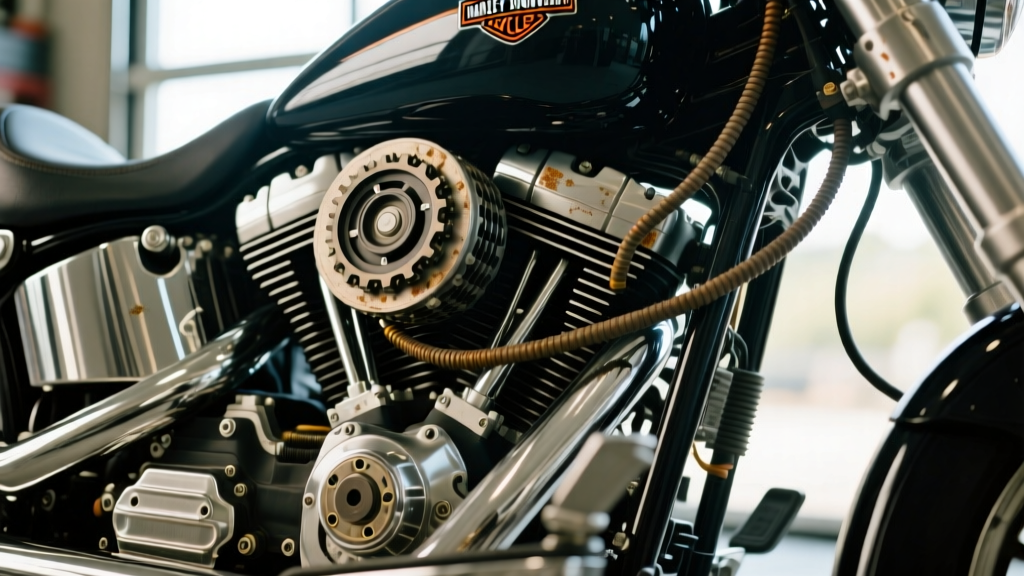
Replacing a clutch cable on a Harley-Davidson Road King (FLHR) is a routine maintenance task, but incorrect road king clutch cable routing is a leading cause of severe post-repair clutch failure. When a new cable is zip-tied too tightly to the frame downtube, routed dangerously close to the exhaust headers, or lacks the necessary slack for full lock-to-lock steering, it creates parasitic tension on the clutch release mechanism. What begins as a simple $80 cable replacement can rapidly cascade into a $700+ primary chaincase teardown if the resulting clutch slip goes undiagnosed.
From a cost analysis perspective, understanding the mechanical domino effect of a poorly routed cable is essential for both DIY mechanics and shop owners. In 2026, with labor rates at independent Harley specialists averaging $125 to $165 per hour, misdiagnosing a routing issue as a worn clutch pack will result in unnecessary parts replacement and comebacks. This guide breaks down the exact symptoms of post-repair routing failures, the financial impact of secondary damage, and the precise specifications required to fix the job right the first time.
The Mechanics of Post-Repair Clutch Slip and Drag
To understand the cost implications, we must first look at the mechanical interaction between the cable and the transmission mainshaft. The Road King utilizes a diaphragm spring clutch pack housed within the primary chaincase. The clutch cable pulls a release lever that pushes a bearing against the clutch pressure plate.
If the road king clutch cable routing forces a sharp bend near the steering neck or binds against the voltage regulator bracket, turning the handlebars to the left (a common occurrence during highway sweepers or low-speed U-turns) pulls the cable taut. This unintended tension actuates the release lever by 1 to 2 millimeters. While this may not fully disengage the clutch, it drastically reduces the clamping force on the friction plates. Under the 90 to 120 lb-ft of torque generated by a Twin Cam 103 or Milwaukee-Eight 114 engine, the friction plates slip. This slip generates localized temperatures exceeding 400°F, rapidly glazing the organic or Kevlar friction material and warping the steel separator plates.
Diagnostic Checklist for Post-Replacement Symptoms
If a customer returns to the shop—or if you finish a weekend wrenching session only to find the bike behaving poorly—run through this diagnostic checklist before ordering new clutch plates:
- The Left-Lock Rev Test: Put the bike in neutral, start the engine, and turn the handlebars to full left lock. Blip the throttle. If the RPMs hang or you hear a faint grinding from the primary, the cable is binding and pulling the clutch release lever.
- Free Play Measurement: Measure the free play at the clutch lever. It should be exactly 1/16-inch to 1/8-inch. If the free play disappears when the suspension is fully extended or the bars are turned, the routing is too tight.
- Lower Cable Housing Inspection: Inspect where the cable enters the transmission clutch release cover. A poorly routed cable will chafe against the primary chaincase or frame, often tearing the outer rubber sheath within the first 500 miles.
- Clutch Drag (Hard Shifting): If the cable was routed with excessive loops to 'save' length, the internal wire may be binding inside the Teflon liner, preventing the clutch from fully engaging when the lever is pulled, leading to grinding gears when shifting into first.
2026 Cost Breakdown: Fixing Botched Clutch Cable Repairs
When improper routing leads to secondary damage, the repair costs multiply exponentially. Below is a real-world cost analysis comparing a standard cable replacement against the costs incurred when a botched routing job destroys the clutch pack and release bearing.
| Repair Scenario | Parts Required (OEM/Premium) | Estimated Parts Cost | Labor Hours (Book Time) | Total Cost (at $145/hr) |
|---|---|---|---|---|
| Scenario A: Correct Cable Replacement | OEM Clutch Cable, Primary Gasket, 1qt Syn3 Fluid | $115.00 | 1.2 Hours | $289.00 |
| Scenario B: Glazed Clutch Pack (Due to Slip) | Friction Plates, Steel Plates, Diaphragm Spring, Cable | $340.00 | 2.8 Hours | $746.00 |
| Scenario C: Mainshaft & Bearing Damage (Severe Drag) | Clutch Hub, Release Bearing, Mainshaft Repair, Cable | $680.00 | 5.5 Hours | $1,477.50 |
Note: Prices reflect 2026 average retail pricing for premium aftermarket and OEM components. Labor rates vary by region and dealership vs. independent shop status.
OEM vs. Aftermarket: Part Numbers and Pricing Analysis
When rectifying a botched repair, selecting the correct replacement cable is vital. The inner wire must be able to withstand high tensile loads without stretching, and the outer jacket must resist the radiant heat of the Road King's exhaust headers.
- Harley-Davidson OEM (Part #37735-10C / Updated M8 Equivalents): Priced between $75 and $95. The OEM cable features a precise factory length and standard Teflon lining. It is highly reliable but offers minimal margin for routing errors due to its exact-fit design.
- Barnett Platinum Series (e.g., Part #101-30-10042): Priced between $110 and $140. Barnett uses a braided stainless steel inner wire and a high-tensile strength outer casing. According to Barnett Clutches, their Platinum series offers superior fatigue resistance, making it an excellent choice for riders who run aggressive handlebar setups (like Ape Hangers) where custom routing is mandatory.
- Drag Specialties / Budget Alternatives: Priced around $45 to $60. While cost-effective upfront, budget cables often suffer from internal fraying and housing compression, which mimics the symptoms of poor routing even when installed perfectly.
Step-by-Step Routing Specs & Torque Requirements
To avoid the catastrophic costs outlined in Scenario B and C, the road king clutch cable routing must follow strict geometric and mechanical guidelines. The goal is to create a smooth, sweeping arc that accommodates steering, suspension travel, and engine vibration without transferring tension to the release lever.
The Golden Rule of Touring Cable Routing: The cable must pass behind the fork slider and in front of the frame downtube, secured only at the factory-molded rubber grommets. Never use zip-ties to pull the cable taut against the frame; the cable must be allowed to float and self-center during suspension compression.
Critical Torque Specifications & Fluid Capacities
Once the cable is routed and the primary chaincase is opened to inspect for collateral damage, reassembly requires precise torque values to prevent primary fluid leaks and clutch hub failure.
- Clutch Hub Nut: 70-80 ft-lbs. Must be secured with Red Loctite (Threadlocker 271). A loose hub nut will destroy the transmission mainshaft splines, pushing the repair into Scenario C.
- Primary Chaincase Cover Bolts: 84-108 in-lbs (7-9 ft-lbs). Do not overtighten; the aluminum primary cover warps easily, leading to persistent Syn3 leaks.
- Derby Cover Screws: 84-120 in-lbs.
- Primary Fluid Capacity: Twin Cam 103 models typically require 32 oz of Formula+ or Syn3. Milwaukee-Eight (M8) Softail and Touring models often require 38 oz. Always fill until the fluid level reaches the bottom of the clutch diaphragm spring when the bike is standing perfectly upright.
When to Replace the Entire Clutch Assembly
How do you know if the post-repair slip has permanently ruined the clutch pack? If the bike was ridden for more than 50 miles with a binding cable, the friction plates are likely glazed. You can verify this by removing the derby cover and inspecting the outer friction plate. If the material appears shiny, glass-like, or has a burnt odor, the porous surface has melted and sealed. No amount of cable adjustment will restore friction.
Furthermore, check the clutch release bearing. If the cable was pulling constantly, the bearing may have been spinning against the pressure plate continuously, generating enough heat to melt the bearing seal and destroy the needle rollers. As noted in extensive diagnostic threads on HDForums, a melted release bearing will cause a distinct 'whirring' noise from the primary that changes pitch with engine RPM, regardless of clutch lever position.
Final Cost-Saving Takeaways
The financial difference between a successful clutch cable replacement and a catastrophic post-repair failure lies entirely in the routing. By investing an extra 20 minutes to perform the left-lock test, verifying the 1/8-inch free play at the lever, and ensuring the cable sweeps cleanly away from the exhaust and steering stops, you protect the $400 clutch pack and the $1,000+ transmission mainshaft. Always prioritize premium cables with high-tensile inner wires, and never use tension to force a cable into a zip-tie mount. Proper routing is not just a mechanical requirement; it is the ultimate cost-saving diagnostic tool in the Harley-Davidson drivetrain ecosystem.