Introduction: The Heart of Your AWD Drivetrain
When enthusiasts talk about all-wheel-drive (AWD) and four-wheel-drive (4WD) systems, the torsen center differential often steals the spotlight. Famous for its torque-sensing mechanical grip, the Torsen unit is a marvel of engineering found in iconic vehicles ranging from the Audi Quattro to the GM Hummer H3. However, the Torsen is only one piece of the puzzle. The rotational force it so brilliantly distributes must eventually be redirected 90 degrees to your wheels. This is where the ring and pinion gear setup comes into play.
For beginners stepping into the world of drivetrain rebuilding, understanding how your axle's ring and pinion interacts with the upstream Torsen center differential is critical. More importantly, knowing how to properly set up the gear mesh, apply the correct torque specs, and select the right differential break-in fluid will dictate whether your rig survives its first off-road excursion or turns its gear oil into a glittery, metallic soup.
How the Torsen Center Differential Feeds the Ring and Pinion
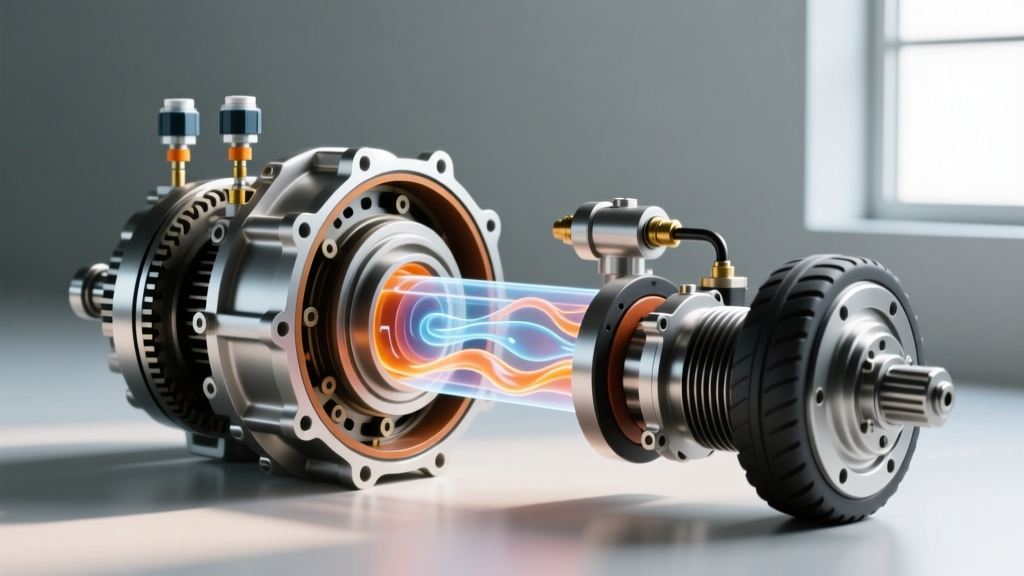
A Torsen (Torque-Sensing) center differential utilizes complex worm and spur gear sets to automatically bias torque to the axle with the most traction, without the need for electronic clutches or viscous fluids. When the Torsen sends power down the driveshaft, it hits the pinion gear of your front or rear axle.
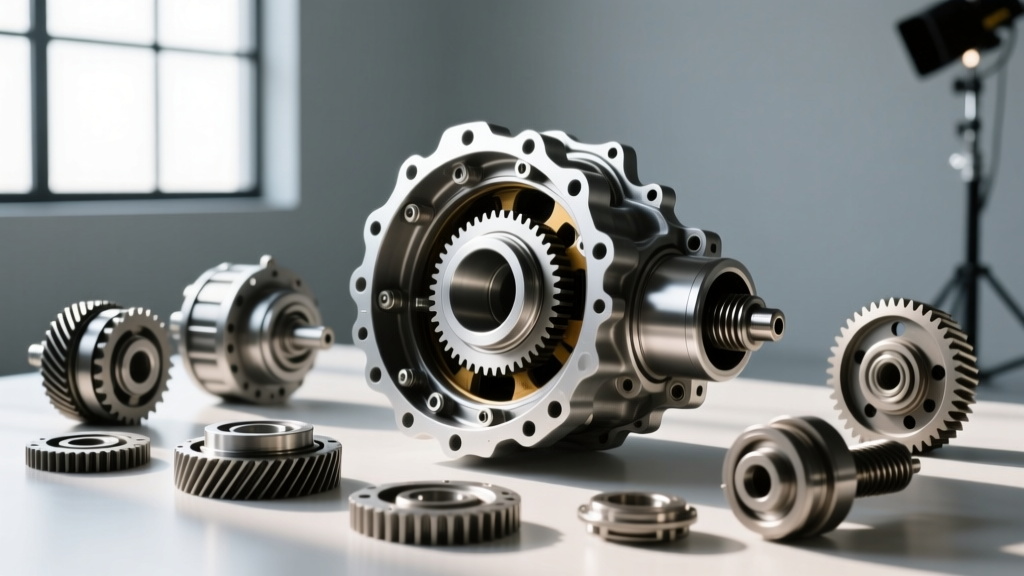
The pinion gear meshes with the much larger ring gear, which is bolted to the differential carrier. This setup accomplishes two things:
- Directional Change: It turns the longitudinal rotation of the driveshaft into lateral rotation for the axle shafts.
- Final Drive Reduction: It multiplies torque. A 4.10:1 gear ratio means the pinion must turn 4.1 times to turn the ring gear once, providing massive mechanical leverage for crawling and towing.
Because the Torsen center differential can instantly multiply torque bias (often up to 3:1 or 4:1 depending on the T1, T2, or T3 model), the downstream ring and pinion gears endure immense shock loads. A flawless ring and pinion gear setup is non-negotiable to handle this stress.
The 4 Pillars of Ring and Pinion Gear Setup
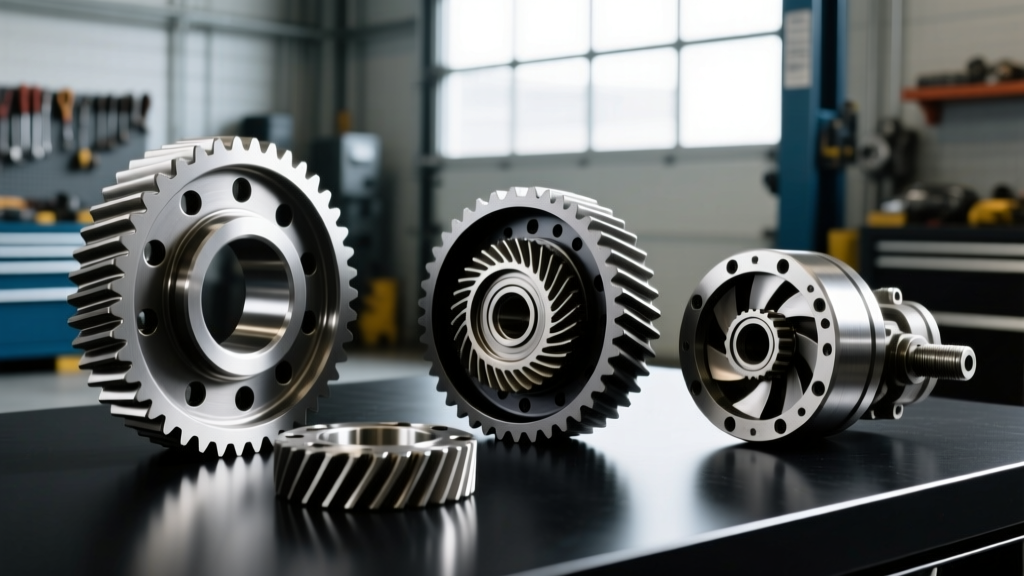
Setting up a hypoid ring and pinion gear set is an exercise in precision. According to the master technicians at 4WD Mechanix, you are balancing four interdependent measurements. Change one, and you affect the others.
1. Pinion Depth
Pinion depth dictates how far the pinion gear protrudes into the center of the ring gear. This is adjusted using shims placed behind the inner pinion bearing. If the depth is incorrect, the gears will whine, overheat, and prematurely fail. Target depth is usually stamped on the face of the pinion gear (e.g., '+2' or '-1'), indicating the variance from the factory nominal block distance.
2. Backlash
Backlash is the amount of rotational 'slop' or clearance between the leading edge of the ring gear tooth and the trailing edge of the pinion gear tooth. Measured in thousandths of an inch using a dial indicator, typical backlash specifications range from 0.006" to 0.010". Too tight, and the gears will bind and overheat; too loose, and they will clunk and chip under the heavy torque loads generated by your Torsen center differential.
3. Bearing Preload
Pinion bearing preload ensures the pinion gear remains rigid under load. This is achieved by crushing a steel sleeve (or using a solid spacer kit) between the inner and outer pinion bearings. You must use an inch-pound torque wrench to measure rotating torque. A typical setup requires 12 to 14 inch-pounds of rotating torque for new bearings.
4. The Gear Contact Pattern
Using a yellow gear marking compound painted onto the ring gear teeth, you can visually verify your setup. The pattern reveals how the load is distributed across the tooth face.
Pro-Tip for Beginners: Always use 'setup bearings' during the trial phase. These are standard bearings that have been honed out slightly (by about 0.001") so they can be slipped on and off the pinion shaft by hand, saving you from pressing and pulling final bearings a dozen times while chasing the perfect pattern. Suppliers like Randys Worldwide carry these specifically for this purpose.
Target Specifications for Common Axles
While every manufacturer has specific tolerances, here is a baseline reference chart for popular solid axles often paired with Torsen-equipped transfer cases and transaxles.
| Axle Model | Target Backlash | Pinion Rotating Torque (New Bearings) | Ring Gear Bolt Torque |
|---|---|---|---|
| Ford 8.8" | 0.008" - 0.012" | 8 - 14 in-lbs | 70 - 85 lb-ft (with Loctite 242) |
| Dana 44 | 0.006" - 0.010" | 14 - 19 in-lbs | 55 - 65 lb-ft (with Loctite 242) |
| GM 10-Bolt (8.5") | 0.006" - 0.010" | 12 - 16 in-lbs | 70 - 85 lb-ft (with Loctite 242) |
| Toyota 8" (V6) | 0.005" - 0.009" | 10 - 15 in-lbs | 75 - 85 lb-ft (with Loctite 271) |
Decoding the Gear Pattern: Face, Flank, Heel, and Toe
Reading the marking compound is where the art meets the science. A hypoid gear tooth is divided into four zones:
- Face: The top land of the tooth (near the outer edge of the ring gear).
- Flank: The bottom land of the tooth (near the root).
- Heel: The inner edge of the tooth (closest to the center of the carrier).
- Toe: The outer edge of the tooth (closest to the ring gear bolts).
Pinion Depth primarily moves the pattern between the Face and the Flank. If the pattern is too high on the Face, the pinion is too far away; you must add shims to increase pinion depth. If it's heavy on the Flank, the pinion is too deep; remove shims.
Backlash primarily shifts the pattern between the Heel and the Toe. Adjusting the side carrier shims to tighten or loosen backlash will center the pattern horizontally across the tooth.
The 'Diff-Fluid' Connection: Break-In and Gear Oil Selection
Because this guide falls under differential fluid maintenance, we must address the most critical post-setup step: the break-in procedure and fluid selection. The Torsen center differential and your newly set up ring and pinion have vastly different lubrication needs during the first 500 miles.
Why Conventional Oil Wins the Break-In Phase
While full-synthetic 75W-90 GL-5 fluids are the gold standard for long-term drivetrain health, they are often too slippery for the initial break-in of a new ring and pinion. The extreme pressure (EP) additives and synthetic base stocks can prevent the microscopic high spots on the hypoid gears from wearing into each other smoothly. This leads to glazing, excessive heat, and permanent gear whine.
According to AMSOIL Technical Guides and veteran drivetrain builders, you should use a high-quality, conventional 80W-90 API GL-5 gear oil for the first 500 miles. The conventional base stock provides the exact amount of controlled friction required to lap the gears together perfectly.
Friction Modifiers: To Add or Not to Add?
This is where the Torsen center differential and your axle differential diverge:
- Torsen Center Differential: Torsen units rely on worm gear friction to bias torque. They do not use clutch packs. Therefore, you should NEVER add limited-slip friction modifiers to a Torsen center diff. Doing so will reduce the internal friction required for the torque-sensing mechanism to work, effectively turning it into an open differential.
- Clutch-Type Axle LSDs: If your rear axle features a clutch-type limited-slip differential (like a Ford Trac-Lok or Auburn LSD), you MUST add a friction modifier (usually 4 oz of LSD additive) to the axle gear oil to prevent chatter during low-speed cornering.
- Torsen Axle LSDs: If your axle also uses a Torsen unit (e.g., Torsen T-2 rear), treat it just like the center diff: pure GL-5, no friction modifiers.
The 500-Mile Break-In Protocol
- Fill the axle with conventional 80W-90 GL-5 gear oil to the bottom of the fill plug.
- Drive the vehicle for 15-20 minutes at varying speeds (under 50 mph) to bring the fluid to operating temperature.
- Allow the differential to cool completely (at least 8 hours). This heat-cycling process helps the gear oil penetrate the microscopic pores of the cast iron or steel carrier.
- Repeat this heat-cycle process 3 to 4 times over the first 500 miles.
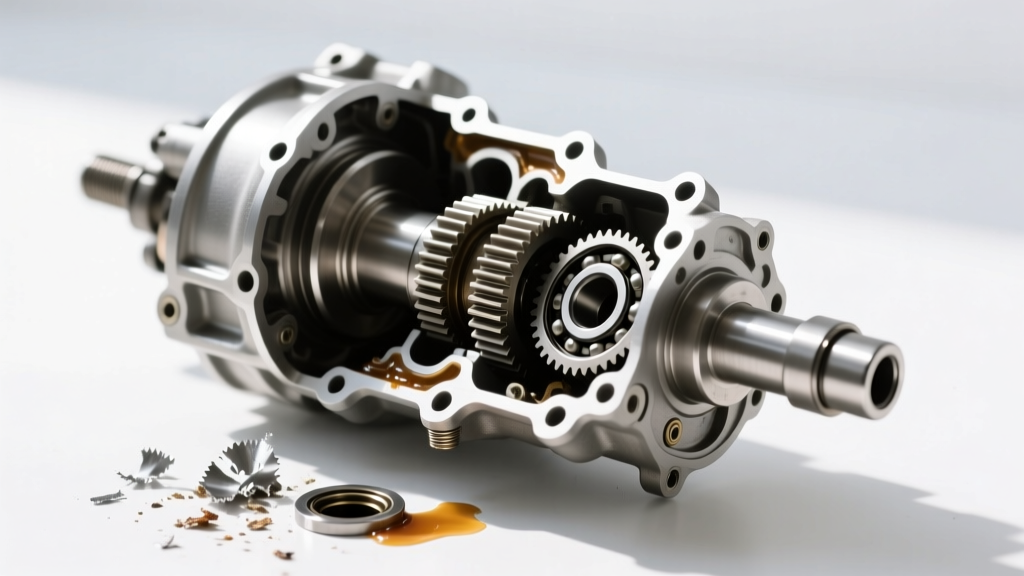
- Drain the break-in fluid. Expect it to look dark and slightly metallic; this is normal as the gears lap together.
- Refill with your preferred full-synthetic 75W-90 GL-5 gear oil for long-term protection, especially if your Torsen center differential is feeding heavy towing loads or aggressive off-road crawling into the axle.
Common Beginner Mistakes to Avoid
Even with a basic understanding of the Torsen center differential and ring and pinion dynamics, beginners often fall into a few costly traps:
- Reusing Ring Gear Bolts: Ring gear bolts endure massive shear forces. Always use new, high-grade (Grade 8 or 10.9) bolts and apply a medium-strength threadlocker like Loctite 242. Torque them in a crisscross pattern to ensure the ring gear seats perfectly flat against the carrier.
- Using a Foot-Pound Torque Wrench for Preload: Pinion bearing preload is measured in inch-pounds. Using a standard 1/2" drive foot-pound wrench will result in massive over-tightening, instantly destroying your new pinion bearings.
- Ignoring the Crush Sleeve: If you over-tighten a standard crush sleeve, you cannot simply back the pinion nut off to reduce preload. The sleeve is permanently deformed. You must remove the pinion, replace the sleeve, and start the preload process over. Many builders opt for a solid pinion spacer kit (like those from Ratech) which uses shims to set preload, eliminating the guesswork and risk of over-crushing.
Conclusion
Pairing a highly capable Torsen center differential with a meticulously set up ring and pinion gear set creates a drivetrain that is both resilient and responsive. While the setup process demands patience, specialized tools, and a strict adherence to torque and fluid specifications, the reward is a whisper-quiet axle capable of handling immense torque bias. By respecting the 4 pillars of gear setup, reading the contact pattern accurately, and following a strict conventional-fluid break-in protocol, even a beginner can achieve professional-grade drivetrain reliability.