The Psychology of Gear Mesh: A Beginner's Guide to Ring and Pinion Setup
Setting up a ring and pinion gear set is often viewed as dark magic by novice gearheads. You are dealing with tolerances measured in thousandths of an inch, massive torque values, and a symphony of shims and bearings. However, mastering this process does not require decades of apprenticeship; it requires a structured diagnostic mindset.
In psychometrics and survey research, a semantic differential question is a tool used to measure the connotative meaning of a concept by asking respondents to rate it between two bipolar adjectives (e.g., 'Good' vs. 'Bad' or 'Hot' vs. 'Cold'). In the drivetrain world, master technicians use a mechanical equivalent of the semantic differential question to isolate ring and pinion setup errors. Instead of asking a customer to vaguely describe a noise, the tech asks bipolar diagnostic questions: Is the noise happening on Drive or Coast? Is it a Whine or a Clunk?
This binary diagnostic framework strips away the guesswork. By the end of this guide, you will understand how to set pinion depth, adjust backlash, read gear patterns, and select the correct differential fluid for break-in and longevity, all while using the semantic differential method to verify your work.
The Semantic Differential Noise Matrix
Before you turn a single wrench, you must understand what the gears are trying to tell you. When testing a freshly assembled differential—or diagnosing a customer's complaint—you apply the semantic differential question to the auditory feedback. Here is how those bipolar answers map directly to your physical setup errors.
| Bipolar Condition A | Bipolar Condition B | Root Cause & Setup Error |
|---|---|---|
| Whine (Pitch changes with speed) | Clunk (Metallic impact on load) | Whine indicates improper pinion depth or gear mismatch. Clunk indicates excessive backlash or worn cross-pins. |
| Drive (Accelerating) | Coast (Decelerating) | Drive noise usually means the pinion is too far from the ring gear. Coast noise means the pinion is too deep. |
| Turn (Loaded cornering) | Straight (Highway cruising) | Turn noise points to carrier bearing preload issues or side gear/thrust washer wear, not necessarily the ring and pinion. |
By forcing the noise into one of these binary categories, you immediately know which shim pack to adjust. For more in-depth acoustic diagnostics, reference the engineering guides provided by Yukon Gear & Axle.
The Holy Trinity of Setup: Depth, Backlash, and Pattern
A successful ring and pinion setup relies on three interdependent variables. Changing one affects the others. Always follow this exact sequence.
1. Pinion Depth (The Foundation)
Pinion depth dictates how far the pinion gear sits into the ring gear. This is controlled by a shim (or a machined spacer) located between the pinion bearing and the pinion head. Most aftermarket gears feature a machined number on the pinion head (e.g., '+0.002'). This means the pinion requires 0.002 inches more depth than the factory baseline.
- Tooling: Do not guess. Use a dedicated pinion depth setting tool like the OTC 7198 or Lisle 74050 (approx. $150-$200). These tools use a master bearing and a dial indicator to measure exact depth relative to the carrier bearing centerline.
- Edge Case: If you are reusing OEM bearings, remember that pressed-on bearings can slightly alter depth. Always use setup bearings (bearings with slightly enlarged inner bores) that slip on and off by hand during the mocking-up phase.
2. Backlash (The Breathing Room)
Backlash is the rotational play between the ring and pinion teeth. If it is too tight, the gears will bind and overheat. If it is too loose, the gears will clunk and chip under load.
- Target Spec: Most street-driven differentials (like the GM 8.5-inch 10-bolt or Ford 8.8-inch) require between 0.008 and 0.012 inches of backlash.
- Measurement: Mount a magnetic base dial indicator (e.g., Mitutoyo 2046S) perpendicular to the ring gear face. Hold the pinion yoke completely stationary and rock the ring gear back and forth.
- Adjustment: Backlash is adjusted via carrier shims (solid axles) or threaded adjusters (independent front suspensions like the GM 9.25-inch IFS). Moving the carrier closer to the pinion decreases backlash; moving it away increases it.
3. The Gear Pattern (The Proof)
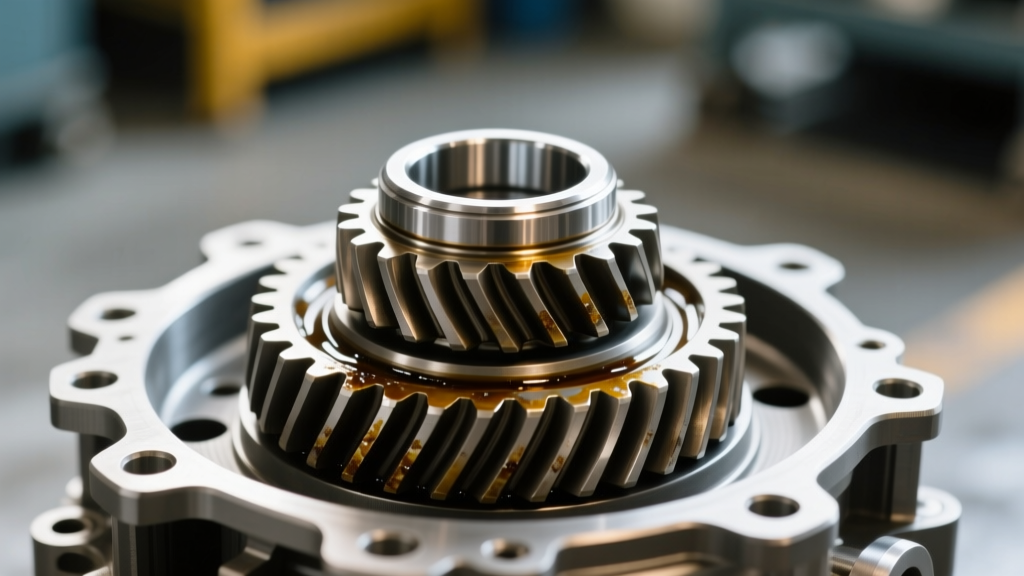
Numbers on a dial indicator mean nothing if the physical contact pattern is flawed. Apply a thin, even coat of yellow gear marking compound (Permatex 80082, approx. $15) to three or four teeth on the ring gear. Apply slight drag to the ring gear with a gloved hand and rotate the pinion through the marked teeth in both the drive and coast directions.
Expert Insight: A perfect pattern sits dead-center on the tooth face, slightly favoring the toe (the inner edge of the ring gear) under load. If the pattern is high on the tooth (toward the outer edge), your pinion depth is too shallow. If it is low on the tooth (toward the root), your pinion is too deep.
Crush Sleeves and Torque Specifications
The most intimidating part of a ring and pinion setup for beginners is the crush sleeve. The crush sleeve is a collapsible metal spacer that sits between the inner and outer pinion bearings. When you tighten the massive pinion nut, the sleeve crushes, generating the necessary bearing preload.
Warning: If you over-crush the sleeve, you must replace it and start the preload process over. There is no 'uncrushing' it.
| Common Differential | Pinion Nut Torque (Crush) | Carrier Bearing Cap Torque | Target Rotational Preload (New Bearings) |
|---|---|---|---|
| GM 8.5-inch 10-Bolt | ~250 lb-ft | 60 lb-ft | 20 to 30 in-lb |
| Ford 8.8-inch | 200 to 250 lb-ft | 70 to 85 lb-ft | 15 to 25 in-lb |
| Dana 44 (Jeep/Truck) | 220 to 250 lb-ft | 60 lb-ft | 18 to 28 in-lb |
| Toyota 8-inch (V6) | 180 to 220 lb-ft | 55 lb-ft | 12 to 20 in-lb |
To achieve these massive torque values without the yoke spinning, you must use a heavy-duty yoke holding tool (like the OTC 4595) or an impact wrench used in short, controlled bursts while frequently checking rotational preload with an inch-pound torque wrench.
The Diff-Fluid Connection: Break-In and Lubrication
Because this guide falls under our differential fluid maintenance category, we must address the critical role of lubrication in a fresh gear setup. A new ring and pinion set generates immense friction and heat during the first 500 miles as the microscopic machining marks wear into a perfect mating surface.
Selecting the Right Break-In Fluid
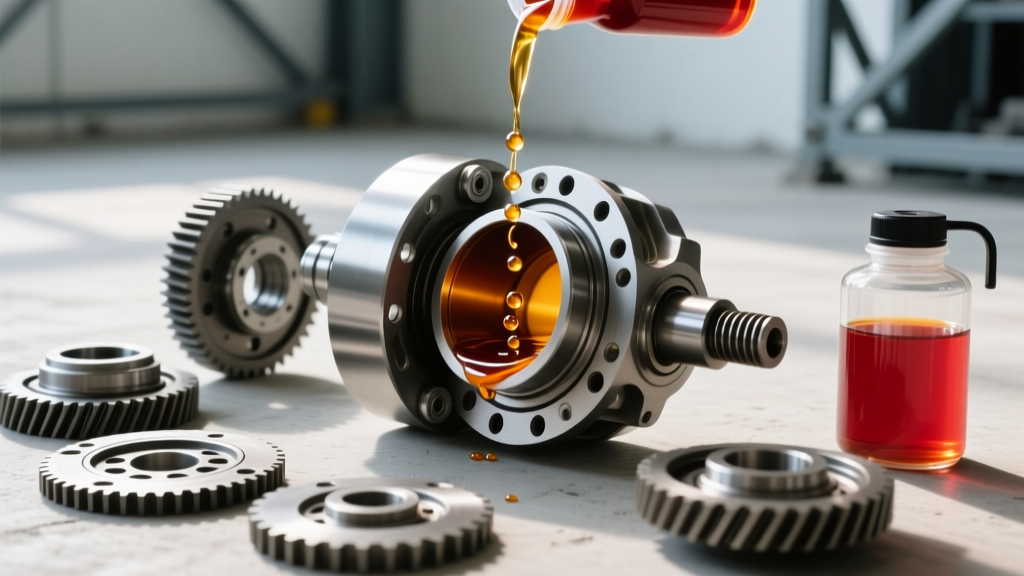
Do not use your final synthetic fluid for the break-in phase. Synthetic fluids are too slippery and can prevent the gears from properly seating, leading to a permanent, high-pitch whine. Furthermore, synthetic fluids often lack the extreme pressure (EP) additives required for the initial high-heat wear cycle.
- Step 1 (The Fill): Use a high-quality, conventional, non-synthetic GL-5 85W-140 gear oil, or a dedicated break-in fluid like Driven Racing Oil Break-In Gear Oil (Part #05406).
- Step 2 (The Drive): Drive the vehicle for 15-20 minutes at varying speeds (under 50 mph). Avoid heavy loads, towing, or wide-open throttle. The differential housing will become hot to the touch—this is normal.
- Step 3 (The Cool & Drain): Let the differential cool completely. Drain the break-in fluid. You will likely see a fine, glittery metallic paste on the drain plug magnet. This is the machining residue and is expected.
- Step 4 (The Final Fill): Refill with your preferred long-term synthetic fluid, such as AMSOIL Severe Gear 75W-90 or Valvoline Full Synthetic 75W-90.
Friction Modifiers for Limited Slip Differentials
If your setup includes a clutch-type limited-slip differential (LSD) like the Eaton Positraction or Ford Trac-Lok, you must add a friction modifier to the final fluid fill. Without it, the clutch packs will chatter violently during low-speed cornering. Use OEM-approved modifiers like GM Part #1052358 or Ford XL-3. Add the modifier before topping off with the bulk gear oil to ensure proper mixing.
Cost Breakdown: DIY vs. Professional Shop
Is it worth setting up a ring and pinion yourself? Let us look at the financial reality for a standard GM 10-bolt or Ford 8.8-inch setup.
- DIY Tool Investment: Setup tools (dial indicator, depth tool, bearing puller, yoke holder) will cost between $300 and $500. However, these are lifetime tools.
- Consumables: Setup bearings, crush sleeve, pinion seal, marking compound, and break-in fluid will cost roughly $75 to $120.
- Professional Shop Labor: Most drivetrain shops charge between $450 and $800 for labor alone to install a ring and pinion, not including the master rebuild kit or gears.
For the beginner willing to take their time, read the semantic differential noise cues, and respect the torque specifications, the DIY route pays for its own tooling on the very first axle build.
Final Thoughts
Setting up a ring and pinion is an exercise in patience and precision. By treating the diagnostic process like a semantic differential question—rigidly categorizing symptoms into binary opposites—you remove the emotion and guesswork from the equation. Measure twice, mock up with setup bearings, respect the crush sleeve, and never skip the conventional break-in fluid procedure. Your drivetrain will reward you with thousands of miles of whisper-quiet operation.