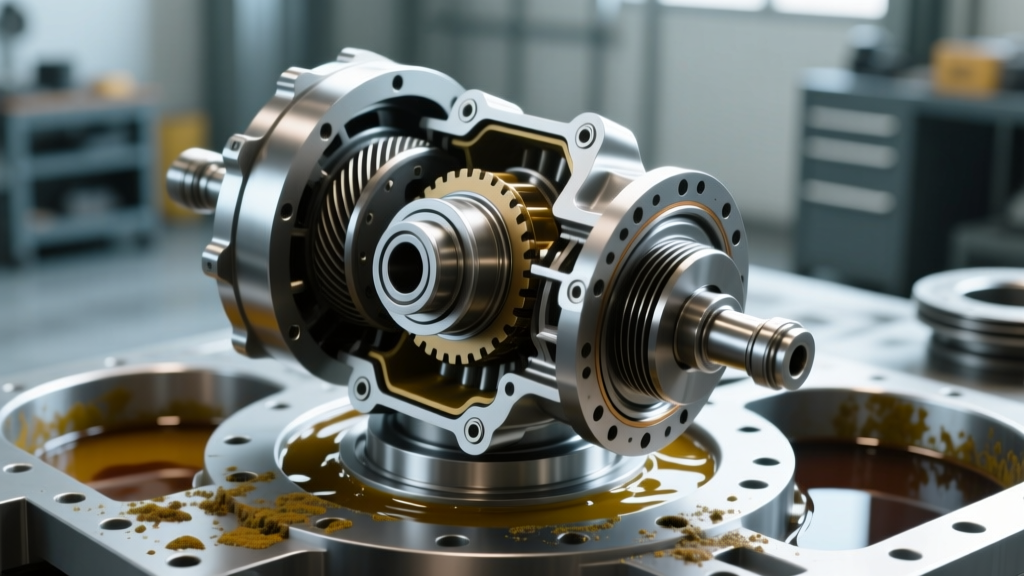
The Anatomy of a Front Axle Upgrade: Why Locker Selection Matters
Upgrading the front axle of a solid-axle vehicle—whether you are modifying a 2026 Jeep Wrangler Rubicon, a Ford F-250 Tremor, or a Toyota Tacoma—transforms off-road capability. However, the mechanical reality of this swap dictates that a meticulous front differential fluid change is just as critical as the locker installation itself. The front axle operates under severe steering and driveline binding stresses. Selecting the wrong locker type can destroy U-joints and axle shafts, while botching the fluid service will lead to catastrophic gear and bearing failure within the first 1,000 miles.
In this performance and upgrade guide, we break down the engineering differences between selectable and automatic front lockers, and provide a master-class protocol for executing a flawless front differential fluid change during your installation.
Expert Insight: The front axle is subjected to lateral steering loads and CV/Universal joint articulation. While automatic lockers excel in the rear axle, their inherent unlocking/locking ratcheting can cause severe steering bind and U-joint failure on the front end when engaged in 4WD. For modern SFA (Solid Front Axle) platforms, selectable lockers are the undisputed performance standard.
Selectable vs. Automatic Lockers: A Performance Breakdown
When planning your build, understanding the engagement mechanism is vital. This choice directly impacts your drivetrain longevity and the specific steps you must take during your front differential fluid change.
| Locker Type | Popular Models | Front Axle Suitability | Est. Price Range | Fluid / Mod Requirement |
|---|---|---|---|---|
| Selectable (Air) | ARB Air Locker (RD116) | Excellent (Zero street bind) | $950 - $1,150 | Standard GL-5 (No Modifier) |
| Selectable (Electric) | Eaton E-Locker (19950-01) | Excellent (OEM-style fitment) | $850 - $1,050 | Standard GL-5 (No Modifier) |
| Selectable (Cable) | OX Locker | Very Good (Mechanical fail-safe) | $900 - $1,100 | Standard GL-5 (No Modifier) |
| Automatic (Gear) | Detroit Locker / Spartan | Poor (Severe steering bind) | $450 - $750 | Standard GL-5 (No Modifier) |
| LSD (Helical Gear) | Eaton Truetrac | Good (Snow/Ice, mild trails) | $650 - $800 | Standard GL-5 (No Modifier) |
For dedicated rock crawlers and overlanders, the ARB Air Locker and Eaton E-Locker remain the benchmark. They operate as open differentials on the street (preserving steering geometry and reducing driveline stress) and lock 100% when you need traction.
The Mandatory Front Differential Fluid Change Protocol
Installing a front locker requires complete removal of the carrier, which means draining the housing. This is not the time for shortcuts. A proper front differential fluid change during a locker swap involves housing decontamination, precision sealing, and addressing air-line routing (if applicable).
Step 1: Draining and Prepping the Housing
Remove the differential cover bolts, leaving the top two bolts loosely threaded to act as a hinge. Break the RTV seal with a rubber mallet—never use a flathead screwdriver to pry the cover, as gouging the mating surface will guarantee future leaks. Drain the fluid into a catch pan and inspect for excessive metallic glitter. A fine metallic paste on the magnets is normal; chunky ferrous debris indicates failing pinion bearings or chipped ring gear teeth.
Use a non-chlorinated brake cleaner and a lint-free shop towel to wipe down the housing interior. Critical Warning: Ensure no RTV silicone debris or shop towels are left near the oil pickup or pinion gear. Debris ingestion will starve the pinion bearing of oil, leading to whining and eventual seizure.
Step 2: Air Line Routing and Modified Fill Plugs
If you are installing an ARB Air Locker, the air line must exit the differential housing. While some off-road shops drill a hole in the axle tube and use an epoxy bulkhead fitting, the superior method is utilizing a modified differential fill plug. ARB supplies a specialized hollow fill plug (Part #1000023 for standard 3/8' NPT applications) that allows the air line to pass directly through the fill hole. This keeps the air line safely above the fluid level and eliminates the risk of compromising the axle tube's structural integrity.
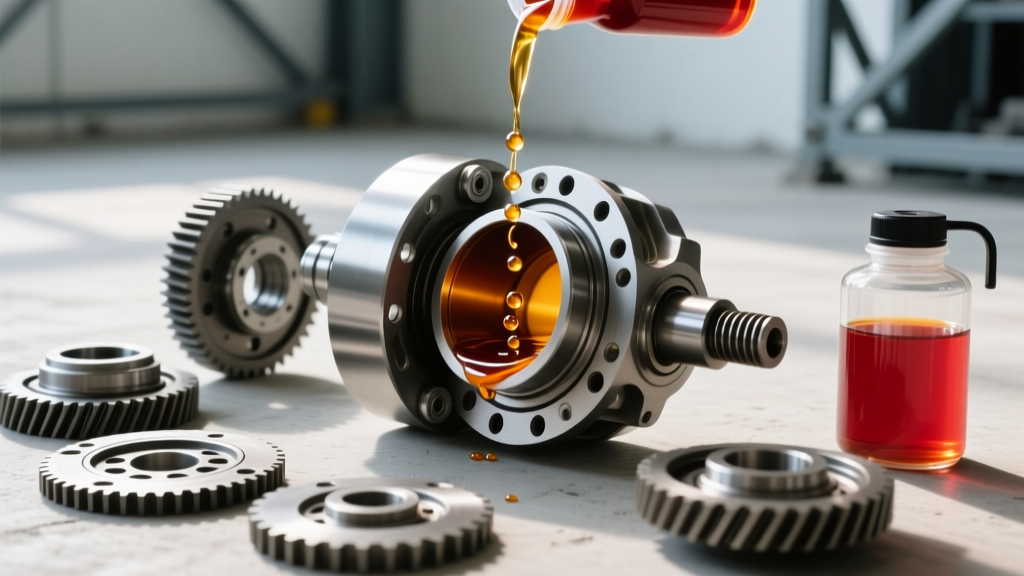
Step 3: Refilling with the Correct GL-5 Gear Oil
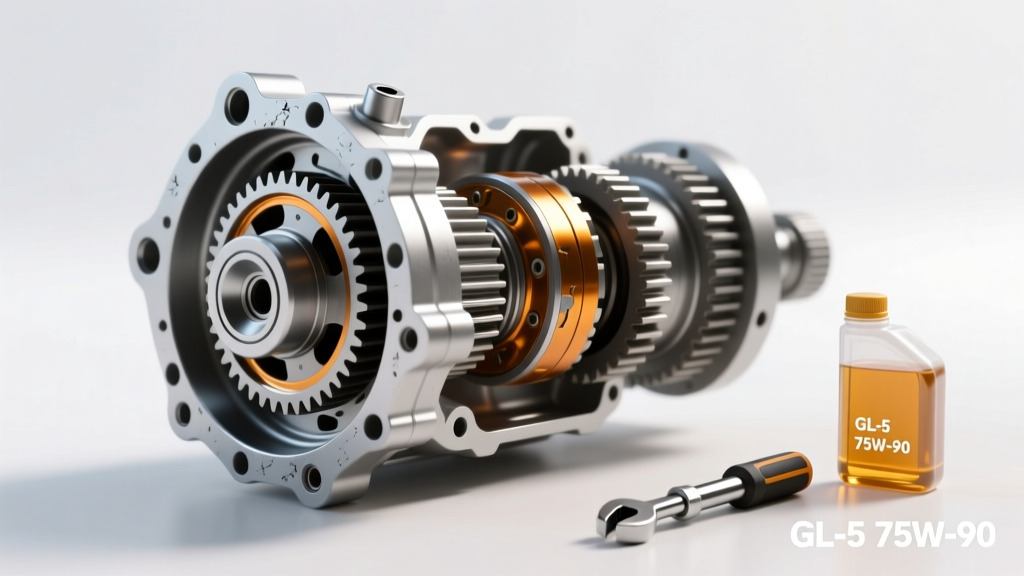
According to the SAE J306 Axle Lubricant Viscosity Classification, modern synthetic gear oils offer vastly superior shear stability compared to conventional oils. For most front axles (Dana 30, Dana 44, Ford 8.8), a 75W-90 Full Synthetic GL-5 gear oil is the factory specification. However, if your build features 37-inch or larger tires and sees heavy rock-crawling loads, stepping up to a 75W-140 (like Red Line Part #50104) provides a thicker hydrodynamic film to protect the ring and pinion under extreme shock loads.
The Friction Modifier Trap: What NOT to Add
One of the most common and costly mistakes made during a front differential fluid change is the unnecessary addition of limited-slip friction modifier.
- Full Lockers (ARB, Eaton E-Locker, Detroit, Spartan): These use mechanical locking collars, dog clutches, or sprags. They DO NOT use clutch packs. Adding friction modifier is a waste of money and can theoretically reduce the coefficient of friction on the locking collar engagement surfaces.
- Helical Gear LSDs (Truetrac, Torsen): These operate on gear bias and torque multiplication. They DO NOT use clutch packs. No modifier is required.
- Clutch-Type LSDs (Ford Traction-Lok, Auburn): These are the ONLY differentials that require a friction modifier (typically 4 oz of Ford XL-3 or GM EOS) to prevent clutch chatter during low-speed cornering.
Unless you are running a clutch-type LSD (which is highly discouraged in a front axle due to steering bind and rapid wear), pour pure, unadulterated GL-5 synthetic gear oil into your housing.
Torque Specifications and Fill Capacities by Axle Model
Over-torquing differential cover bolts will warp the thin stamped steel covers, leading to persistent leaks. Under-torquing will result in fluid loss on the trail. Always use a calibrated inch-pound or low-range foot-pound torque wrench. Furthermore, reference Dana Spicer's official service manuals for exact ring gear and carrier bearing cap specifications when setting your backlash and preload during the locker installation.
| Axle Model | Common Applications | Fluid Capacity | Cover Bolt Torque | Ring Gear Bolt Torque | Sealing Method |
|---|---|---|---|---|---|
| Dana 30 (Reverse) | Jeep JK/JL (Non-Rubicon) | 2.5 Pints | 13 - 15 lb-ft | 55 - 65 lb-ft | RTV Silicone |
| Dana 44 / M210 | Jeep JK/JL Rubicon, Gladiator | 3.0 Pints | 13 - 15 lb-ft | 70 - 85 lb-ft | RTV or Steel Gasket |
| Ford 8.8 / 9.75 | F-150, Ranger, Bronco | 3.5 - 4.5 Pints | 28 - 33 lb-ft | 70 - 85 lb-ft | Pre-cut Gasket |
| AAM 9.25 | GM 2500HD (IFS/SFA) | 3.8 Pints | 25 - 30 lb-ft | 85 - 95 lb-ft | RTV Silicone |
Note: When using RTV Silicone (such as Permatex Ultra Black or Loctite 518), apply a continuous 1/8-inch bead to the clean, dry mating surface. Allow the RTV to skin over for 10 minutes before mating the cover, and wait a minimum of 2 hours before filling with fluid to allow the silicone to cure and prevent internal extrusion.
The 500-Mile Break-In Rule: Your Second Fluid Change
Your front differential fluid change does not end when the build rolls out of the garage. Whether you are running a new ring and pinion gear set or just a new locker carrier, the initial 500 miles are the break-in period. During this phase, the gears and bearings generate microscopic metallic particulate as the machined surfaces mate and polish.
If this metallic-laden fluid is left in the housing, it will become embedded in the soft bronze carrier bearings and the pinion bearing cages, accelerating wear and causing premature differential noise (the dreaded 'howl').
The Break-In Protocol:
- Drive the vehicle for 500 miles, avoiding sustained highway speeds over 65 MPH.
- Allow the axle to cool completely to ambient temperature.
- Perform a second front differential fluid change to flush out the break-in particulate.
- Inspect the drain plug magnet. It should show a fine, silvery paste. If you find shards, tear the differential down immediately for a failure analysis.
Final Thoughts on Front Axle Reliability
Upgrading to a front locker is a transformative modification for any off-road rig, but it demands respect for precision assembly and fluid dynamics. By selecting the correct locker type for your steering geometry, avoiding the friction modifier trap, and adhering to strict torque and break-in protocols, you ensure that your front axle will survive the punishment of the trail. Treat your front differential fluid change not as a maintenance chore, but as a vital insurance policy for your drivetrain investment.