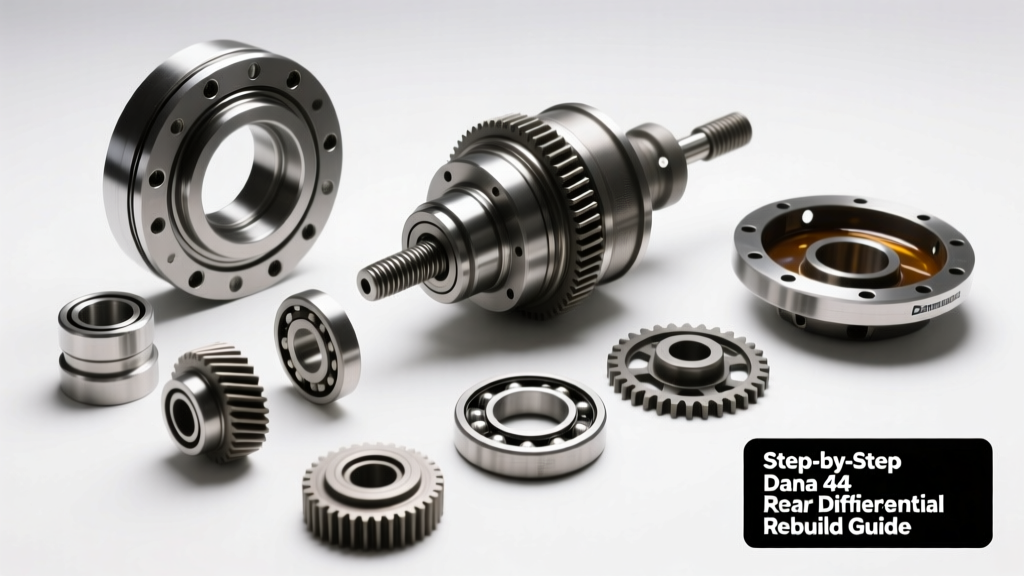
The Art of the Ring and Pinion Gear Setup
Setting up a ring and pinion gear set is widely considered a rite of passage for driveway mechanics and professional axle builders alike. Whether you are regearing a Dana 44 for larger off-road tires or installing a 3.73 ratio set in a Ford 8.8 for better highway towing, the mechanical precision required is unforgiving. A flawed setup will result in gear whine, excessive heat, and catastrophic tooth failure within the first few hundred miles.
However, achieving the perfect gear pattern is only half the battle. Once the mechanical setup is complete, the survival of your new gears depends entirely on the break-in process. In this beginner-friendly explainer, we will walk through the core principles of ring and pinion setup and detail exactly how to fill differential fluid to ensure your new gears mate properly without glazing or overheating.
Essential Tools for a Precision Setup
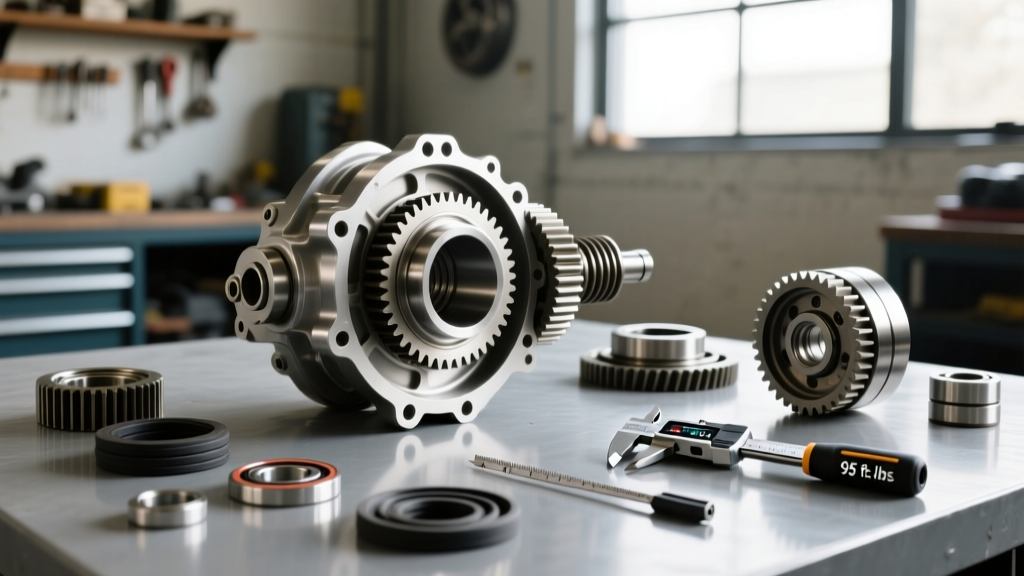
Before touching a wrench, you must gather the correct measuring instruments. Guesswork does not work in differential rebuilding. According to the technical guidelines from Yukon Gear and Axle, you will need the following:
- Dial Indicator with Magnetic Base: For measuring backlash to the ten-thousandth of an inch.
- Beam-Style Inch-Pound Torque Wrench: Crucial for measuring pinion bearing preload. Click-style torque wrenches are not accurate at low inch-pound settings.
- Gear Marking Compound: Yellow ochre or specialized gear paste to read the contact pattern.
- Bearing Puller and Press: For removing and installing pinion and carrier bearings without damaging the cages.
- Master Overhaul Kit: Always use high-quality Timken or Koyo bearings and fresh crush sleeves or solid spacers.
Step 1: Pinion Depth and Bearing Preload
The foundation of any gear setup is pinion depth. The pinion gear must be positioned at the exact intersection of the ring gear centerline. This is adjusted using shims placed between the pinion bearing and the pinion head (or under the inner race, depending on the axle design).
Once the pinion depth is roughly set using a pinion depth setting tool, you must establish pinion bearing preload. Preload is the rotational resistance of the pinion bearings. For new bearings, you typically want between 15 and 25 inch-pounds of rotational torque. If you are reusing broken-in bearings, aim for 10 to 15 inch-pounds. Achieving this requires carefully tightening the pinion nut to crush the sleeve or adjusting the solid spacer shims. Over-tightening will destroy the new crush sleeve and require starting over.
Step 2: Backlash and Carrier Preload
Backlash is the amount of rotational play between the ring gear and the pinion gear teeth. For standard street applications, a backlash specification of 0.006 to 0.010 inches is ideal. For heavy-duty off-road applications like a rock-crawling Dana 60, you may open this up to 0.012 to 0.015 inches to accommodate for thermal expansion and housing deflection under extreme loads.
To measure backlash, mount your dial indicator perpendicular to a ring gear tooth. Hold the pinion yoke completely stationary and rock the ring gear back and forth. Adjust the carrier shims (or threaded adjusters on Dana/Chrysler axles) to achieve your target spec. Carrier bearing preload is established simultaneously; you want a slight drag on the carrier bearings to prevent the ring gear from deflecting under heavy torque.
Step 3: Reading the Gear Contact Pattern
Backlash and pinion depth mean nothing if the contact pattern is incorrect. Apply a thin, even coat of marking compound to both the drive (convex) and coast (concave) sides of three or four ring gear teeth. Apply moderate resistance to the ring gear with a rag while rotating the pinion yoke to roll the teeth through the compound.
Here is a quick-reference troubleshooting chart for adjusting your pattern based on the markings, aligned with Motive Gear technical specifications:
| Pattern Observation | Root Cause | Required Correction |
|---|---|---|
| Pattern is high on the tooth (near the top land) | Pinion is too shallow (away from ring gear) | Increase pinion depth shim thickness |
| Pattern is low on the tooth (near the root) | Pinion is too deep (into the ring gear) | Decrease pinion depth shim thickness |
| Pattern is heavy on the toe (inner edge) | Backlash is too tight | Increase backlash by adjusting carrier shims |
| Pattern is heavy on the heel (outer edge) | Backlash is too loose | Decrease backlash by adjusting carrier shims |
The ideal pattern will sit squarely in the middle of the tooth face, slightly biased toward the toe on the drive side, and will widen out nicely under loaded rotation.
The Final Phase: How to Fill Differential Fluid for Break-In
Once your pattern is verified, the ring gear bolts are torqued to spec (typically 70 to 85 lb-ft with red Loctite), and the axle shafts are reinstalled, you face the most critical maintenance step. Understanding how to fill differential fluid correctly for the break-in cycle is what separates a successful regear from a whining, overheated failure.
Why Break-In Fluid Selection Matters
During the first 500 miles, the microscopic high spots (asperities) on the newly machined ring and pinion gears must wear down and mate together. This process generates immense friction and heat. If you use a full-synthetic gear oil for the initial break-in, the extreme slip additives will prevent this necessary micro-abrasion. The gears will glaze over, leading to permanent gear whine and a shortened lifespan.
For the break-in period, you must use a high-quality, conventional (mineral-based) 85W-140 gear oil. The heavier viscosity provides a robust thermal buffer against the extreme heat generated during the mating process. Brands like Lucas Oil and Royal Purple offer dedicated non-synthetic break-in oils specifically formulated with high zinc and phosphorus (ZDDP) content for extreme pressure protection.
Step-by-Step Filling Procedure
Follow these exact steps to ensure proper lubrication and capacity:
- Clean the Housing: Before sealing the differential cover, wipe the inside of the housing with a lint-free rag and brake cleaner to remove any metal shavings or residual marking compound.
- Seal the Cover: Use a high-tack gasket maker or a quality rubber gasket. Torque the cover bolts in a star pattern to 25-30 lb-ft (check your specific axle manual, as Ford 8.8 covers use smaller bolts than a Dana 60).
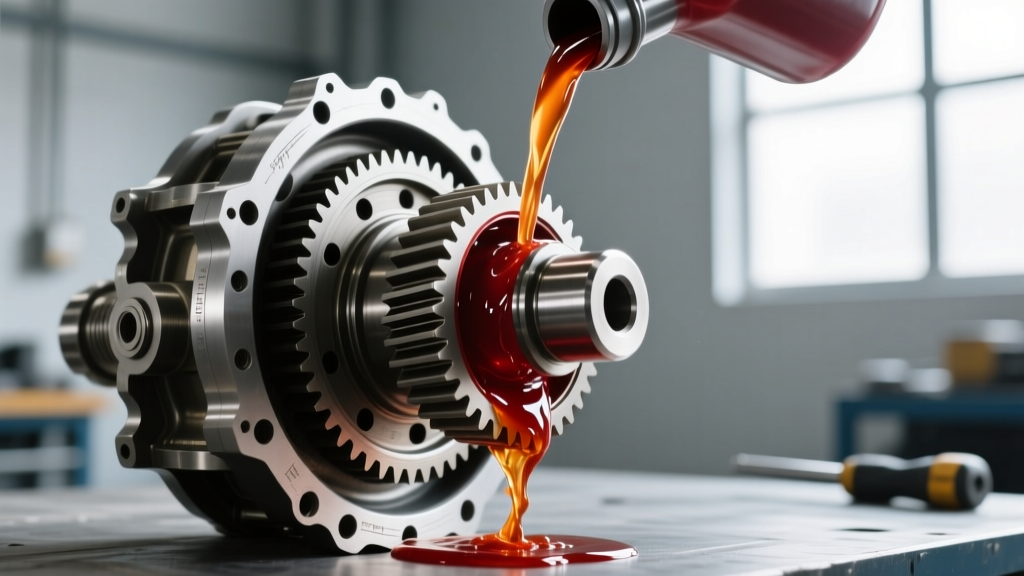
- Pump the Fluid: Using a manual fluid pump, draw the conventional 85W-140 break-in oil from the bottle. Insert the tube into the fill hole.
- Fill to the Brim: Pump the fluid until it begins to run out of the bottom edge of the fill hole. For a standard Jeep Dana 44, this will take approximately 2.0 to 2.5 quarts. For a GM 10-bolt 8.5-inch, expect to use about 1.8 to 2.1 quarts.
- The LSD Friction Modifier Rule: If your differential is equipped with a clutch-type limited-slip differential (LSD), do NOT add the friction modifier during the break-in fill. The modifier reduces friction, which hinders the clutch pack break-in and the gear mating process. Wait until the first fluid change at 500 miles to add the modifier.
The Break-In Driving Protocol
Knowing how to fill differential fluid is useless if you immediately subject the axle to a heavy load. The break-in driving cycle is mandatory. According to experts at Ring and Pinion Service, the differential housing can easily exceed 200 degrees Fahrenheit during the initial mating process.
The 500-Mile Rule:
- Miles 0 to 50: Drive normally around town. Keep speeds under 45 MPH. Avoid heavy throttle application.
- The Cool-Down Cycle: After the first 15 miles of driving, stop the vehicle and let the differential cool completely (about 30 to 45 minutes). The housing will be extremely hot to the touch. This cooling period allows the gear oil to settle and prevents the oil from breaking down due to thermal shock.
- Miles 50 to 500: Mix in some highway driving, but keep speeds under 65 MPH. Do not tow trailers, carry heavy payload, or engage in off-road crawling during this window.
- The 500-Mile Service: Drain the break-in fluid immediately. You will likely notice a metallic sheen in the oil; this is normal and consists of the microscopic metal particles worn off during the mating process. Refill with your preferred high-quality synthetic 75W-90 or 75W-140 gear oil, adding the LSD friction modifier if applicable.
Summary
A successful ring and pinion gear setup requires patience, precision measuring tools, and a strict adherence to torque specifications. By mastering the adjustment of pinion depth and backlash, and by strictly following the protocols on how to fill differential fluid for the break-in cycle, you will ensure your axle operates quietly and reliably for tens of thousands of miles. Never rush the pattern reading, never use synthetic oil on day one, and always respect the cool-down cycles.