Introduction to the Dana 44 Platform
The Dana 44 rear differential is an automotive icon, serving as the backbone for countless classic muscle cars, C5 and C6 Corvettes, Ford F-150s, and Jeep Wranglers. Recognized by its 8.5-inch ring gear and robust 19-spline or 30-spline axle shafts, the Dana 44 strikes a perfect balance between daily drivability and off-road resilience. However, like any precision mechanical assembly, it requires meticulous attention to detail when rebuilding. Whether you are upgrading to 4.56 gears for larger tires or replacing worn bearings that are howling at highway speeds, a proper rebuild demands exact measurements, specialized tools, and strict adherence to torque specifications.
In 2026, the cost of a professional Dana 44 rear differential rebuild at a specialized drivetrain shop typically ranges from $900 to $1,400 in labor, plus parts. By tackling this step-by-step guide, DIY mechanics and aspiring drivetrain technicians can master the procedure, saving thousands while gaining an intimate understanding of axle geometry, bearing preload, and differential fluid dynamics.
Essential Tools and Rebuild Kit Selection
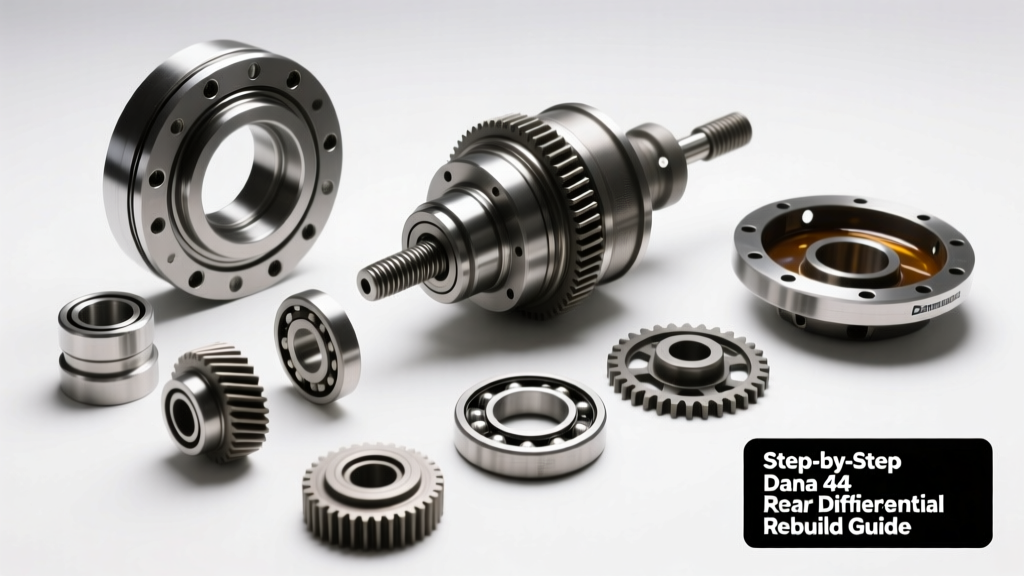
Before unbolting the differential cover, you must gather the correct tools and components. Attempting a gear setup with standard hand tools will inevitably lead to premature gear failure and whining noises. A high-quality master rebuild kit, such as the Yukon Gear YK D44-RL or an OEM Spicer Master Kit, includes all necessary Timken bearings, races, shims, and seals. Expect to invest between $250 and $350 for a premium master kit, and an additional $250 to $450 for a matched ring and pinion set.
| Tool / Component | Specification / Purpose | Estimated Cost |
|---|---|---|
| Inch-Pound Torque Wrench | Crucial for measuring pinion rotating preload (0-60 in-lbs range) | $85 - $150 |
| Dial Indicator & Magnetic Base | Measuring ring gear backlash and runout (0.001" resolution) | $40 - $90 |
| Pinion Depth Setting Tool | Specific to Dana 44 (e.g., Yukon Tool YT P08) | $120 - $180 |
| Timken SET 36 & SET 37 | OEM-grade pinion and carrier bearings included in master kits | Included in Kit |
| Bearing Puller / Press | For removing and installing carrier and pinion bearings safely | $60 - $200 |
Step 1: Pre-Teardown Measurements and Inspection
The most common mistake novices make is tearing the differential apart without recording baseline measurements. Before removing the carrier, use your dial indicator to measure the existing ring gear backlash. Factory specification for the Dana 44 is typically between 0.006" and 0.010". Note the exact reading. Next, use your inch-pound torque wrench on the pinion nut to measure the rotating preload of the used bearings. This baseline data helps verify if the previous setup was within spec or if the housing has suffered deflection.
Once measurements are recorded, drain the differential fluid. Inspect the fluid for metallic glitter (indicative of bearing failure) or chunky metal shards (indicative of gear tooth shearing). Remove the carrier bearing caps, marking them with a punch so they return to their exact original sides and orientations. The Dana 44 housing is line-bored from the factory; swapping caps side-to-side will destroy bearing alignment and guarantee failure.
Step 2: Pinion Gear Depth and Preload Setup
The pinion gear setup is the most critical and unforgiving phase of the Dana 44 rear differential rebuild. The pinion depth dictates how deeply the pinion tooth penetrates the ring gear flank. On the head of your new pinion gear, you will find a stamped number (e.g., +2, -1, or 0). This represents the variance in thousandths of an inch from the nominal Dana 44 pinion depth of 2.625 inches.
Calculating Pinion Depth Shims
- If your pinion head is stamped "0", you set the pinion depth tool to exactly 2.625".
- If stamped "+2", you add 0.002" to the nominal depth (2.627").
- If stamped "-1", you subtract 0.001" from the nominal depth (2.624").
Install the pinion depth tool and select the appropriate shim stack to place under the inner pinion bearing race. Once the depth is verified, press the inner bearing onto the pinion shaft and install it into the housing. For later-model Dana 44 axles utilizing a crush sleeve, install the outer bearing, seal, and yoke. Tighten the pinion nut incrementally while checking the rotating preload with your inch-pound torque wrench. You are aiming for 15 to 25 inch-pounds of rotating torque on new bearings. Warning: If you over-tighten the crush sleeve, you must replace it with a new one and start over.
Step 3: Ring Gear Mounting and Backlash Adjustment
Thoroughly clean the ring gear and carrier mating surfaces with brake cleaner. Apply a thin bead of Loctite 242 (Blue) to the threads of the new ring gear bolts. Torque the bolts in a crisscross pattern to 55-65 ft-lbs. Once mounted, press the carrier bearings onto the assembly and install the carrier into the housing with the initial side shims.
Mount your dial indicator perpendicular to the ring gear teeth. Rotate the gear back and forth while holding the pinion stationary to measure backlash. Adjust the side shims (or threaded adjusters, depending on whether you are working on a solid axle or independent rear suspension Dana 44) until you achieve the target backlash of 0.006" to 0.010". Simultaneously, you must ensure adequate carrier bearing preload. The carrier should require a firm tap with a dead-blow hammer to seat, and rotating the carrier should yield a noticeable, smooth drag.
Step 4: Gear Pattern Analysis
Numbers on a dial indicator only tell half the story; the gear contact pattern confirms the physical reality of the setup. Apply a liberal coat of yellow gear marking compound to the ring gear teeth. Rotate the assembly under moderate resistance to print the pattern.
Expert Insight: A perfect Dana 44 pattern will be centered on the tooth face, slightly biased toward the heel under load, without touching the top land (face) or bottom land (flank). If the pattern is high on the tooth (toward the face), your pinion depth is too shallow; add pinion shims. If the pattern is low (toward the flank/root), your pinion is too deep; remove pinion shims. For an in-depth visual reference, consult the Yukon Gear installation manuals.
Step 5: Break-In Procedure and Differential Fluid Selection
Because this rebuild relies heavily on proper lubrication to survive its first miles, fluid selection and the break-in procedure are paramount. New ring and pinion gears generate immense friction and heat as the microscopic machining peaks wear into one another. Using the wrong fluid or skipping the heat-cycle break-in will permanently damage the gear face.
The Break-In Fluid Strategy
Do not fill a freshly rebuilt Dana 44 with full-synthetic gear oil for the break-in phase. Synthetics are too slippery and will prevent the gears from properly seating, leading to a lifelong whine. Instead, fill the axle with conventional 80W-90 GL-5 gear oil. If your Dana 44 is equipped with a Trac-Lok or limited-slip differential, you must add the manufacturer-specified friction modifier (e.g., Spicer 706028X) to prevent clutch chatter during tight turns.
The 50-Mile Heat Cycle Protocol
- Initial Drive: Drive the vehicle for 15 to 20 minutes at varying speeds (30 to 50 mph) under light to moderate throttle. Avoid heavy towing or aggressive acceleration.
- Cool Down: Stop and let the differential cool completely to ambient temperature (minimum 45 minutes).
- Repeat: Repeat this drive-and-cool cycle 3 to 4 times over the first 100 miles.
- Final Flush: At 500 miles, drain the conventional break-in oil. It will likely look dark and contain fine, harmless metallic paste from the gear lapping process. Refill with a high-quality synthetic like AMSOIL Severe Gear 75W-90 or Mobil 1 75W-140 for heavy-duty off-road applications, remembering to re-add the limited-slip additive if equipped.
Dana 44 Rebuild Torque Specifications Chart
Keep this chart handy in your shop. Always verify against the specific OEM service manual for your exact vehicle application, as minor variations exist between a Jeep JK Dana 44 and a classic Ford 9-inch/Dana 44 hybrid setup. For further technical bulletins, refer to the Spicer technical resources database.
| Component | Fastener Size / Type | Torque Specification |
|---|---|---|
| Ring Gear Bolts | 5/8"-18 (Typical) | 55 - 65 ft-lbs (w/ Loctite 242) |
| Carrier Bearing Cap Bolts | 5/8"-11 | 45 - 55 ft-lbs |
| Pinion Nut (Crush Sleeve) | 1-1/16" (Typical) | 150 - 250 ft-lbs (Yield to Preload) |
| Pinion Nut (Shimmed Preload) | 1-1/16" (Typical) | 200 - 250 ft-lbs |
| Differential Cover Bolts | 3/8"-16 or 10mm | 25 - 30 ft-lbs |
| Brake Caliper Bracket (Axle End) | Varies by Vehicle | Refer to Vehicle FSM |
Rebuilding a Dana 44 rear differential is a highly rewarding endeavor that restores factory reliability and prepares the axle for upgraded tire sizes and extreme torque loads. By respecting the tolerances, utilizing precision measuring tools, and adhering to strict differential fluid break-in protocols, your rebuilt Dana 44 will deliver hundreds of thousands of miles of whisper-quiet, bulletproof service.