The Intersection of Maintenance and Mechanics
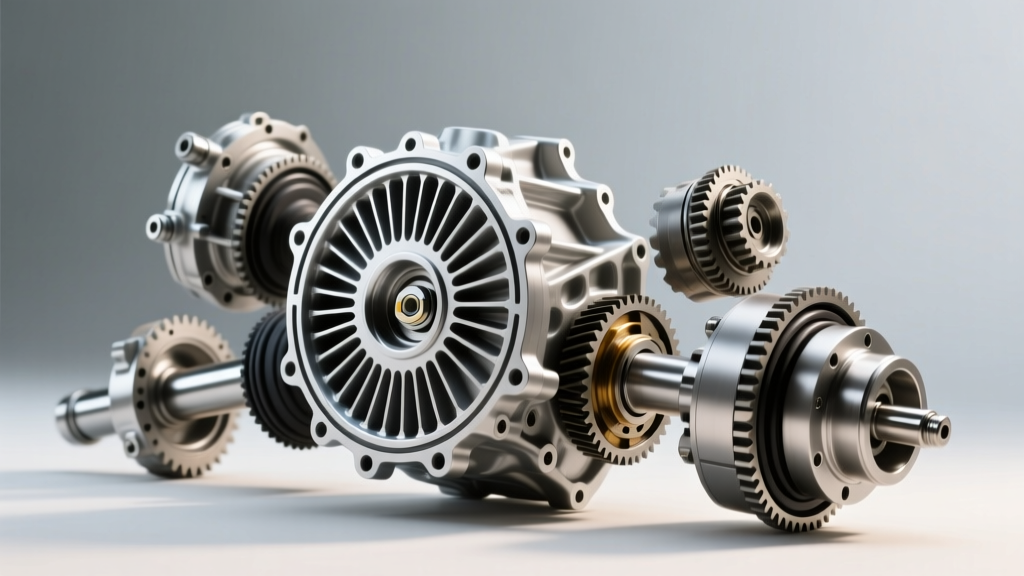
For most DIY enthusiasts, a differential fluid change is a straightforward weekend chore: drain the old oil, clean the pan, reseal, and refill. However, pulling the differential cover off a solid rear axle—whether it is a legendary Ford 8.8, a rugged Dana 44, or a classic GM 10-bolt—gives you a rare, front-row view of one of the most precise mechanical assemblies in your vehicle: the ring and pinion gear setup.
While setting up a ring and pinion is often viewed as 'black magic' reserved for seasoned drivetrain specialists, understanding the basics of gear geometry is incredibly valuable for any vehicle owner. By knowing what to look for while the differential cover is off, you can catch catastrophic gear failures before they leave you stranded. This beginner-friendly explainer bridges the gap between basic fluid maintenance and advanced axle diagnostics, giving you the knowledge to inspect your gear setup with confidence.
Anatomy of the Axle: Understanding Hypoid Gears
Unlike the straight-cut or helical gears found inside manual transmissions, the ring and pinion in your axle are hypoid gears. This means the centerline of the pinion gear sits below the centerline of the ring gear. This design lowers the driveshaft, reducing cabin intrusion and improving ground clearance.
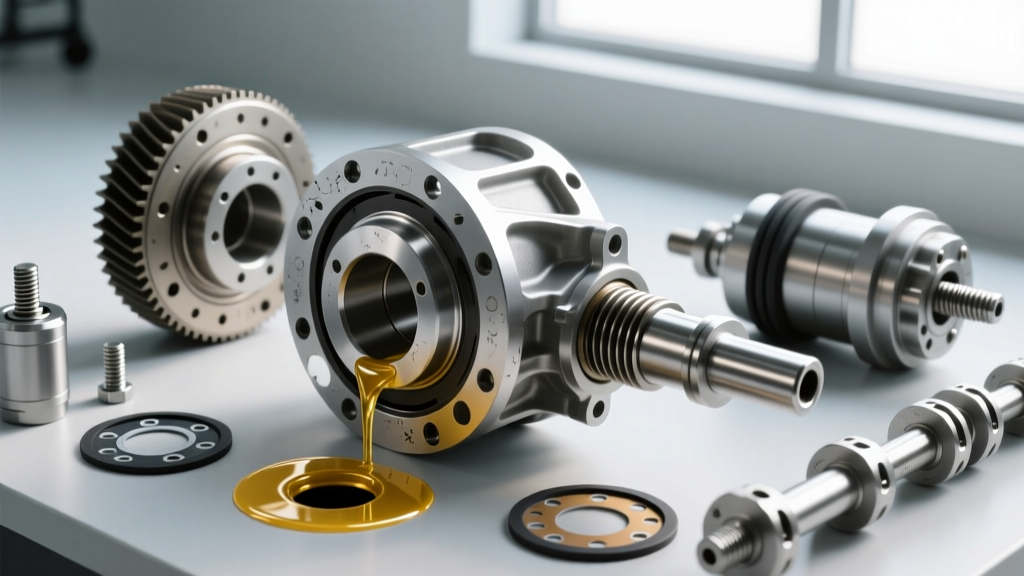
However, this offset creates a massive amount of sliding friction across the gear teeth under load. This sliding action is exactly why a proper differential fluid change using the correct GL-5 rated gear oil is non-negotiable. GL-5 oils contain extreme pressure (EP) sulfur-phosphorus additives that form a sacrificial chemical film on the gear teeth, preventing the metal from welding together under immense torque.
What Your Drained Fluid Tells You
Before you wipe down the differential housing, inspect the drained fluid. The condition of the oil is a direct report card on your ring and pinion setup:
- Dark, Thick Sludge with Fine Glitter: This is generally normal for high-mileage axles. The fine metallic paste is the result of normal hypoid gear wear and the breakdown of the oil's friction modifiers.
- Chunky Metal Shavings or Needle Bearings: This indicates a severe failure. If you find chunks of metal, your pinion depth or backlash was likely set incorrectly, causing the gears to chew each other apart, or a pinion bearing has disintegrated.
- Milky or Frothy Oil: Water intrusion past a leaking axle seal or differential cover gasket. Water destroys the EP additives in gear oil, leading to rapid gear scoring.
Decoding the Gear Pattern: The Visual Setup Check
If you suspect your axle was previously rebuilt or if you are installing a new gear set (such as moving from 3.55 to 4.10 ratios for larger tires), the gear pattern is your ultimate truth-teller. According to the technical resources at Motive Gear, a proper gear pattern ensures the load is distributed evenly across the tooth face, preventing whining, overheating, and tooth shearing.
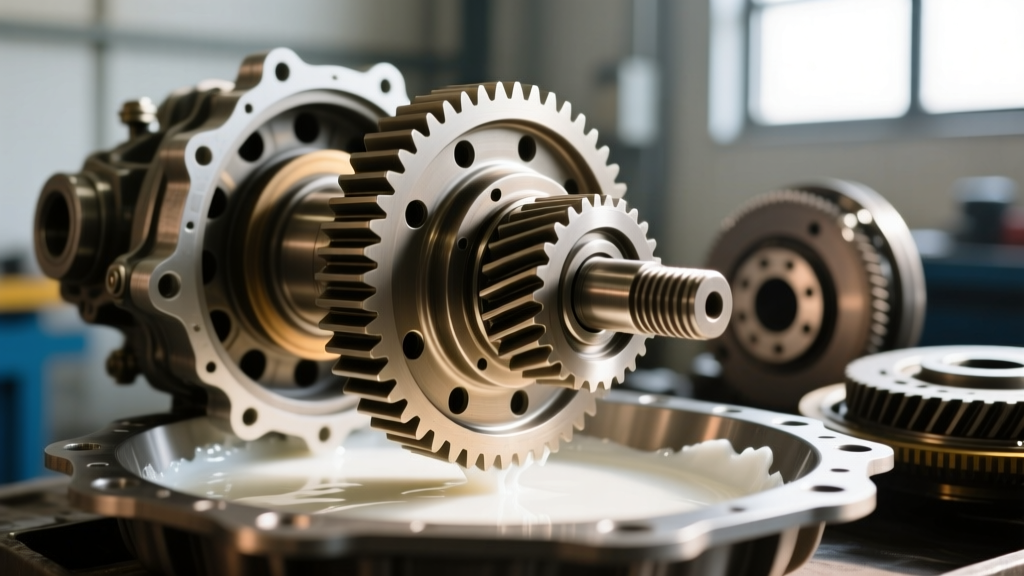
To check this, mechanics use a yellow gear marking compound (or white lithium grease in a pinch). You paint three or four teeth on the ring gear, apply light resistance to the ring gear with a rag, and rotate the pinion back and forth.
The Four Zones of the Gear Tooth
To read the pattern, you must understand the terminology of the hypoid tooth:
- Face: The top, outer edge of the tooth.
- Flank: The bottom, inner root of the tooth.
- Toe: The inner edge of the tooth closest to the center of the ring gear.
- Heel: The outer edge of the tooth closest to the outer diameter.
The Ideal Pattern: You want the marking compound to show contact centered between the Face and the Flank, and slightly biased toward the Heel (the outer edge) on the drive side. As the gears mesh under heavy load, the pattern will naturally shift toward the Toe. Starting at the Heel ensures it doesn't run off the edge of the tooth under acceleration.
Pro-Tip: If the pattern is high on the Face, the pinion is too far away from the ring gear (needs a thicker pinion depth shim). If the pattern is low on the Flank, the pinion is too deep (needs a thinner shim). Adjustments are made in thousandths of an inch using shims located behind the pinion bearing cup.
Critical Measurements: Backlash and Pinion Depth
While the visual pattern is crucial, it must be backed up by hard data. The two most critical measurements in a ring and pinion setup are pinion depth and backlash.
Backlash is the amount of rotational 'slop' or clearance between the meshing teeth of the ring and pinion. Too little backlash, and the gears will bind and overheat as they expand from friction. Too much backlash, and the gears will 'clunk' upon load reversal, eventually hammering the teeth until they snap.
Common Axle Setup Specifications
Below is a reference table for some of the most common solid axles found in trucks, SUVs, and muscle cars. Always verify with your specific manufacturer's service manual, as aftermarket gear brands (like Yukon or Motive) may have slight variances.
| Axle Type | Ring Gear Diameter | Backlash Spec | Pinion Nut Torque (w/ Crush Sleeve) | Ring Gear Bolt Torque |
|---|---|---|---|---|
| Ford 8.8-inch | 8.8 inches | 0.008' - 0.012' | 160 - 225 ft-lbs | 70 - 85 ft-lbs |
| Dana 44 | 8.5 inches | 0.006' - 0.010' | 175 - 250 ft-lbs | 55 - 65 ft-lbs |
| GM 8.5' 10-Bolt | 8.5 inches | 0.005' - 0.009' | 150 - 200 ft-lbs | 70 - 80 ft-lbs |
| Chrysler 8.75' | 8.75 inches | 0.008' - 0.014' | 200 - 250 ft-lbs | 45 - 55 ft-lbs |
To measure backlash, a magnetic base dial indicator is mounted to the axle housing, with the probe resting perpendicular to the face of a ring gear tooth. The pinion is held stationary while the ring gear is rocked back and forth. The variance shown on the dial is your backlash, adjusted by moving the carrier side bearing adjuster nuts or shims.
The Crush Sleeve Dilemma: Preload Explained
One of the most intimidating aspects of a ring and pinion setup for beginners is setting the pinion bearing preload. This is the amount of rolling resistance the pinion bearings have when spinning without the ring gear attached. Proper preload ensures the bearings do not loosen under heavy acceleration or braking.
Factory axles achieve this using a hollow, corrugated steel tube called a crush sleeve, located between the inner and outer pinion bearings. As you tighten the massive pinion nut (often requiring upwards of 250 ft-lbs of torque and a specialized holding tool), the sleeve physically crushes down, squeezing the bearings together.
Why Beginners Should Consider a Crush Sleeve Eliminator
The crush sleeve is a one-time-use, high-stress component. If you over-torque the nut by even a fraction, you over-crush the sleeve. The only fix is to pull the pinion out, press the bearings off, and install a brand-new sleeve. Because of this, many DIYers opt for a Crush Sleeve Eliminator Kit (typically $40 to $60 from brands like Randy's Ring & Pinion). These kits replace the crush sleeve with a solid, precision-machined steel spacer and a set of micro-shims. It allows you to set the exact inch-pound rotating torque (usually 15 to 30 in-lbs for new bearings) without the anxiety of permanently crushing a component.
Tools of the Trade for the Aspiring Axle Builder
If your differential fluid change reveals a failing gear set, or you decide to tackle a regear yourself, you cannot rely on standard garage tools. Precision is mandatory. Here is what you need:
- Dial Indicator with Magnetic Base ($30 - $50): Essential for measuring backlash down to the thousandth of an inch.
- Inch-Pound Torque Wrench ($80 - $150): Do not confuse this with a foot-pound wrench. You need this to measure the rolling resistance (preload) of the pinion bearings.
- Bearing Puller and Press ($150+ or rented): Pinion and carrier bearings are interference-fit. They must be pressed on and off; hammering them will destroy the bearing cages and ruin your setup.
- Pinion Holding Tool ($40 - $90): A heavy-duty steel bar that bolts to the pinion flange to stop it from spinning while you torque the pinion nut.
Reassembly: Torque Specs and the Final Fluid Fill
Once your gear pattern is verified and your backlash is dialed in, reassembly requires strict adherence to torque specifications and chemical threadlockers. The ring gear bolts are under immense shear stress. They must be coated with a high-strength, permanent threadlocker like Red Loctite 272 and torqued in a criss-cross, star pattern to ensure the ring gear seats perfectly flat against the carrier flange. A warped ring gear will cause a rhythmic 'thump-thump-thump' noise at low speeds.
Completing the Differential Fluid Change
With the internals assembled, the final step returns us to basic maintenance. Clean the differential cover and housing mating surfaces with brake cleaner. Apply a continuous 3mm bead of RTV silicone (specifically formulated for gear oil, like Permatex Black or Ultra Grey) to the cover. Torque the cover bolts to roughly 25-30 ft-lbs for standard 3/8-inch hardware, being careful not to crack the ears off the differential housing.
Wait for the RTV to cure (usually 1 to 2 hours) before filling. Pump in your chosen 75W-90 or 80W-140 synthetic GL-5 gear oil until it reaches the bottom of the fill hole. Critical Note: If your axle is equipped with a clutch-type Limited Slip Differential (LSD) like a Ford Trac-Lok or Eaton Posi, you must add the manufacturer-specified friction modifier (usually 4 oz) before topping off the fluid. Without it, the clutches will chatter and bind violently during low-speed turns, causing severe driveline shock and premature wear.
By treating your differential fluid change as an opportunity to inspect and understand your ring and pinion setup, you transition from a simple maintenance taker to a true drivetrain custodian. Whether you are reading a gear pattern or simply verifying that your fluid is free of destructive metal chunks, this knowledge ensures your axle will quietly and reliably transfer power to the pavement for thousands of miles to come.