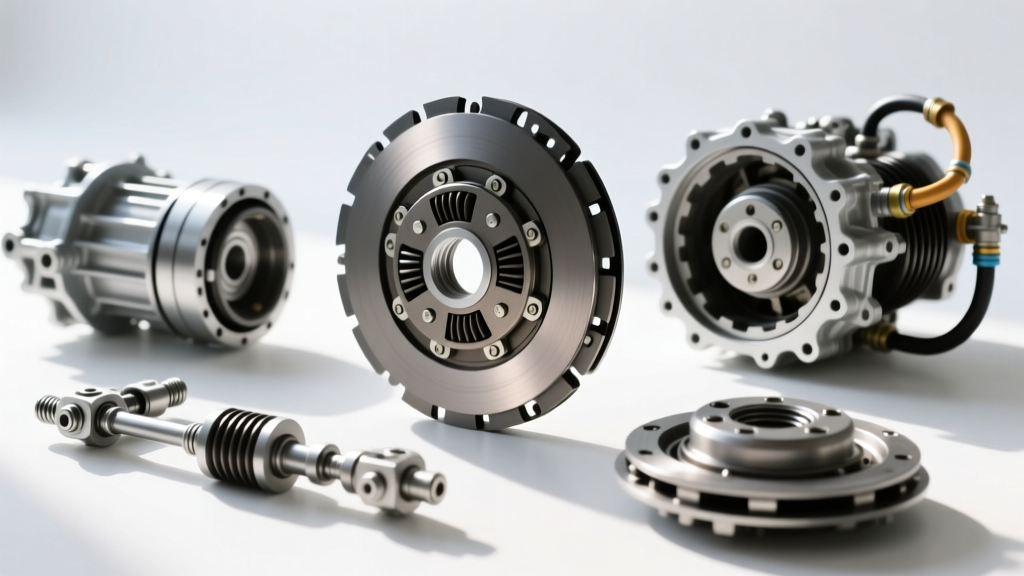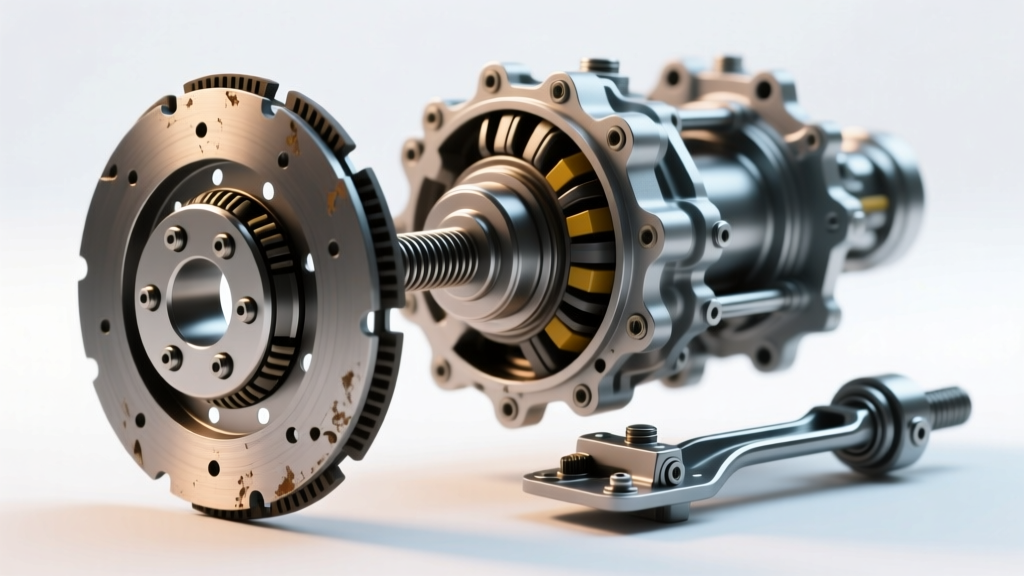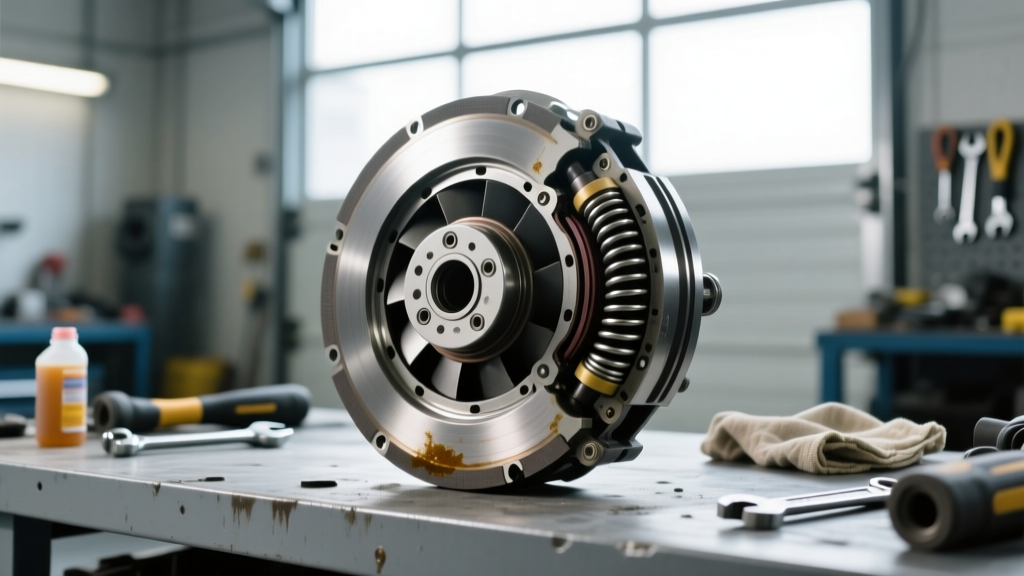
While AutoGearNexus primarily focuses on transmission and drivetrain clutches, the engine's cooling fan clutch is a critical rotating assembly that directly impacts drivetrain efficiency and parasitic power loss. A fan clutch suffering from clutch drag and release problems fails to disengage, effectively locking the cooling fan to the water pump shaft. This continuous engagement saps anywhere from 10 to 20 horsepower from the crankshaft, creates a deafening roar at highway speeds, and risks catastrophic fan blade delamination. As of 2026, with the prevalence of high-output diesel and supercharged V8 platforms generating massive under-hood heat, understanding the thermal and electromagnetic release mechanisms of these components is vital for any serious technician or DIY enthusiast.
The Physics of Fan Clutch Drag and Release Failure
To accurately diagnose the issue before replacing fan clutch components, you must understand the internal mechanics of a thermal viscous clutch. Inside the sealed aluminum housing is a reservoir of specialized silicone fluid (typically polydimethylsiloxane with a viscosity between 10,000 and 30,000 cSt). A bimetallic coil spring on the front face reacts to ambient air temperature passing through the radiator.
When the air is cool, the coil remains contracted, keeping the internal fluid valve closed. The clutch "releases," allowing the fan to slip and spin at roughly 20% to 30% of the water pump's speed. When the air heats up, the coil expands, opening the valve and allowing the silicone fluid to enter the working chamber, locking the fan to the shaft to pull maximum CFM.
The Drag Failure Mode: Clutch drag and release problems occur when the bimetallic strip jams, the internal valve sticks in the open position, or the silicone fluid degrades and loses its shear properties. The clutch fails to "release" even when the engine is cold or at high-speed cruising (where ram-air is sufficient for cooling). This results in severe parasitic drag, sluggish acceleration, and excessive fuel consumption.
Diagnostic Matrix: Identifying Clutch Drag vs. Slip
Before committing to a teardown, verify the failure mode using this diagnostic matrix. According to AA1Car's Cooling System Diagnostics, misdiagnosing a slipping clutch as a dragging one is a common pitfall.
| Symptom | Probable Cause | Field Diagnostic Test |
|---|---|---|
| Deafening roar at cold startup that does not subside | Bimetallic strip jammed open; internal valve stuck (Drag/No Release) | The "Newspaper Test": Attempt to roll up a newspaper and gently push it into the spinning fan. A dragging clutch will shred the paper instantly; a released clutch will slip. |
| Sluggish acceleration and high RPM power loss | Parasitic drag from locked viscous chamber | Datalog OBD-II engine load and fuel trim. A locked fan clutch will show elevated engine load at steady-state highway cruising. |
| Engine overheating in traffic, normal on highway | Fluid degradation; clutch slipping and failing to engage | Spin test (engine OFF, COLD). The fan should offer slight resistance. If it spins freely like a bicycle wheel, the fluid has leaked or sheared. |
| Visible fan blade wobble or micro-fractures | Over-revving a locked clutch past the fan's structural RPM limit | Visual inspection with a bright LED light. Replace immediately to prevent radiator puncture. |
Required Tooling and OEM Specifications
Replacing fan clutch assemblies requires specialized holding tools. Attempting to break the retaining nut with standard open-end wrenches often results in snapped water pump shafts or destroyed pulleys. Ensure you have the following:
- Fan Clutch Wrench Set: 36mm (common for GM LS/LT V8s and Duramax), 32mm (Ford 7.3L/6.7L Powerstroke), or 47mm (Heavy-Duty Dodge Cummins applications).
- Water Pump Pulley Holder Tool: Bolts directly to the pulley face to counteract torque.
- 1/2-Inch Breaker Bar or Impact Wrench: An impact wrench (used carefully) is often the safest method to shock the nut loose without bending the pulley.
- Thread Locker (Blue Loctite 243): For applications that do not use a nylon-insert locknut.
Step-by-Step Guide: Replacing Fan Clutch Assemblies
Step 1: Verification and Shroud Clearance
Begin by removing the upper radiator shroud cover or the entire upper shroud assembly, depending on the vehicle. On modern trucks (like the 2024+ GM HD platforms), the shroud is often integrated with the charge air cooler and requires unclipping several heavy-duty wire harness connectors. Mark your fan blades with a paint pen to ensure you reinstall the fan in the exact same orientation; these assemblies are balanced at the factory, and improper clocking can induce severe harmonic vibration through the water pump bearings.
Step 2: Breaking the Retaining Nut (Thread Direction Warning)
This is the most critical step in the replacement process. You must verify the thread direction before applying force. According to Hayden Automotive Technical Bulletins, applying right-hand force to a left-hand thread nut will instantly snap the water pump shaft, turning a $150 job into a $600 water pump replacement.
- GM LS/LT V8 & Duramax: Typically Right-Hand (RH) threads. Turn counter-clockwise to loosen.
- Ford 7.3L / 6.7L Powerstroke: Typically Left-Hand (LH) threads. Turn clockwise to loosen.
- Dodge 5.9L / 6.7L Cummins: Typically Left-Hand (LH) threads. Turn clockwise to loosen.
Secure the pulley holder tool to the water pump pulley. Fit the correct fan clutch wrench (e.g., 36mm) onto the large hex nut located behind the fan blade hub. Apply sharp, controlled force with your breaker bar. If the nut is seized due to galvanic corrosion between the steel nut and aluminum water pump snout, apply penetrating fluid and allow it to sit for 15 minutes. Alternatively, a brief, high-torque pulse from a 1/2-inch cordless impact wrench will often break the corrosion bond without transferring shock loads to the water pump bearings.
Step 3: Swapping the Hub and Torque Application
Once the nut is removed, slide the fan and clutch assembly forward, out of the shroud. Unbolt the fan blade from the clutch face (usually four 8mm or 10mm hex bolts). Transfer the fan blade to the new clutch assembly.
Clean the water pump snout threads with a brass wire brush. Apply a single drop of blue thread locker if specified by the OEM. Thread the new clutch nut on by hand to prevent cross-threading. Torque the retaining nut to factory specifications. For most GM applications, this is 41 lb-ft (55 Nm). For Ford and Dodge applications utilizing LH threads, torque specs generally range from 35 to 45 lb-ft. Always consult the specific factory service manual, as over-torquing can crush the internal fluid reservoir seal, causing an immediate leak and failure.
Electromagnetic PWM Clutches: The Modern Release Mechanism
While viscous clutches dominate the aftermarket, many late-model heavy-duty trucks and performance vehicles utilize Pulse Width Modulation (PWM) electromagnetic fan clutches. In these systems, the "release" is not dictated by a thermal bimetallic strip, but by the Powertrain Control Module (PCM). The PCM monitors coolant temperature, AC head pressure, and transmission fluid temperature, sending a 12V PWM signal to an electromagnetic coil inside the clutch hub.
If an electromagnetic clutch exhibits drag and release problems (staying locked at 100% duty cycle), the issue may not be mechanical. Before replacing the $300+ electromagnetic clutch assembly, use a bi-directional scan tool to command the fan clutch duty cycle from 10% to 90%. Monitor the actual RPM feedback via the PID data. If the PCM commands a 10% release but the clutch remains physically locked, check the wiring harness for a short to ground, which will cause the coil to remain fully energized. If the wiring is intact and the clutch still drags, the internal electromagnetic air-gap has failed, requiring a full replacement.
Cost Expectations and Part Number References
Budgeting for this repair depends heavily on the platform and the technology used. Based on current 2026 aftermarket and OEM pricing structures from GMB North America Technical Resources and major parts distributors, expect the following:
- Standard Thermal Viscous Clutch (e.g., Hayden 2723 for Ford 7.3L): $65 - $95 for the part. Total DIY cost under $100.
- Heavy-Duty Severe Duty Clutch (e.g., ACDelco 15-40145 for Duramax): $140 - $210. These feature deeper fluid reservoirs for sustained towing.
- PWM Electromagnetic Clutch Assemblies: $280 - $450. These require dealer-level scan tools to recalibrate the PCM fan mapping after installation.
- Professional Labor: 0.8 to 1.2 hours of shop time, equating to $120 - $180 in labor costs.
By accurately diagnosing clutch drag and release problems and executing a precise, tool-supported teardown, you eliminate parasitic horsepower loss, restore factory fuel economy, and protect your radiator from the catastrophic failure of an over-stressed fan blade.