The Thermal Threshold: Why Cooling Lines Matter
According to industry data analyzed by the Transmission Digest, nearly 90% of all automatic transmission failures are directly linked to overheating. Automatic Transmission Fluid (ATF) is engineered to operate optimally between 160°F and 190°F (71°C–87°C). Once fluid temperatures exceed 220°F (104°C), the fluid begins to oxidize, forming varnish and sludge that clogs valve bodies and degrades clutch friction materials. The primary artery responsible for shedding this heat is the transmission cooling line. When these lines fail, restrict, or leak, the resulting thermal runaway can destroy a $4,000 transmission in a single afternoon of heavy towing.
This comprehensive guide details how to diagnose thermal issues, replace failing OEM lines, and implement heavy-duty upgrades to safeguard your drivetrain.
Phase 1: Diagnosing Transmission Overheating and Line Restrictions
Before turning a single wrench, you must confirm that the cooling circuit is the root cause of the thermal spike. Modern vehicles rely on complex thermal management systems that can mimic cooling line failures.
- OBD2 PID Monitoring: Connect a bi-directional scanner and monitor the Transmission Fluid Temperature (TFT) PID. Drive the vehicle under load. If the TFT climbs past 230°F while the engine coolant temperature remains stable at 195°F, the transmission cooler circuit is compromised.
- The Infrared Thermometer Test: With the vehicle idling and warmed up, use an infrared laser thermometer to check the temperature delta across the transmission cooling line. The 'hot' line exiting the transmission should be significantly warmer than the 'return' line coming back from the radiator or auxiliary cooler. If both lines are ambient temperature, your transmission's internal thermal bypass valve may be stuck open, or the lines are completely severed internally.
- Visual Inspection for Micro-Leaks: OEM rubber-hose sections of the cooling line are prone to dry rot and weeping at the crimp collars. Look for a fine mist of red or brown fluid coating the underside of the vehicle near the radiator crossmember.
Phase 2: Step-by-Step Transmission Cooling Line Replacement
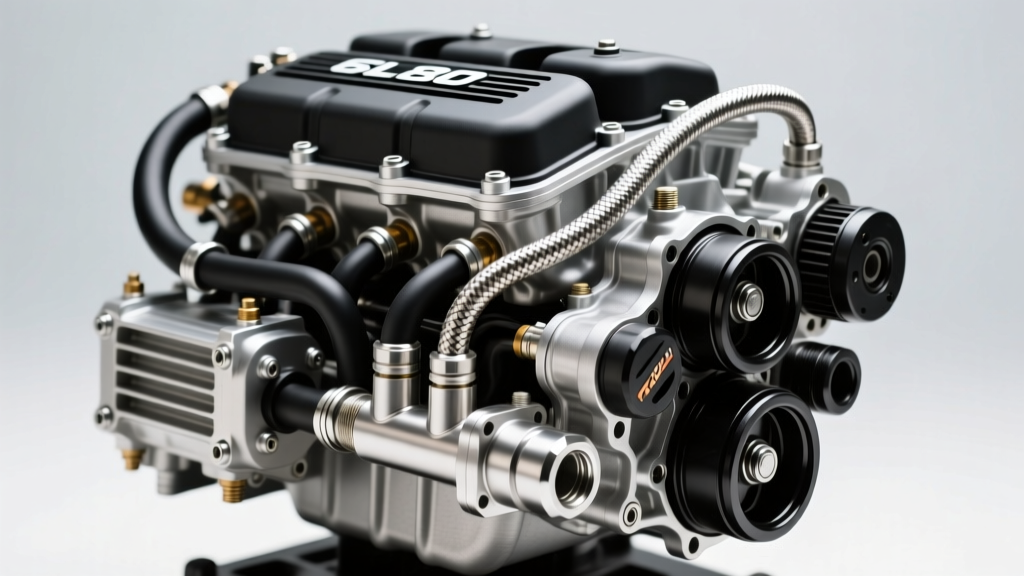
For this procedure, we will focus on the ubiquitous GM 6L80 and 6L90 transmissions, which are notorious for failing plastic quick-connect fittings at the transmission case and radiator. We will be upgrading from the failure-prone OEM plastic/rubber hybrid lines to a braided stainless steel setup.
Step 1: System Depressurization and Fluid Capture
The 6L80 transmission holds approximately 11.2 quarts of Dexron VI fluid in total, but a cooling line swap will only result in the loss of 2 to 3 quarts. Place a high-capacity drain pan (minimum 5-quart capacity) beneath the transmission pan and the radiator cooler connection. Remove the transmission dipstick or fill plug to break the vacuum, allowing the fluid to drain smoothly from the cooler lines.
Step 2: Removing OEM Quick-Connect Fittings
GM utilizes spring-loaded quick-connect fittings that require a specialized release tool. Never pry these fittings with a screwdriver, as you will gouge the aluminum mating surface on the transmission case.
- Select the correct quick-connect disconnect tool (e.g., Lisle 39560 or OEMTOOLS 27302). For the 6L80, the 1/2-inch and 5/8-inch collet tools are most common.
- Push the tool into the fitting to compress the internal retaining fingers.
- Pull the line outward firmly. If the fitting is corroded, apply a penetrating catalyst like PB Blaster and allow it to soak for 15 minutes before reattempting.
Step 3: Adapter Installation and Torque Specifications
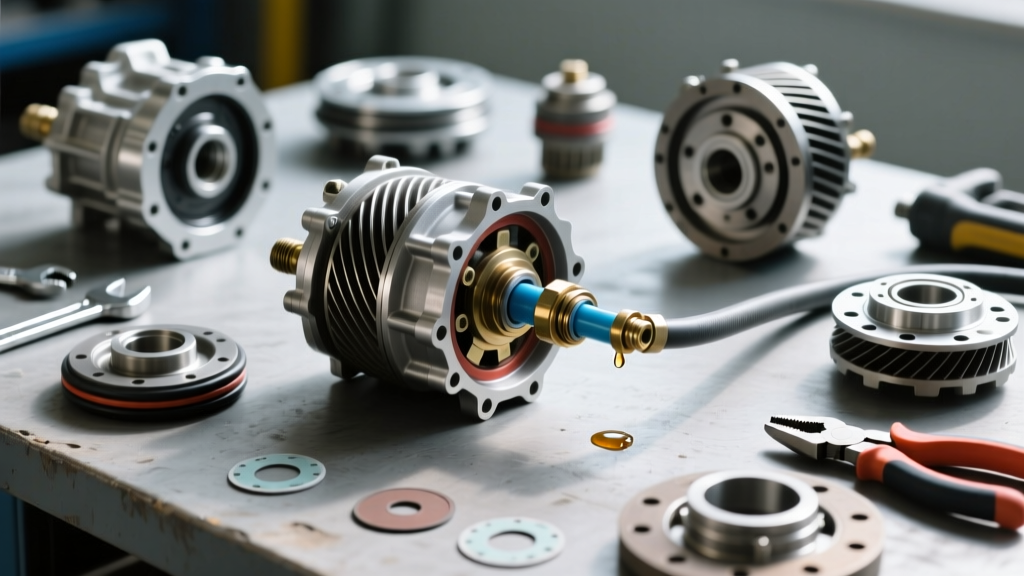
To eliminate the plastic quick-connects entirely, thread in billet aluminum AN-6 adapters (such as ICT Billet part #551-116).
- Thread Prep: Clean the transmission case threads with a lint-free cloth and brake cleaner. Do not use Teflon tape on AN flare fittings; the seal is made at the 37-degree flare, not the threads.
- Torque Spec: Using a crowfoot wrench on a calibrated torque wrench, tighten the adapter into the aluminum transmission case to exactly 15–18 lb-ft. Over-torquing will strip the soft aluminum case threads, requiring a costly helicoil repair.
Step 4: Routing and Securing the New Lines
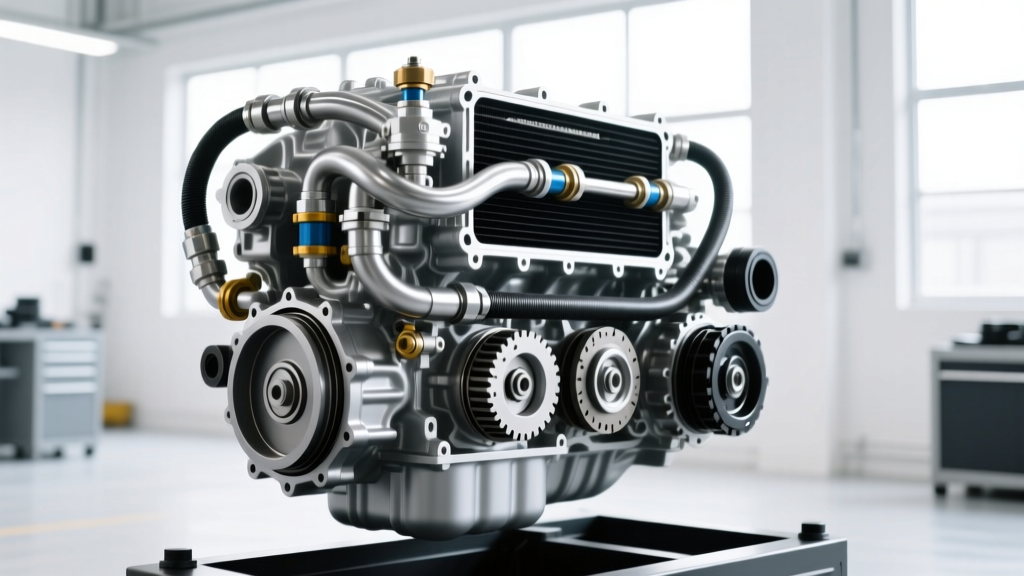
Route the new braided stainless steel lines away from exhaust headers and moving drivetrain components. Braided lines can withstand higher pressures and temperatures, but the stainless outer sheath can chafe through aluminum brackets if not secured properly. Use Adel clamps (cushioned P-clips) spaced every 12 inches to secure the lines to the frame. Connect the lines to a heavy-duty auxiliary cooler using high-pressure hose clamps rated for a minimum of 150 PSI.
Root Cause Analysis: Overheating Variables
Replacing the transmission cooling line is only half the battle. To achieve true reliability, you must understand the variables that contribute to thermal overload. Review the diagnostic matrix below to identify secondary overheating causes.
| Overheating Cause | Primary Symptom | Prevention & Repair Strategy |
|---|---|---|
| Clogged Radiator Cooler | High TFT, low return-line flow rate. | Flush the internal radiator cooler with a dedicated ATF flush chemical. Install an inline Magnefine 3/8' transmission filter to catch clutch debris before it reaches the cooler. |
| Slipping Torque Converter | Overheating specifically during highway cruising (TCC slip). | Replace the Torque Converter Clutch (TCC) PWM solenoid. Verify TCC slip RPM via OBD2 scanner; slip should be under 50 RPM when locked. |
| Thermal Bypass Valve Failure | Lines remain cold while transmission overheats. | Install a thermal bypass valve delete kit to force 100% of fluid through the cooler at all times. |
| Fluid Degradation | Fluid smells burnt, appears dark brown/black. | Perform a complete fluid exchange using OEM-specified fluid (e.g., ZF Lifeguard 8, Dexron VI). Do not mix synthetic blends with conventional fluids. |
Advanced Prevention: Bypass Valve Deletes and Auxiliary Coolers
For vehicles equipped with the ZF 8HP transmission (found in Ram trucks, BMWs, and Jaguars) or the Aisin AS69RC (heavy-duty Ram diesels), the factory thermal management module is a major point of failure. These transmissions feature a thermal bypass valve designed to block fluid from reaching the transmission cooling line until the fluid reaches approximately 176°F (80°C). The goal is to warm the fluid quickly for emissions compliance. However, if this valve sticks in the closed position while towing a 10,000 lb trailer, the transmission will rapidly overheat because the fluid is entirely bypassed from the cooler.
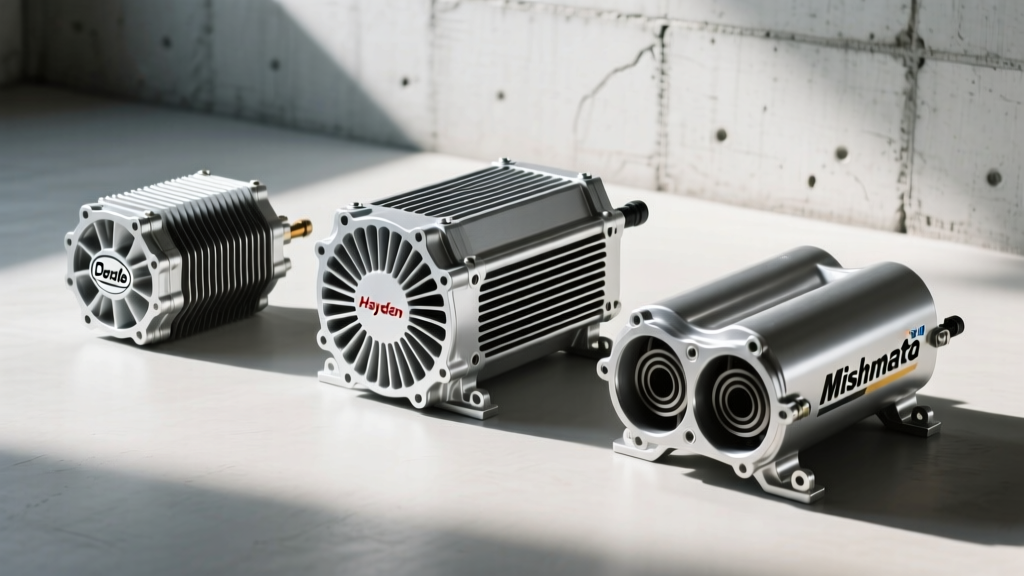
Expert Insight: If you tow frequently, installing a thermal bypass valve delete kit is mandatory. By removing the spring and check ball, you force continuous flow through the transmission cooling line. When paired with an auxiliary plate-and-fin cooler like the Derale Series 8000 (Part #13840), you can drop peak towing temperatures by 30°F to 40°F, keeping the ZF 8HP safely under the 210°F danger zone.
Furthermore, upgrading the cooler lines to a larger internal diameter can increase flow volume. While OEM lines typically utilize a 3/8-inch inner diameter, stepping up to a 1/2-inch or AN-8 braided line reduces fluid friction and increases the volume of ATF cycling through the cooler per minute. This is particularly beneficial for high-horsepower builds utilizing the Ford 6R80 or Allison 1000 platforms.
Final System Bleed and Thermal Verification
Air pockets trapped inside the transmission cooling line or the auxiliary cooler will cause erratic line pressure and delayed shifts. Once the new lines are installed and the system is refilled with the correct volume of ATF, you must perform a dynamic bleed procedure.
- Start the engine with the transmission in Park. Allow it to idle for 3 minutes to prime the internal pump.
- With your foot firmly on the brake, slowly cycle the shifter through every gear position (P-R-N-D-L), pausing for 5 seconds in each gear. This actuates the various clutch apply circuits and forces trapped air out of the valve body and into the pan.
- Return to Park and check the fluid level. The fluid should be at the lower hash mark on the dipstick when cold.
- Take the vehicle for a 15-mile test drive, monitoring the TFT PID. Once the transmission reaches operating temperature (180°F+), re-check the fluid level. It should now be in the upper 'HOT' crosshatched area.
By methodically diagnosing the thermal circuit, replacing weak OEM components with precision-machined adapters, and eliminating restrictive bypass valves, you ensure that your transmission cooling line operates as an unbreakable lifeline. For further technical specifications on valve body modifications and cooler flow rates, refer to the engineering resources available at Sonnax Industries. Proper thermal management is not just an upgrade; it is the ultimate insurance policy for your drivetrain.