Why Transmission Cooler Maintenance is Non-Negotiable
Heat is the undisputed enemy of automatic transmissions. For every 20°F drop in transmission fluid temperature, the lifespan of your drivetrain components effectively doubles. The transmission cooling system is responsible for shedding the immense thermal load generated by the torque converter and clutch packs. When cooler lines degrade, weep, or fail completely, the resulting loss of fluid and line pressure can lead to catastrophic internal damage in a matter of miles.
As we navigate the 2026 automotive landscape, millions of vehicles equipped with workhorse transmissions like the GM 6L80 and the ubiquitous ZF 8HP are crossing the 120,000-mile threshold. At this mileage, the factory cooler lines—specifically the crimped rubber-to-metal transition zones—become prime candidates for failure. Fortunately, you do not need to replace entire hard-line assemblies at the dealership. A high-quality transmission cooler line repair kit offers a beginner-friendly, cost-effective solution for both emergency repairs and proactive maintenance.
What Exactly is a Transmission Cooler Line Repair Kit?
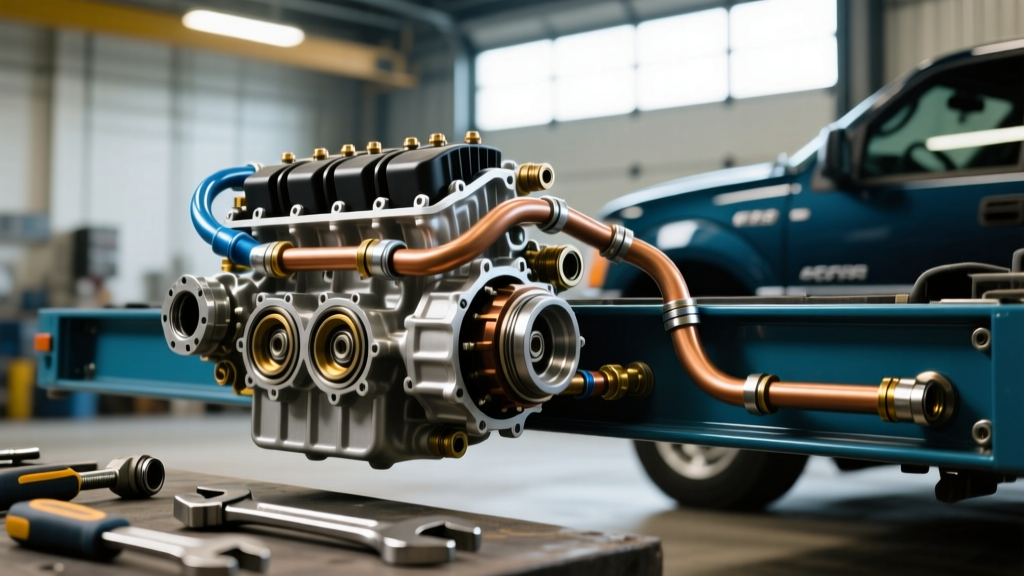
For the uninitiated, a transmission cooler line repair kit is a specialized assortment of hardware designed to splice, seal, and reconnect damaged sections of transmission cooling hoses without requiring expensive factory pre-bent lines or heavy hydraulic crimping tools. A standard kit (such as the popular Dorman 800-605 or Gates Quick Connect assortments, typically priced between $25 and $45) generally includes:
- Push-to-Connect (PTC) Fittings: These feature internal stainless-steel grab rings and rubber O-rings that seal instantly when a properly cut hose is inserted.
- Barbed Splice Unions: Used for traditional rubber hose sections, requiring stainless-steel worm-gear or fuel injection clamps.
- Tubing Cutter: A specialized rotary cutter designed to shear metal or reinforced rubber lines perfectly square, which is critical for O-ring sealing.
- Quick-Disconnect Tools: Plastic or metal collar tools used to safely release factory spring-locks without damaging the radiator or transmission case ports.
According to diagnostics outlined by AA1Car, maintaining unobstructed flow through these lines is just as critical as preventing leaks. A repair kit allows you to excise collapsed or internally delaminated sections of rubber hose that often act as hidden flow restrictors.
Common Failure Points in Modern Transmissions
Before grabbing your repair kit, you must understand where your specific transmission is vulnerable. Different architectures utilize different cooling line routing and materials.
The GM 6L80 / 6L90 Series
Found in millions of Silverados, Camaros, and Corvettes, the 6L80 utilizes plastic quick-connect fittings at both the transmission case and the radiator. Over time, the plastic collars become brittle from engine bay heat cycling. Furthermore, the rubber hose section that absorbs engine vibration often separates from the metal crimp sleeve. Using a transmission cooler line repair kit here allows you to cut out the failing rubber section and install a PTC splice, or replace the plastic quick-connect ends with CNC-machined aluminum aftermarket upgrades.
The ZF 8HP (BMW, Chrysler, Audi)
The ZF 8HP is an engineering marvel, but its cooling system is highly sensitive to flow restrictions. Many ZF applications use a thermal bypass valve and banjo-style bolts to route fluid to the auxiliary cooler. The copper or aluminum crush washers on these banjo bolts are strictly one-time-use. While a standard hose splice kit won't fix a banjo leak, comprehensive repair kits now include these vital crush washers and specialized O-rings for the thermal management module.
The GM 4L60E
The legendary 4L60E uses traditional flare-nut fittings and standard rubber hose clamps. It is the most forgiving transmission to work on. A basic barbed union and hose clamp setup from any repair kit will yield a permanent, factory-equivalent seal if torqued correctly.
Step-by-Step Guide: Using Your Repair Kit for Maintenance
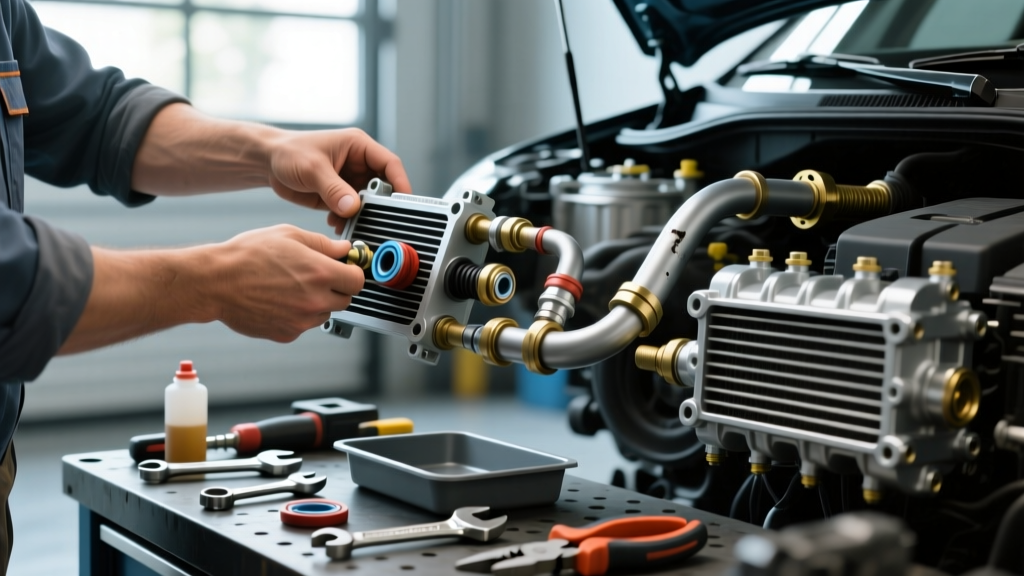
Performing cooler line maintenance using a repair kit is well within the capabilities of a weekend DIYer. Follow this structured approach to ensure a leak-free result.
Step 1: Depressurize and Prep the Workspace
Never open a transmission cooler line while the system is hot or pressurized. Allow the vehicle to sit overnight. Place a large drain pan (minimum 5-quart capacity) beneath the cooler lines. Use your quick-disconnect tools to release the factory fittings. If you are cutting out a damaged section of rubber hose, wrap the surrounding wiring harnesses in shop towels to prevent accidental nicks from your tubing cutter.
Step 2: Excise the Damaged Section
Identify the weeping or delaminated section. Using the tubing cutter included in your transmission cooler line repair kit, make a perfectly square cut on the healthy metal or rubber line at least one inch away from the damaged area. Crucial Tip: If you are using a Push-to-Connect (PTC) fitting, the cut must be 100% square and free of burrs. An angled cut will compromise the internal O-ring and result in a high-pressure leak.
Step 3: Install the Splice Fitting
For PTC fittings, simply push the freshly cut line into the fitting until you feel it bottom out, then pull back slightly to ensure the stainless grab ring has engaged. For barbed fittings, slide your hose clamp onto the line before pushing the barb into the hose. Use a few drops of clean transmission fluid on the barb to lubricate it during insertion—never use petroleum jelly or silicone grease, as these will contaminate the fluid and cause clutch slippage.
Step 4: Reconnect and Verify Flow
Reattach the lines to the radiator and transmission. As highlighted in Sonnax's technical resources on cooler line flow, verifying cooler flow is a mandatory post-repair step. Start the engine, shift through all gears to circulate fluid, and verify that fluid is returning through the cooler line at a steady rate without aeration.
Reference Chart: Fluid Capacities and Fitting Torque Specs
When maintaining your cooler lines, you will inevitably lose some transmission fluid. Always top off with the exact OEM-specified fluid. Mixing fluids (e.g., putting Dexron VI into a ZF 8HP requiring Lifeguard 8) will alter the friction modifiers and destroy the clutch packs. Use the table below as a quick-reference guide for common applications:
| Transmission Model | Total Fluid Capacity | OEM Fluid Spec | Cooler Fitting Torque / Type |
|---|---|---|---|
| GM 4L60E | 11.2 Quarts | Dexron VI | Flare Nut: 15 lb-ft (20 Nm) |
| GM 6L80 / 6L90 | 12.4 Quarts | Dexron ULV / VI | Quick-Connect (No Torque); Case Adapter: 25 Nm |
| ZF 8HP (BMW/Chrysler) | 9.5 - 10.5 Quarts | ZF LifeguardFluid 8 | Banjo Bolt: 18 lb-ft (25 Nm) - Use New Crush Washers |
| Ford 6R80 | 13.1 Quarts | Mercon LV | Quick-Connect / Flare: 18 lb-ft (24 Nm) |
Pro-Tips for Flushing and Long-Term Care
Using a transmission cooler line repair kit is the perfect opportunity to perform an inline flush. Over time, the torque converter sheds microscopic friction material that gets trapped in the auxiliary cooler's finned tubes. If you are replacing a failed transmission or repairing a line that blew due to internal pressure spikes, you must flush the cooler circuit.
While professional shops use pressurized flushing machines, a beginner can achieve excellent results by installing a temporary inline bypass filter (such as the Magnefine 3/8-inch inline transmission filter) during the repair. This filter catches debris down to 35 microns. After 3,000 miles, cut the line again using your repair kit, remove the filter, and install a permanent PTC splice.
Finally, beware of galvanic corrosion. If your repair kit utilizes steel barbed fittings, ensure they are not in direct, unprotected contact with aluminum radiator end-tanks in the presence of road salt. Wrapping the connection point in self-fusing silicone rescue tape provides an excellent, waterproof dielectric barrier that will keep your repair looking clean and functioning perfectly for the remaining life of the vehicle.
Final Thoughts
Maintaining your transmission cooling system does not require a master technician's certification or a massive repair bill. By keeping a high-quality transmission cooler line repair kit in your garage, you empower yourself to handle leaks, perform preventative splices, and maintain optimal fluid temperatures. Whether you are driving a heavy-duty truck with a 6L80 or a daily-driver equipped with a ZF 8HP, respecting your cooler lines is the cheapest insurance policy you can buy for your drivetrain.