Introduction to Car Differential Rebuilds
Rebuilding the differential in rear-wheel drive (RWD) and four-wheel drive vehicles is one of the most rewarding yet demanding tasks in automotive drivetrain repair. Whether you are servicing a legendary Ford 8.8-inch, a classic GM 12-bolt, or a robust Dana 44, the fundamental physics of hypoid gear meshing remain identical. A proper rebuild eliminates whining, prevents catastrophic gear failure, and restores factory-level power delivery.
In this comprehensive guide, we break down the exact procedures, torque specifications, and precision measurements required to rebuild car differentials correctly. By following these steps, you will achieve a setup that rivals or exceeds original equipment manufacturer (OEM) tolerances.
The Economics of Rebuilding in 2026
As of 2026, the average dealership or specialized drivetrain shop charges between $1,800 and $3,200 for a complete ring and pinion installation and differential rebuild. The parts themselves—typically a master rebuild kit (bearings, seals, shims), a new ring and pinion set, and synthetic gear oil—usually cost between $450 and $800. By performing the labor yourself, the return on investment for purchasing the necessary precision measuring tools is realized on the very first job.
Essential Precision Tools for the Job
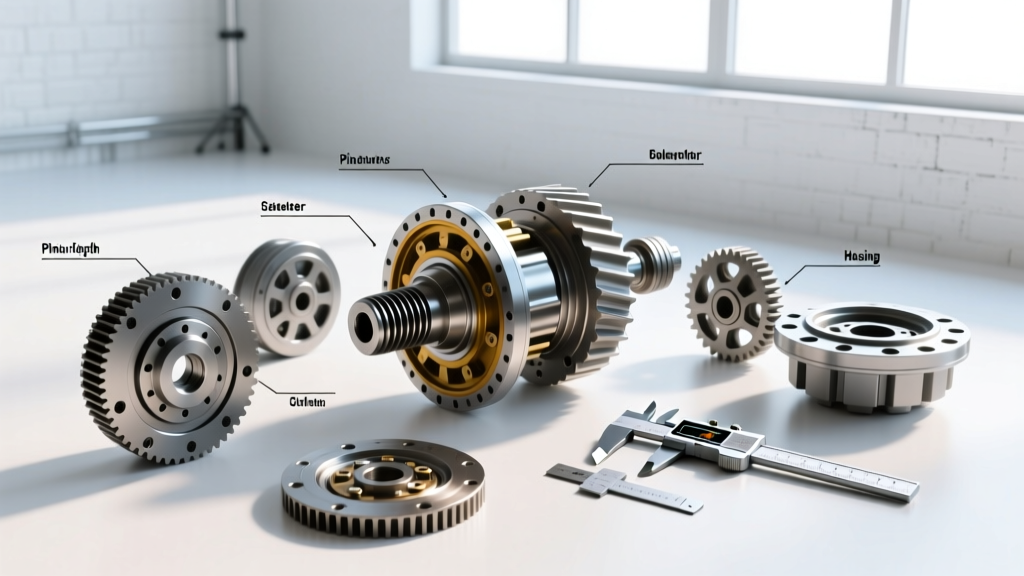
You cannot eyeball a differential setup. Hypoid gears operate under immense stress, and a deviation of just 0.002 inches in backlash or pinion depth will result in rapid wear or immediate tooth shearing. Before beginning, ensure you have the following:
- Inch-Pound Torque Wrench: A beam-style or high-quality digital inch-pound wrench (0-50 in-lbs range) for measuring bearing preload.
- Foot-Pound Torque Wrench: Capable of up to 250+ ft-lbs for the pinion nut.
- Dial Indicator with Magnetic Base: Must read in 0.001-inch increments to measure backlash accurately.
- Pinion Depth Setting Tool: Specific to your axle housing (e.g., OTC 7105 or equivalent master adapter kit).
- Yellow Gear Marking Compound: Specifically formulated for hypoid gears (do not use standard Prussian blue).
- Shop Press and Bearing Pullers: For removing and installing Timken or SKF taper roller bearings without damaging the races.
Phase 1: Teardown and Forensic Inspection
Begin by draining the differential fluid and removing the rear cover or third-member assembly. Before removing the bearing caps, you must mark them. Bearing caps are line-bored at the factory alongside the housing. Swapping them side-to-side or rotating them will misalign the carrier bearings, causing immediate binding and failure.
Remove the carrier assembly and the pinion gear. Inspect the old ring and pinion for failure modes. According to Ring-Pinion Technical Archives, a worn pattern on the heel of the drive side usually indicates excessive backlash, while a pattern pushed to the toe suggests the pinion depth is too shallow. Document the thickness of the original pinion depth shim located behind the inner pinion bearing race; this is your baseline for the new setup.
Phase 2: Setting Pinion Depth and Bearing Preload
Step 1: Pinion Depth Shimming
The pinion depth shim dictates how close the pinion gear sits to the centerline of the ring gear. Using your pinion depth setting tool and the old shim as a starting point, install the dummy bearing (a bearing with the inside diameter honed out so it slides on and off easily) onto the pinion shaft. Measure the distance from the pinion face to the axle centerline using a micrometer and depth gauge. Adjust the shim thickness until you hit the exact specification stamped on the head of your new pinion gear (usually a variance of +0.001 to -0.003 inches from the nominal housing depth).
Step 2: Pinion Bearing Preload
Once the depth is set, press on the new, final inner and outer pinion bearings. OEM setups utilize a crush sleeve between the bearings. To achieve the correct preload, you must tighten the pinion nut until the sleeve crushes, yielding a rotating torque of 15 to 25 inch-pounds (for new bearings). Be warned: this often requires 200 to 300 foot-pounds of torque on the pinion nut. If you overshoot the preload, you must replace the crush sleeve and start over.
Pro Tip: For high-horsepower or track-driven car differentials, bypass the crush sleeve entirely by installing a solid pinion spacer kit (such as those made by Ratech). This allows you to set preload using selectable shims, ensuring the preload never relaxes under heavy acceleration loads.
Phase 3: Carrier Installation and Backlash Adjustment
Bolt the new ring gear to the carrier using high-strength threadlocker (e.g., Loctite 272) and torque the bolts to spec (typically 70-85 ft-lbs in a star pattern). Press the carrier bearings onto the journals and drop the assembly into the housing.
Backlash is the amount of rotational free-play between the ring and pinion gears. Mount your dial indicator perpendicular to the face of the ring gear teeth. Hold the pinion flange completely stationary and rock the ring gear back and forth. For most street-driven car differentials, the target backlash is between 0.006 and 0.010 inches.
- GM 12-Bolt / 10-Bolt: Adjust backlash by turning the threaded adjuster sleeves on the bearing caps.
- Ford 8.8 / Dana 44: Adjust backlash by swapping the shims located behind the outer bearing races. Moving a shim from the left side to the right side moves the ring gear closer to the pinion, decreasing backlash.
Phase 4: The Gear Contact Pattern
Numbers on a dial indicator only tell half the story; the gear contact pattern reveals how the gears will mesh under actual torque load. Apply a thin, even coat of yellow marking compound to three or four teeth on both the drive (convex) and coast (concave) sides of the ring gear.
Apply moderate resistance to the ring gear with a gloved hand or a rag while rotating the pinion flange back and forth. Inspect the pattern:
- Ideal Pattern: Centered from top to bottom (face to flank) and centered from heel (inner edge) to toe (outer edge), with a slight bias toward the toe on the drive side.
- Too Deep (Pinion too close to ring gear): Pattern runs off the bottom edge (root) of the tooth. Add thickness to the pinion depth shim to pull the pinion away.
- Too Shallow (Pinion too far from ring gear): Pattern runs off the top edge (tip) of the tooth. Reduce pinion depth shim thickness.
For visual references and deep-dive troubleshooting on anomalous patterns, consult the Yukon Gear & Axle Technical Support documentation, which provides excellent photographic guides for pattern diagnosis.
Reference Table: Common RWD Differential Specifications
| Differential Model | Pinion Nut Torque (Crush) | Target Bearing Preload (New) | Backlash Specification | Fluid Capacity |
|---|---|---|---|---|
| Ford 8.8-Inch | 200 - 250 ft-lbs | 18 - 23 in-lbs | 0.006" - 0.010" | 2.5 - 3.0 Pints |
| GM 12-Bolt (Car) | 220 - 270 ft-lbs | 20 - 25 in-lbs | 0.006" - 0.010" | 3.5 Pints |
| Dana 44 (JK/Rubicon) | 220 - 250 ft-lbs | 15 - 20 in-lbs | 0.005" - 0.008" | 3.5 - 4.0 Pints |
| Chrysler 8.25 | 200 - 240 ft-lbs | 15 - 25 in-lbs | 0.006" - 0.010" | 3.25 Pints |
Note: Always verify specifications against the factory service manual for your specific year and model, as heavy-duty or track packages may alter baseline torque values.
Phase 5: Sealing, Fluid Fill, and Break-In
Once the pattern and preload are verified, secure the bearing caps (torquing them to 70-110 ft-lbs depending on the housing) and install the axle shafts. Clean the differential cover and housing mating surface with brake cleaner. Apply a continuous bead of RTV silicone (such as Permatex Ultra Black) and reinstall the cover, torquing the bolts to 25-30 ft-lbs in a crisscross pattern.
Selecting the Right Gear Oil
Fill the differential through the fill plug until the fluid reaches the bottom of the fill hole threads. For most modern car differentials, a full synthetic 75W-90 or 75W-140 gear oil is required. High-quality options like Amsoil Severe Gear or Mobil 1 Synthetic provide superior shear stability and thermal protection compared to conventional mineral oils.
If your differential is equipped with a clutch-type limited-slip differential (LSD) such as Ford's Trac-Lok or GM's Eaton Positraction, you must add a friction modifier (typically 4 oz). Failure to do so will result in severe chattering and binding during low-speed cornering, which will quickly destroy the clutch packs.
The Critical Break-In Procedure
New ring and pinion gears generate significant friction and heat as the microscopic machining marks wear into one another. To prevent the gear oil from breaking down and the gears from overheating:
- Drive the vehicle under normal, light-load conditions for the first 15 to 20 miles.
- Stop and allow the differential housing to cool completely to ambient temperature (at least 45 minutes).
- Repeat this heat-and-cool cycle 3 to 4 times.
- Avoid sustained highway speeds (over 65 mph) and heavy towing or hard launches for the first 500 miles.
After the 500-mile break-in period, it is highly recommended to drain the fluid to remove the initial metallic break-in paste, replace the cover RTV, and refill with fresh synthetic gear oil. This single maintenance step will easily double the operational lifespan of your newly rebuilt car differential.
Summary
Rebuilding car differentials requires patience, cleanliness, and an unwavering commitment to precision measurement. By methodically setting pinion depth, dialing in bearing preload, and verifying the gear contact pattern, you ensure that the drivetrain operates quietly and efficiently. Armed with the right tools and the technical data provided in this guide, you can confidently tackle axle service and keep your vehicle's power firmly planted to the pavement.