Introduction to the Rear Wheel Differential Gear Set
Setting up the ring and pinion gear set inside a rear wheel differential is often viewed as a dark art reserved for seasoned drivetrain mechanics. However, with the right tools, a methodical approach, and a basic understanding of gear geometry, it is a task that an advanced DIYer or beginner mechanic can successfully tackle. The ring and pinion are the heart of your axle assembly, responsible for taking the rotational force from the driveshaft and multiplying it while turning it 90 degrees to spin your rear wheels.
Whether you are regearing a solid axle for larger off-road tires or rebuilding a classic car's rear end, understanding the fundamental setup parameters is critical. A poorly set up gear set will whine, overheat, and ultimately destroy itself within a few thousand miles. In this beginner-friendly explainer, we will break down the core concepts of gear setup, real-world specifications, and the often-overlooked role of differential fluid during the break-in process.
The Anatomy of Hypoid Gearing
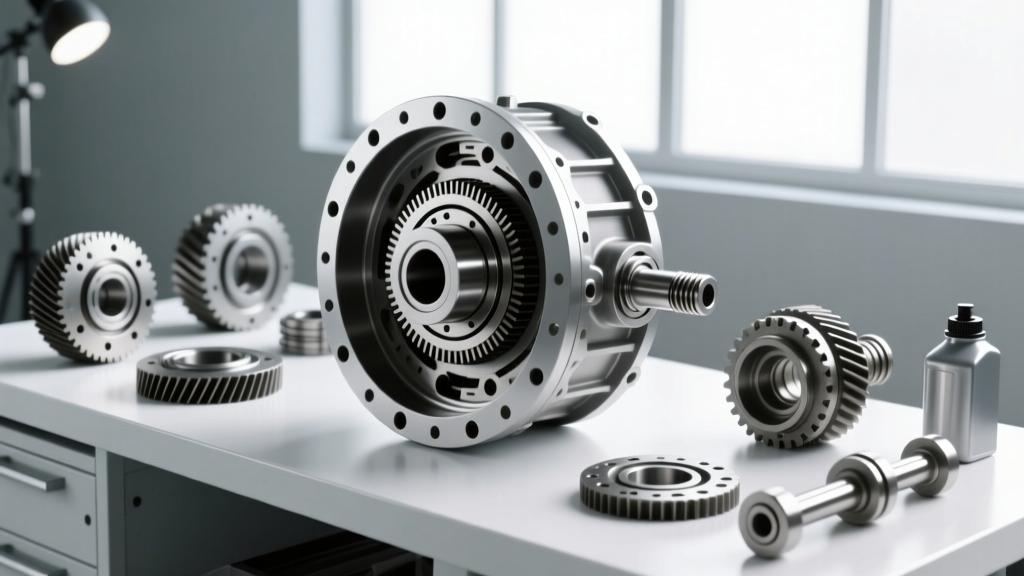
Most modern automotive rear wheel differential assemblies utilize a hypoid gear design. Unlike standard bevel gears where the pinion gear intersects the exact centerline of the ring gear, a hypoid pinion is offset below the centerline. This design lowers the driveshaft tunnel in the vehicle, reducing cabin intrusion, while simultaneously increasing the tooth contact area for immense strength.
Because the pinion gear is offset, the teeth do not just roll against one another; they slide across each other under extreme pressure. This sliding action generates massive amounts of friction and heat, which is why specialized extreme pressure (EP) gear oils containing sulfur-phosphorus additives are mandatory. According to the engineering guidelines from Motive Gear, the sliding friction of hypoid gears requires precise machining and exact setup tolerances to ensure the load is distributed evenly across the entire face of the tooth.
The 'Big Three' Setup Measurements
When setting up a rear wheel differential, you are essentially chasing three critical measurements. If any of these are out of spec, the gear set will fail.
1. Pinion Depth
Pinion depth dictates how far the pinion gear sits into the ring gear. This is adjusted by adding or removing shims behind the inner pinion bearing cup (or on the pinion shaft itself, depending on the axle design). Because manufacturing variances exist, gear manufacturers machine a specific depth variance into the head of the pinion gear (e.g., '+0.002' or '-0.001'). You must use a pinion depth setting tool or measure carefully against the original factory shim stack to get this baseline correct.
2. Backlash
Backlash is the amount of rotational 'play' or clearance between the ring gear tooth and the pinion gear tooth. It is measured in thousandths of an inch using a dial indicator. Backlash allows room for the gears to expand as they heat up and for the lubricating fluid film to exist between the teeth. Too tight, and the gears will bind and overheat; too loose, and the gears will clash and chip under load.
3. Bearing Preload
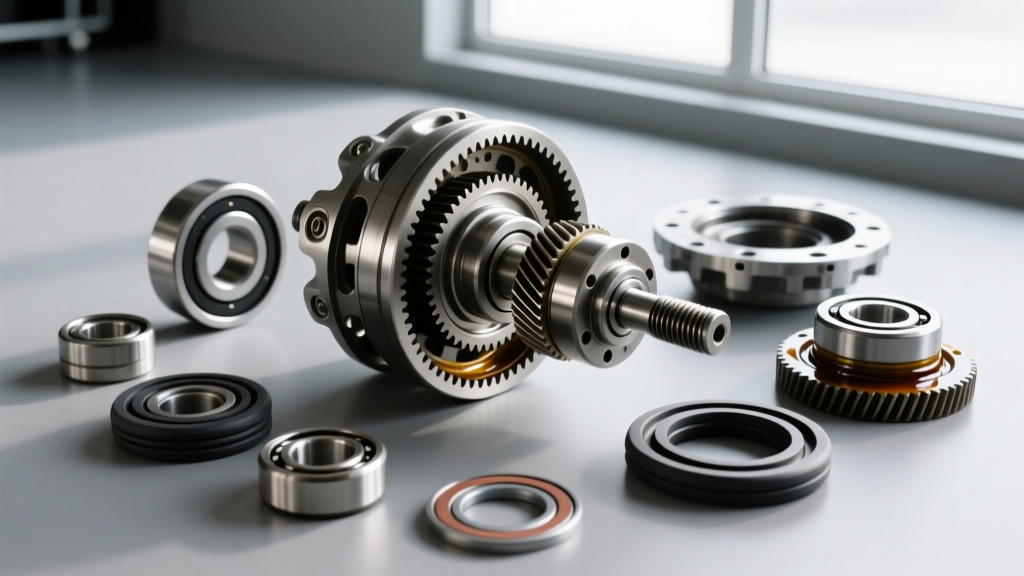
Preload is the amount of friction applied to the bearings to keep them seated tightly without excessive drag. There are two preloads to set: pinion bearing preload (usually achieved by crushing a spacer sleeve or using a solid spacer shim kit) and carrier bearing preload (achieved by shimming the sides of the differential carrier or adjusting threaded bearing caps).
Essential Tools for the Home Mechanic
You cannot eyeball a gear setup. Precision measuring tools are non-negotiable. Before tearing down your rear wheel differential, ensure you have the following:
- Dial Indicator with Magnetic Base: Must read in 0.001-inch increments to measure backlash and ring gear runout.
- Beam-Style Inch-Pound Torque Wrench: Crucial for measuring pinion bearing preload. Do not use a standard click-style foot-pound wrench for this step.
- Gear Marking Compound: A yellow or white paste (like Permatex 80050) used to paint the teeth and reveal the contact pattern.
- Torque Multiplier or Long Breaker Bar: Required to achieve the high torque specs needed to crush pinion sleeves or torque ring gear bolts.
- Threadlocker: Medium strength (Blue Loctite 242) for ring gear bolts; high strength (Red Loctite 272) for pinion nuts.
Reference Table: GM 8.5-Inch 10-Bolt Specifications
To provide concrete context, let us look at one of the most common rear wheel differential platforms in the enthusiast world: the GM 8.5-inch 10-bolt (frequently found in 1970s-1990s GM trucks and muscle cars). Below are the target setup specifications for a fresh gear install with new bearings.
| Measurement Parameter | Target Specification | Adjustment Method |
|---|---|---|
| Ring Gear Backlash | 0.006" - 0.010" | Carrier side shims or adjuster nuts |
| Pinion Bearing Preload (New Bearings) | 15 - 25 in-lbs (rotational) | Crush sleeve or solid spacer shims |
| Pinion Bearing Preload (Used Bearings) | 8 - 14 in-lbs (rotational) | Crush sleeve or solid spacer shims |
| Ring Gear Runout | Maximum 0.003" | Cleaning mating surfaces, checking carrier |
| Ring Gear Bolt Torque | 75 ft-lbs (with Blue Loctite 242) | Torque wrench (Verify LH or RH threads!) |
Note: Always refer to the specific setup sheet included with your aftermarket gear set, as nominal pinion depth varies by manufacturer and gear ratio.
Decoding the Gear Marking Pattern
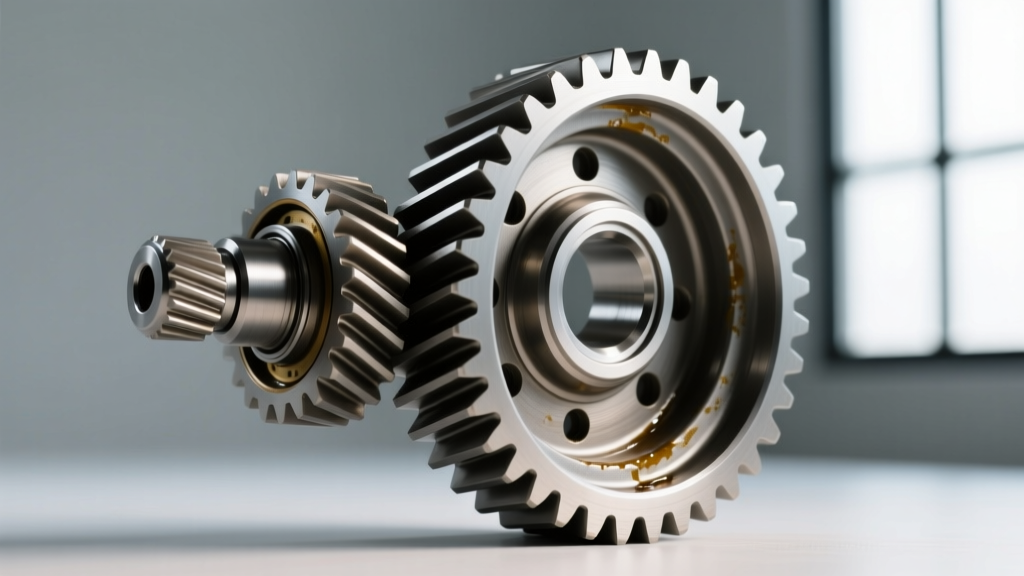
Once your depth, backlash, and preload are set to spec, you must verify the physical contact pattern. Apply a thin coat of gear marking compound to the ring gear teeth. Rotate the pinion back and forth under light braking pressure (using a rag on the pinion yoke) to transfer the pattern. According to Yukon Gear and Axle, a perfect pattern will sit squarely in the middle of the tooth face, slightly biased toward the toe (the inner edge of the ring gear) under no load, which will center out under heavy driving torque.
Understanding the Geometry
- Face vs. Flank: The 'Face' is the coast side of the tooth (engine braking), and the 'Flank' is the drive side (acceleration). The drive flank pattern is the most critical.
- Toe vs. Heel: The 'Toe' is the inside diameter of the ring gear, and the 'Heel' is the outside diameter.
If your pattern is riding too high on the tooth (toward the top land), the pinion is too far away from the ring gear, and you must add pinion depth shims. If the pattern is riding too low (toward the root), you must remove pinion depth shims. Remember the golden rule of gear setup: Pinion depth shims move the pattern up and down the tooth face; carrier shims (backlash) move the pattern left and right (toe to heel).
The Break-In Procedure: Why Differential Fluid Matters
Because this setup process directly impacts the longevity of your drivetrain, we must discuss the tribology of the gear break-in process. A brand-new ring and pinion feature microscopic machining marks. During the first few hundred miles, these high spots must wear down and mate perfectly to one another. This process generates intense, localized heat.
Many beginners make the critical mistake of filling a freshly built rear wheel differential with high-end synthetic gear oil immediately. Synthetic fluids, particularly those with heavy friction modifiers, are too 'slippery' during the initial break-in phase. They prevent the microscopic high spots from properly mating, leading to a glazed gear surface that will whine forever.
The Correct Fluid Protocol
- Initial Fill (Miles 0 to 500): Use a high-quality conventional 80W-90 GL-5 gear oil. The conventional base stock provides the necessary friction coefficient to allow the gears to lap themselves properly. If your differential features a clutch-type limited-slip differential (LSD), do not add the friction modifier additive during this first fill. The clutches need to bed in just like the gears do.
- The First Drain: At 500 miles, drain the fluid immediately. You will likely see a fine, glittery paste on the drain plug and inside the housing. This is normal; it is the microscopic metal from the mating process. Flush the housing with a cheap quart of conventional oil to wash out the remaining debris.
- Long-Term Fill (Mile 500+): Now you can switch to a premium synthetic 75W-90 GL-5 gear oil (such as Mobil 1 or Red Line). If you have a clutch-type LSD, add the manufacturer-recommended dose of friction modifier to prevent chatter during low-speed cornering.
Common Beginner Pitfalls to Avoid
Even with the right tools, rushing the process can ruin a $400 gear set. Avoid these common mistakes:
Pro-Tip: Ditch the Crush Sleeve
Standard pinion setups use a steel 'crush sleeve' to set bearing preload. Crushing this sleeve requires immense torque (often over 250 ft-lbs) and is incredibly easy to over-crush, forcing you to disassemble the entire pinion to install a new $5 sleeve. Beginners should invest in a Solid Pinion Spacer Kit (often costing around $40-$60). These use a solid machined spacer and a stack of precision shims, allowing you to set and reset preload infinitely without the risk of over-crushing.
- Ignoring Ring Gear Runout: If the mating surface on the differential carrier is not perfectly clean, or if the carrier itself is warped, the ring gear will wobble. A runout greater than 0.003" will cause tight and loose spots in your backlash, leading to gear failure.
- Reusing Ring Gear Bolts: Ring gear bolts undergo massive shear stress. Always clean the threaded holes in the ring gear with a tap or brake cleaner, apply Loctite, and use new hardware if the old bolts show any signs of stretching.
- Mixing Up Left-Hand Threads: Many older Chrysler and GM differentials use left-hand threaded ring gear bolts. Forcing them out with a standard counter-clockwise turn will strip the ring gear, turning a weekend project into an expensive paperweight.
Conclusion
Setting up a rear wheel differential ring and pinion is an exercise in patience and precision. By respecting the hypoid gear geometry, meticulously measuring your backlash and preload, reading the marking compound pattern, and adhering to a strict conventional-to-synthetic fluid break-in protocol, you can build an axle assembly that is whisper-quiet and capable of handling massive horsepower. Take your time, double-check your inch-pound measurements, and let the gear oil do its job during those crucial first 500 miles.