The Dana 60: Heavy-Duty Axle Rebuild Fundamentals
The Dana 60 axle is the undisputed king of heavy-duty off-road and towing applications, found in everything from classic Ford and Chevy 3/4-ton trucks to modern Dodge Ram 2500s. Whether you are upgrading to 4.10 gears for larger tires or replacing failing carrier bearings, a proper differential rebuild requires meticulous attention to clearance specs and torque sequences. While many guides focus solely on the ring and pinion setup, the teardown, inspection, and resealing phases are equally critical to the longevity of the assembly.
In this comprehensive step-by-step guide, we will walk through the complete Dana 60 differential rebuild procedure. We will start with the safe removal of the Dana 60 differential cover, move through the precise measurement of pinion depth and backlash, and conclude with modern 2026 fluid fill protocols to ensure your axle survives the harshest environments.
Essential Tooling and Parts
Before unbolting anything, gather the necessary equipment. A master rebuild kit (such as the Yukon Gear & Axle YK D60-REAR, typically $280-$340) includes Timken bearings, races, shims, and ring gear bolts. You will also need:
- Inch-pound and foot-pound beam-style torque wrenches
- Dial indicator with a magnetic base (0.0001-inch resolution)
- Bearing puller and press (or access to a machine shop)
- Brake cleaner, lint-free shop towels, and a brass drift
- Permatex Ultra Black RTV or a high-quality rubber gasket (e.g., Fel-Pro RDS55350)
Step 1: Dana 60 Differential Cover Removal & Draining
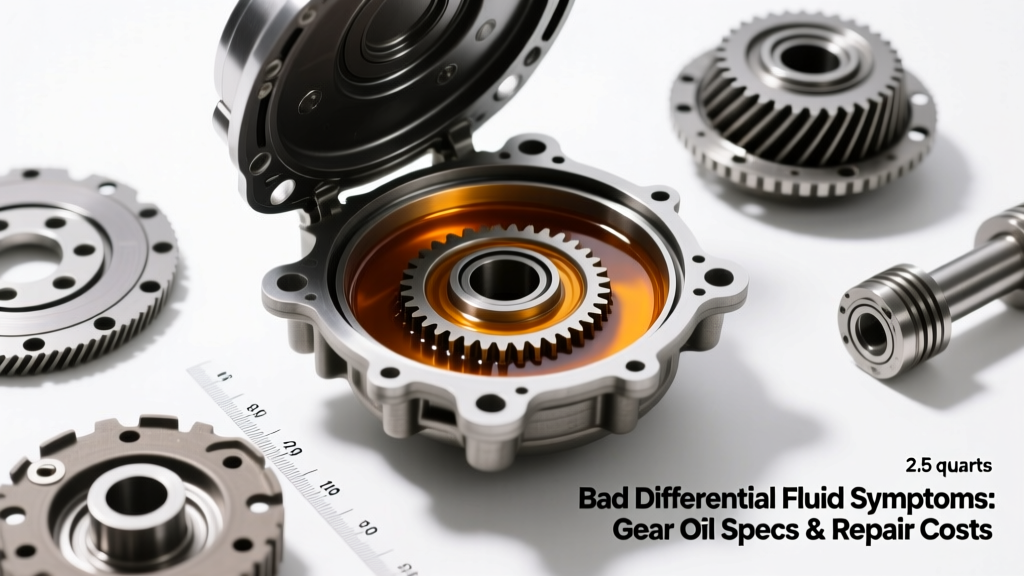
The rebuild process begins with draining the housing and exposing the carrier. Place a large catch pan beneath the axle, as a standard Dana 60 rear holds approximately 3.5 to 4.0 pints of gear oil. If your truck is equipped with an aftermarket deep-sump Dana 60 differential cover (like those from AFE Power or Mag-Hytec), expect to drain up to 6 pints.
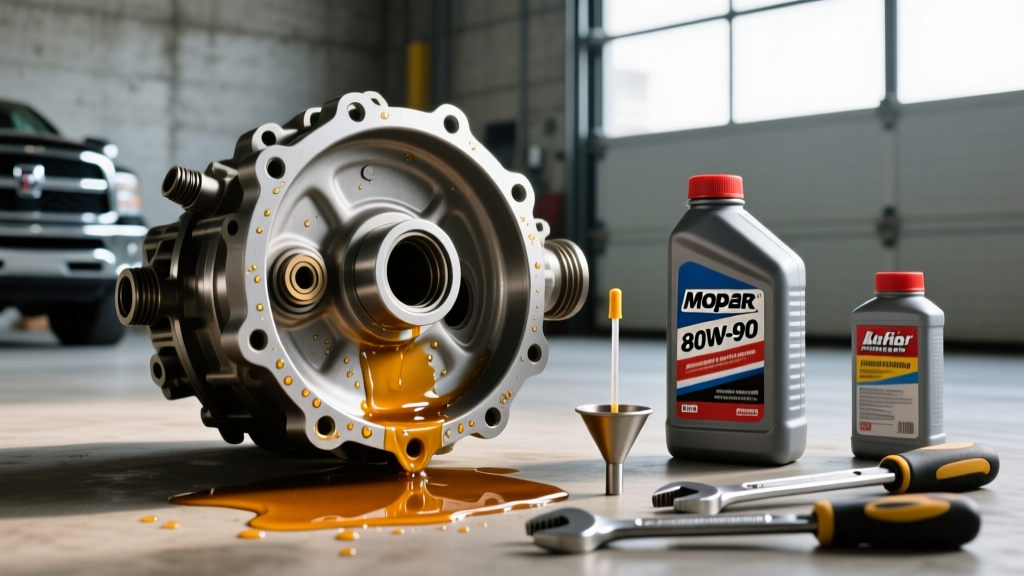
Using a 3/8-inch drive ratchet or a 13mm socket (depending on the specific bolt hardware installed), break loose the 10 to 12 cover bolts. Leave the top two bolts loosely threaded to act as hinges. Use a flathead screwdriver to gently pry the bottom edge of the cover, allowing the contaminated 75W-140 or 85W-140 fluid to drain out. Inspect the fluid immediately; a metallic glitter suspension indicates severe bearing wear, while chunky metal shards point to catastrophic gear failure.
Once drained, remove the cover entirely. Scrape the housing mating surface with a plastic gasket scraper to remove old RTV or cork remnants. Pro-Tip: Stuff a lint-free rag into the axle tubes to prevent scraped debris from falling into the wheel bearings.
Step 2: Carrier and Axleshaft Teardown
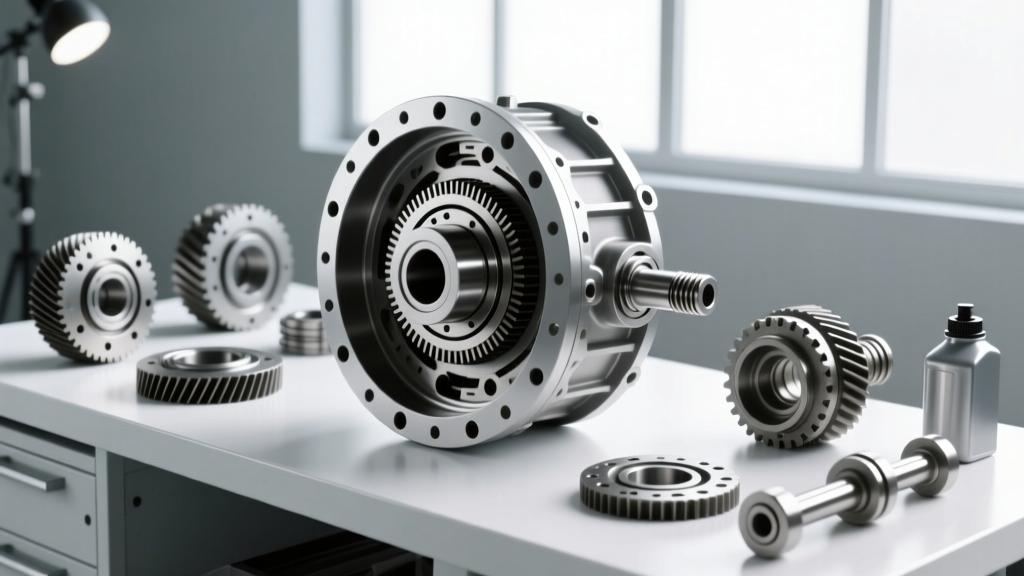
To access the differential carrier, you must first remove the axleshafts. On a semi-floating Dana 60 rear, this requires removing the differential cross-pin. Rotate the carrier until the cross-pin lock bolt is accessible, remove the 5/16-inch or 8mm lock bolt, and slide the cross-pin out. Push the axleshafts inward to expose the C-clips, extract them with a magnetic pick or small pick tool, and carefully slide the 30-spline or 35-spline shafts out of the housing.
Next, unbolt the carrier bearing caps. Critical Rule: Mark the left and right caps with a paint pen or stamp. Dana 60 bearing caps are line-bored at the factory and are not interchangeable. Swapping them will destroy your carrier bearing bores. Remove the caps and carefully pry the carrier assembly out of the housing using a pry bar behind the carrier bearings.
Step 3: Pinion Depth and Bearing Preload Setup
With the carrier removed, unbolt the pinion yoke/flange and drive the pinion gear out of the housing. Press off the old inner and outer bearings. When installing the new inner pinion bearing (typically Timken LM501349), the pinion depth shim must be placed behind the bearing cup or on the pinion shaft, depending on your specific OEM or aftermarket gearset.
According to Randy's Ring & Pinion technical documentation, pinion depth is the most critical measurement in the rebuild. You must use a pinion depth setting tool to measure the distance from the pinion bearing centerline to the ring gear centerline. Adjust the shims (usually starting around 0.030 to 0.040 inches) until you hit the exact depth specified on the face of your new ring gear. Once depth is set, install the outer pinion bearing (Timken M802048), the new crush sleeve, and the pinion seal.
Step 4: Ring Gear Mounting and Backlash Adjustment
Press the new carrier bearings onto the differential case. Bolt the new ring gear to the case using new ring gear bolts coated with Loctite 263 (Red). Torque these in a star pattern to 110-120 ft-lbs. Install the carrier back into the housing along with the selective carrier shims.
Mount your dial indicator to the housing with the plunger resting perpendicular to a ring gear tooth. Rotate the ring gear back and forth to measure backlash. The target specification for a Dana 60 is generally between 0.006 and 0.010 inches. If the backlash is too tight, move shims from the ring gear side to the opposite side. If it is too loose, do the reverse. Finally, set the carrier bearing preload by ensuring the shims require a slight tap with a brass drift to seat fully, creating roughly 0.002 to 0.004 inches of stretch preload on the bearings.
Dana 60 Rebuild Specifications & Torque Chart
| Component | Specification / Torque | Technical Notes |
|---|---|---|
| Ring Gear Bolts | 110 - 120 ft-lbs | Apply Red Loctite 263; use star torque sequence. |
| Carrier Bearing Cap Bolts | 90 - 110 ft-lbs | Caps MUST be returned to their original sides. |
| Pinion Nut (Crush Sleeve) | 400 - 450 ft-lbs | Crush slowly; stop when rotational preload hits 15-25 in-lbs. |
| Cross-Pin Lock Bolt | 15 - 25 ft-lbs | Use medium Blue Loctite 242 on threads. |
| Dana 60 Differential Cover | 25 - 35 ft-lbs | Do not overtighten; cast iron or stamped steel covers can warp. |
| Target Backlash | 0.006" - 0.010" | Measure at 3-4 points around the ring gear for consistency. |
Step 5: Sealing the Dana 60 Differential Cover & Fluid Fill
Once the gear setup is verified and the axleshafts are reinstalled, it is time to reseal the housing. While some purists prefer traditional cork or rubber gaskets, modern high-tack RTV silicone is the industry standard for preventing slow weeps on heavy-duty axles. Apply a continuous 1/4-inch bead of Permatex Ultra Black to the Dana 60 differential cover. Ensure you circle the bolt holes to prevent oil from seeping through the threads.
Press the cover into place, thread all bolts hand-tight, and allow the RTV to skin over for 10 minutes before torquing. Tighten the cover bolts in a crisscross pattern to 25-35 ft-lbs. Over-torquing these bolts will distort the cover flange and guarantee a leak.
2026 Fluid Recommendations & Break-In Protocol
The final step is filling the axle. For a rebuilt Dana 60, we highly recommend a full synthetic 75W-140 gear oil, such as AMSOIL Severe Gear or Royal Purple Max Gear. Synthetic fluids offer vastly superior thermal stability, which is critical during the initial break-in period when gear friction generates immense heat. Fill the axle until the fluid level is even with the bottom of the fill plug hole (approximately 3.5 to 4 pints).
Friction Modifier Note: If your Dana 60 is equipped with a clutch-style limited-slip differential (like the Spicer Trac-Lok), you must add 4 to 6 ounces of limited-slip friction modifier before filling with gear oil. Failure to do so will result in severe clutch chatter during low-speed turns. If you are running a gear-driven locker (like a Detroit Locker or ARB Air Locker), no friction modifier is required.
For the break-in procedure, drive the vehicle for 15-20 miles at varying speeds under 50 MPH, then allow the axle to cool completely for at least an hour. Repeat this cycle three times. This heat-cycling process properly seats the bearings and cures the microscopic lapping marks on the new ring and pinion gears. For more detailed setup theory, refer to the official Dana Spicer aftermarket resources.
By following these exact procedures, respecting the torque specifications, and properly sealing your Dana 60 differential cover, your rebuilt axle will deliver hundreds of thousands of miles of reliable, heavy-duty service.