The Symbiosis of Seal Failure and Fluid Degradation
When diagnosing a drivetrain leak, discovering that your pinion or axle seal has failed means more than just swapping a piece of rubber. A complete rear differential seal replacement inherently demands a simultaneous fluid change procedure. Why? Because the moment a seal fails, the internal fluid level drops, exposing the ring and pinion gears to inadequate lubrication and catastrophic thermal degradation. Furthermore, the physical act of removing and installing new seals often introduces microscopic debris or disturbs existing sediment within the housing.
In 2026, modern synthetic gear oils feature advanced friction modifiers and anti-wear additives designed to handle the extreme torque loads of modern trucks and SUVs. However, these fluids cannot compensate for a compromised seal. Whether you are driving a Chevrolet Silverado with the ubiquitous GM 8.6-inch (10-bolt) rear axle or a Ford F-150 with the legendary 8.8-inch rear end, understanding the combined procedure for seal replacement and fluid servicing is critical for drivetrain longevity. This guide provides a professional-grade, step-by-step methodology to execute this service correctly, complete with exact torque specifications, OEM part numbers, and updated maintenance intervals.
Reference Specifications: GM 8.6-Inch vs. Ford 8.8-Inch
Before breaking out the wrenches, it is vital to know the specific parameters of your axle assembly. Over-torquing cover bolts can warp the housing, while incorrect pinion nut torque can destroy your differential bearings in under ten miles. Below is a quick-reference table for the two most common light-truck axles on the road.
| Parameter | GM 8.6-Inch (10-Bolt) | Ford 8.8-Inch |
|---|---|---|
| Fluid Capacity | 2.1 - 2.4 Quarts | 1.9 - 2.2 Quarts |
| Cover Bolt Torque | 24 lb-ft (32 Nm) | 28-38 lb-ft (38-51 Nm) |
| Pinion Nut Torque | 210 lb-ft (or mark-and-match) | 175-225 lb-ft (or mark-and-match) |
| Standard Fluid Spec | 75W-85 Synthetic Gear Oil | 75W-140 Synthetic Gear Oil |
| Friction Modifier | Required for G80 Locker | Required for Limited Slip |
Essential Tooling and OEM Part Numbers
Attempting a rear differential seal replacement without the correct specialty tools is a recipe for stripped threads and damaged bearing races. Ensure your toolkit includes the following:
- Seal Puller & Driver Set: A specialized bearing/seal driver kit (e.g., Lisle 22800) is mandatory to seat the new seal perfectly square without cocking it in the bore.
- Pinion Socket: A 36mm (or 1-1/4 inch) heavy-duty impact socket for the pinion nut.
- Torque Wrenches: You will need both a 1/2-inch drive torque wrench (up to 250 lb-ft) for the pinion nut and a 3/8-inch drive inch-pound torque wrench for the cover bolts.
- OEM Seals: For the GM 8.6-inch axle, use the Timken 710928 (Pinion Seal) and Timken 710927 (Axle Shaft Seal). Timken's FKM (Viton) compounds offer superior heat resistance compared to standard nitrile rubber, as detailed in Timken's Seal Engineering Documentation.
- RTV Silicone: Permatex "The Right Stuff" (P/N 29208) or Ultra Black. Do not use cheap gasket makers; they will fail under the thermal expansion cycles of a differential housing.
Step-by-Step Procedure: Pinion Seal Replacement
The pinion seal sits at the yoke where the driveshaft connects to the differential. When this seal fails, you will typically see gear oil slung in a radial pattern across the undercarriage and the back of the transmission pan.
1. Marking and Driveshaft Removal
Before removing any bolts, use a bright yellow paint pen to mark the alignment of the driveshaft U-joint to the pinion yoke. Driveshafts are factory-balanced; reinstalling them out of phase will induce severe vibrations at highway speeds. Remove the U-joint strap bolts (typically 12mm or 10mm 12-point) and secure the driveshaft to the frame with a bungee cord. Do not let it hang by the transmission output shaft seal.
2. The Mark-and-Match Pinion Nut Technique
The pinion nut is not just a fastener; it is a precision crush-sleeve adjustment tool that sets the bearing preload on the pinion gear. If you overtighten it, you will crush the sleeve further, overloading the bearings and causing them to overheat and fail. If you leave it too loose, the pinion gear will deflect under load, destroying the ring and pinion teeth.
Expert Warning: Never use an impact wrench to remove or install the pinion nut unless you are using a specialized inch-pound torque wrench to measure rotational preload. For DIYers and general technicians, the "mark-and-match" method is the safest protocol.
Use a center punch or paint pen to mark the exact position of the pinion nut relative to the pinion shaft threads. Count the exact number of exposed threads. Use a breaker bar and your 36mm socket to remove the nut. Remove the yoke using a gear puller—never hammer it off, as the shock load will shatter the internal pinion bearings.
3. Seal Extraction and Installation
Pry out the old seal using a dedicated seal puller. Clean the bore with brake cleaner and a lint-free rag. Apply a thin film of clean gear oil to the lip of the new Timken seal. Using your seal driver, tap the new seal into the bore until it seats fully and squarely against the internal stop. Reinstall the yoke, thread the pinion nut back on, and tighten it to the exact paint mark you made earlier, verifying the thread count matches perfectly.
Step-by-Step Procedure: Axle Seal Replacement & Fluid Drain
If the leak is originating from behind the brake rotors or drums, you are dealing with a failed axle shaft seal. Because the fluid level is already compromised, this is the exact moment to initiate the differential fluid change procedure.
1. Draining the Housing
Place a drain pan capable of holding at least 3 quarts beneath the differential. Remove the 10mm cover bolts in a crisscross pattern. Leave the top two bolts loosely threaded to act as a hinge, allowing the fluid to drain slowly from the bottom seam before removing the cover entirely. This prevents a massive spill.
2. Axle Shaft Removal
Remove the rear wheels and brake assemblies. For semi-floating axles (like the GM 10-bolt and Ford 8.8), you must remove the differential cover to access the cross-pin and C-clips. Rotate the carrier until the cross-pin retaining bolt is accessible. Remove the bolt, push the cross-pin out, and push the axle shaft inward to expose the C-clip. Use a magnetic pick-up tool to retrieve the C-clip, then carefully slide the entire axle shaft out of the housing. Be extremely careful not to drag the splines across the internal seal surface or the carrier bearings.
3. Seal and Bearing Inspection
Pry out the old axle seal. While the shaft is out, inspect the wheel bearing surface. If the bearing has been running in contaminated fluid due to the seal leak, it will likely show signs of pitting or bluing. Replace the bearing if necessary. Drive the new axle seal into the housing using the appropriate stepped seal driver, ensuring it sits flush with the axle tube end.
Surface Preparation, RTV Application, and Refilling
With the seals replaced, the differential fluid change procedure moves to the reassembly and filling phase. Proper surface preparation is the difference between a leak-free axle and a return visit to the lift.
Use a brass scraper or a plastic razor blade to remove all old RTV material from both the differential cover and the housing mating surface. Follow up with aerosol brake cleaner to strip away any residual oil. Apply a continuous, 3/16-inch bead of Permatex "The Right Stuff" to the cover. This specific elastomer cures rapidly upon contact with moisture and is designed to withstand the immediate splash of gear oil, unlike standard silicones that require a 24-hour cure time.
Reinstall the cover and torque the bolts to 24 lb-ft (for GM) or 33 lb-ft (for Ford) in a star pattern. Allow the RTV to skin over for at least 90 minutes before introducing fluid.
The Refill Protocol
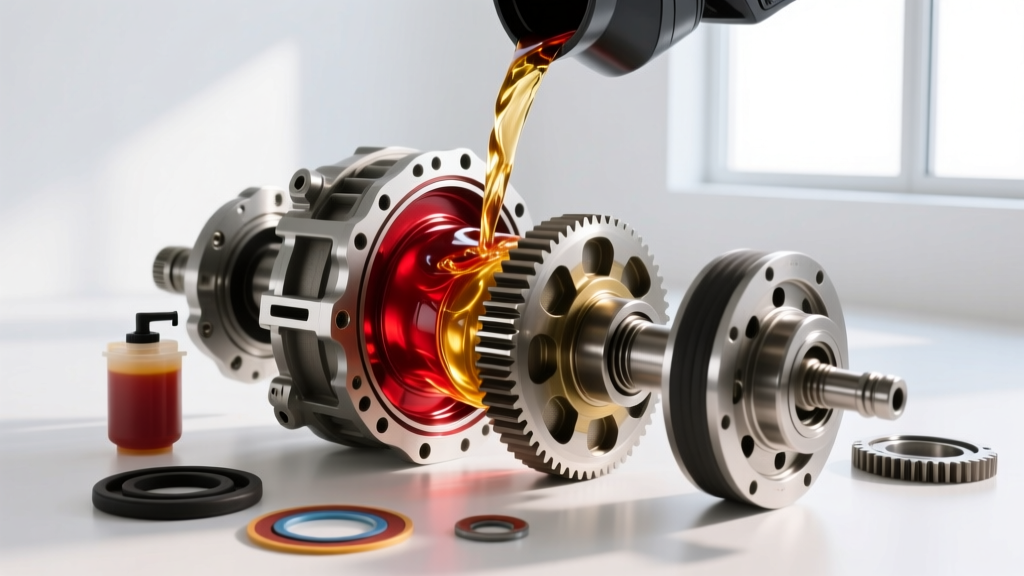
Remove the fill plug located on the upper third of the differential housing. Using a fluid transfer pump, inject the specified synthetic gear oil (e.g., 75W-85 for GM, 75W-140 for heavy-duty Ford applications) into the fill hole. If your vehicle is equipped a limited-slip differential (such as the Eaton G80 or Ford Traction-Lok), ensure you add the manufacturer-specified friction modifier before pumping in the bulk fluid. Continue pumping until the fluid begins to weep out of the bottom edge of the fill hole. Reinstall and tighten the fill plug.
Differential Fluid Change Intervals: Normal vs. Severe Duty in 2026
Many modern vehicle owner's manuals claim that differential fluid is a "lifetime" fluid. From a professional drivetrain engineering perspective, this is a fallacy designed to lower the cost of ownership on paper, not to maximize the lifespan of the hardware. According to AMSOIL's Technical Guidance on Drivetrain Fluids, thermal breakdown and shear instability inevitably compromise gear oil over time, especially in modern trucks that are lighter but tow heavier loads.
Recommended Service Intervals
- Normal Duty (Commuting, Highway Driving): Replace differential fluid every 50,000 to 60,000 miles. Synthetic fluids maintain their viscosity index well within this window under standard thermal loads.
- Severe Duty (Towing, Off-Road, Extreme Climates): Replace fluid every 15,000 to 30,000 miles. If you regularly tow trailers exceeding 5,000 lbs, navigate deep water crossings (which can submerge the axle breather tube and draw water into the housing), or operate in sustained ambient temperatures above 95°F (35°C), the fluid's anti-wear additives will deplete rapidly.
Signs Your Fluid Needs Immediate Attention
Do not wait for a seal to fail if you notice any of the following symptoms during routine maintenance:
- Milky or Chocolate-Milk Fluid: This indicates water intrusion. Water emulsifies the gear oil, destroying its boundary lubrication properties and leading to rapid rust formation on the bearing races.
- Glitter or Metallic Flakes: While a fine metallic paste on the drain plug magnet is normal for the first 20,000 miles, visible flakes or chunks of metal indicate catastrophic gear or bearing spalling.
- Sulfurous Odor: Gear oil naturally smells like sulfur, but an acrid, burnt smell indicates the fluid has exceeded its thermal limits, likely due to heavy towing without an aftermarket differential cover equipped with cooling fins.
By combining a meticulous rear differential seal replacement with a thorough fluid change procedure, you are not just fixing a leak—you are resetting the baseline for your axle's longevity. Adhering to strict torque specifications, utilizing high-grade Viton seals, and respecting severe-duty service intervals will ensure your drivetrain survives the harshest conditions well past the 150,000-mile mark.