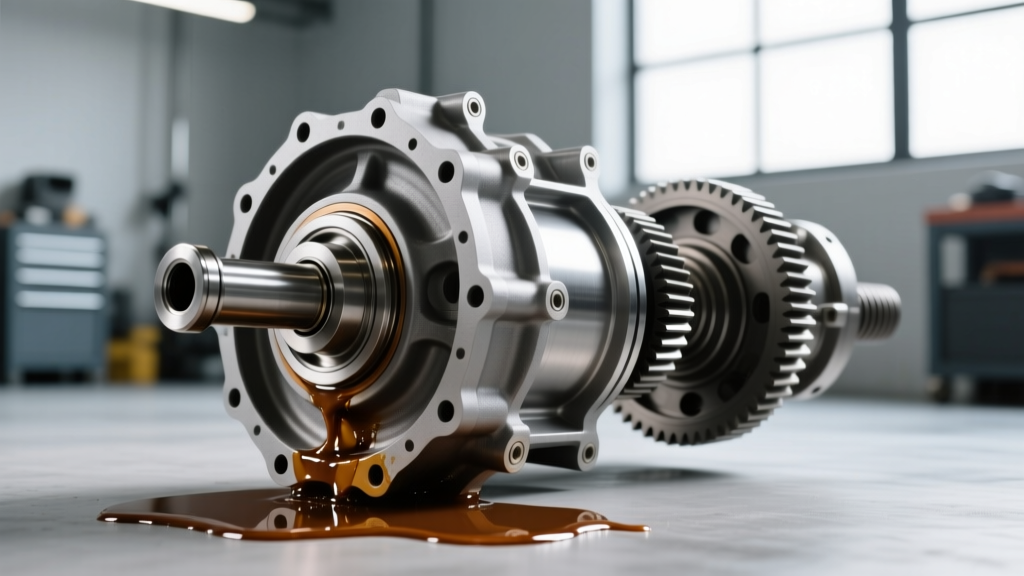
A puddle of thick, pungent gear oil on your driveway is a telltale sign of drivetrain trouble. When you are dealing with a leaking rear differential seal, ignoring the issue is not an option. The rear differential relies on a precise volume of specialized gear oil to lubricate the hypoid ring and pinion gears, spider gears, and carrier bearings. When fluid escapes, friction spikes, temperatures soar, and catastrophic gear failure is often just a few hundred miles away.
However, not all leaks are created equal. Proper rear differential service and maintenance begins with accurate symptom diagnosis. Is it the pinion seal? An axle shaft seal? Or perhaps a degraded differential cover gasket? In this comprehensive troubleshooting guide, we will break down the exact failure modes, provide critical torque specifications, and outline the step-by-step repair protocols required to stop the leak and restore your axle to factory specifications.
Identifying the Source: Pinion vs. Axle vs. Cover
Before you order replacement parts or drain the remaining fluid, you must pinpoint the exact origin of the leak. Clean the entire rear axle housing with brake cleaner, take the vehicle for a short 10-mile drive, and inspect the differential on a lift or jack stands. The location of the seepage dictates your repair strategy.
1. The Pinion Seal Leak
The pinion seal sits at the very front of the differential, where the driveshaft yoke connects to the pinion gear. If you see gear oil slung in a radial pattern across the undercarriage, the exhaust, or the bottom of the bed, you likely have a failing pinion seal. Over time, the rubber lip hardens, and the garter spring loses tension. More severely, a worn pinion bearing can cause excessive yoke runout, tearing the seal from the inside out. Replacing this seal requires managing the pinion bearing preload, making it one of the more technically demanding differential services.
2. The Axle Shaft Seal Leak
Axle shaft seals are located at the outer ends of the axle tubes, right where the wheel hubs mount. A leak here will typically coat the inside of your brake rotors or drums, severely compromising stopping power and triggering ABS sensor faults. On semi-floating axles (like the ubiquitous Ford 8.8 or GM 10-bolt), the axle seals sit behind the wheel bearings. Replacing them requires removing the wheels, brakes, and axle shafts entirely. If you notice metallic flakes in the leaking oil, the wheel bearing has likely disintegrated, scoring the axle shaft seal surface.
3. The Differential Cover Gasket
If the leak is originating from the perimeter of the rear differential cover, you are looking at a gasket or RTV silicone failure. This is the easiest of the three to fix and presents a perfect opportunity for a complete rear differential fluid service. Overtightening the cover bolts (which warp the stamped steel pan) or using the wrong sealant are the most common culprits here.
The Hidden Danger: Fluid Loss and Bearing Preload
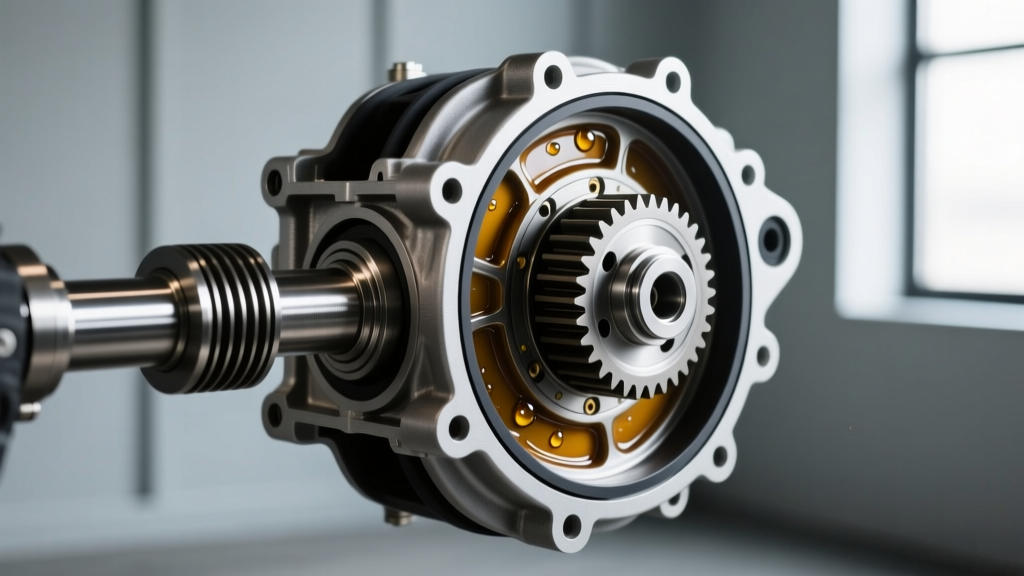
When a leaking rear differential seal goes unnoticed, the fluid level drops below the ring gear. In a standard differential, the ring gear acts as a slinger, dipping into the oil sump and splashing lubricant onto the pinion bearings and carrier assembly. Once the fluid drops even a quarter of an inch below the fill plug, the pinion bearings are starved of oil.
Starved pinion bearings overheat rapidly, losing their temper and expanding. This expansion alters the critical pinion depth and bearing preload settings. If you simply replace the seal and top off the fluid after the bearings have overheated, you will likely hear a high-pitched whine under deceleration or acceleration. This is why thorough rear differential service demands that you check for rotational play and bearing noise before tearing down the assembly.
Rear Differential Service: Seal Replacement & Fluid Specs
Choosing the correct fluid is paramount during reassembly. Hypoid gear sets require API GL-5 rated gear oil, which contains high levels of extreme pressure (EP) additives like zinc dialkyldithiophosphate (ZDDP) and phosphorus to prevent the gears from welding together under high sliding friction.
- Standard Open Differentials: 75W-90 or 80W-90 Synthetic GL-5 Gear Oil.
- Heavy Towing / Off-Road (e.g., 3/4-ton and 1-ton trucks): 75W-140 Synthetic GL-5 to maintain viscosity at extreme sump temperatures.
- Clutch-Type Limited Slip Differentials (LSD): Requires GL-5 gear oil plus a specific friction modifier (e.g., Motorcraft XL-3 or GM 88900401) to prevent clutch pack chatter during tight turns.
For authoritative fluid application data and OEM part cross-references, technicians frequently consult the RockAuto automotive catalog to verify exact seal part numbers, such as the Timken 710984 for Ford 8.8 pinion applications or the National 8660S for Dana 44 axle shafts.
Common Axle Torque Specifications & Capacities
Precision torque is non-negotiable in differential service. Below are the baseline specifications for the most common light-truck and SUV axles on the road today.
| Axle Model | Cover Bolt Torque | Pinion Nut Torque (Approx) | Fluid Capacity | Recommended Seal Brand |
|---|---|---|---|---|
| Ford 8.8 (Super 8.8) | 28-38 ft-lbs | 200-250 ft-lbs (Yield) | 2.5 - 3.0 Pints | Timken / Motorcraft |
| GM 10-Bolt (8.5" Ring) | 25 ft-lbs | 160-220 ft-lbs | 2.1 - 2.4 Pints | National / ACDelco |
| Dana 44 (JK/JL Wrangler) | 30-35 ft-lbs | 220-260 ft-lbs | 2.0 - 2.5 Pints | Spicer / Dana |
| Chrysler 8.25 (C-Clip) | 30 ft-lbs | 180-220 ft-lbs | 2.2 Pints | Timken / Mopar |
Step-by-Step Pinion Seal Replacement Protocol
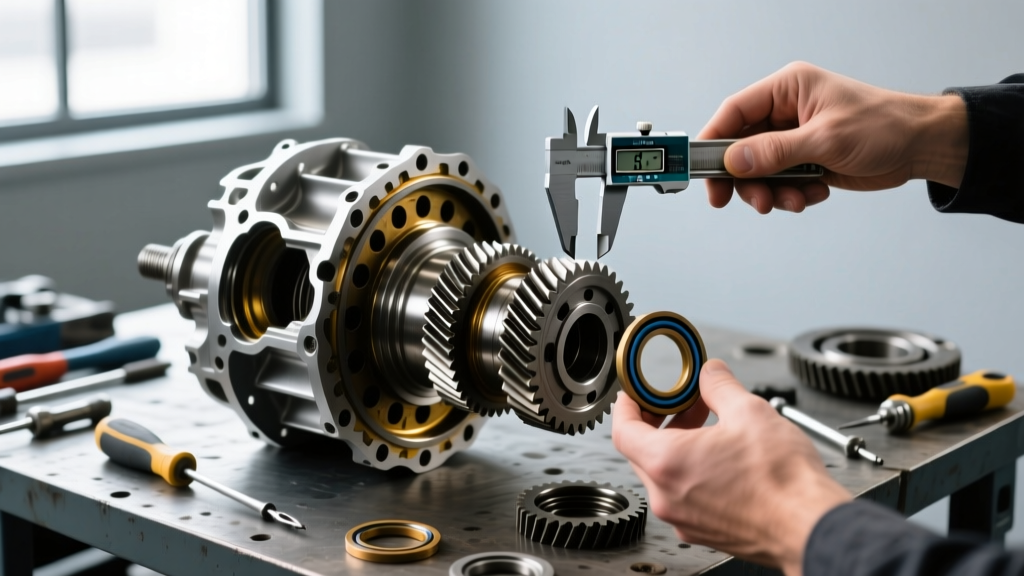
Replacing a pinion seal is often misunderstood as a simple "unbolt and swap" job. Doing so without measuring bearing preload will destroy your ring and pinion within 5,000 miles. Follow this professional protocol:
- Measure Initial Preload: Before removing anything, use an inch-pound torque wrench on the pinion nut. Measure the rotational torque required to turn the pinion gear (typically 15-30 in-lbs for used bearings). Record this exact number.
- Mark the Yoke and Nut: Use a paint pen to mark the pinion shaft, the yoke, and the nut. This allows you to return the nut to the exact same depth if you are reusing it (though replacing the crush sleeve and nut is the factory-recommended procedure).
- Remove the Yoke: Use a specialized yoke puller. Never use a standard jaw puller that grips the ears of the yoke, as this will distort the yoke and cause driveline vibrations.
- Extract and Install the Seal: Pry out the old seal. Lubricate the lip of the new seal (e.g., Spicer 48855 or Timken equivalent) with fresh gear oil. Use a dedicated seal driver to tap it in perfectly square. Driving it in crooked will ruin the seal housing.
- Reset the Preload: Reinstall the yoke and a new pinion nut. Tighten the nut while frequently checking the rotational torque with your inch-pound wrench. Stop tightening the moment you hit your recorded preload specification plus 5 in-lbs (to account for the new seal drag). Over-tightening will crush the crush sleeve too far, requiring a complete teardown to fix.
For deeper engineering guidelines on hypoid gear setups and bearing installation, the Dana Spicer Support Center provides exhaustive service manuals and technical bulletins that detail exact crush sleeve collapse rates and torque curves.
Repair Costs: Seal Job vs. Complete Rebuild
Understanding the financial scope of a leaking rear differential seal helps you make informed repair decisions. Costs vary wildly based on whether the leak was caught early or ignored.
- Differential Cover Reseal & Fluid Service: $150 - $250. Includes RTV, brake cleaner, and 3 quarts of synthetic 75W-90 GL-5 gear oil.
- Axle Shaft Seal Replacement (Per Side): $250 - $450. Labor intensive due to brake and axle shaft removal. If the bearing is ruined, add $100 for a Timken SET10 bearing and seal kit.
- Pinion Seal Replacement: $300 - $500. Requires specialized inch-pound torque tools and yoke pullers. If a new crush sleeve and pinion nut are mandated, parts costs increase slightly.
- Catastrophic Rebuild (Ignored Leak): $1,500 - $2,800. If the fluid ran dry, the ring and pinion will be blued from heat, and the carrier bearings will be pitted. This requires a full teardown, new master rebuild kit (bearings, races, shims, crush sleeve), and a precise gear pattern setup using marking compound.
Final Troubleshooting Tips
Before concluding your repair, always check the differential breather valve located on the top of the axle housing. As the differential heats up during driving, the internal air expands. If the breather valve is clogged with mud or debris, internal pressure will build up and force gear oil past perfectly good seals. If you are diagnosing a newly installed leaking rear differential seal that fails within a week, a clogged breather tube is almost always the hidden culprit. Clear the breather, ensure your fluid is level with the bottom of the fill plug threads, and torque your wheels to spec. Proper diagnosis and meticulous attention to torque specifications are the hallmarks of lasting differential service.
For further reading on API lubricant classifications and GL-5 extreme pressure additive requirements, refer to the API Engine Oil Licensing and Certification System documentation.