Introduction to Differential Rebuild Procedures
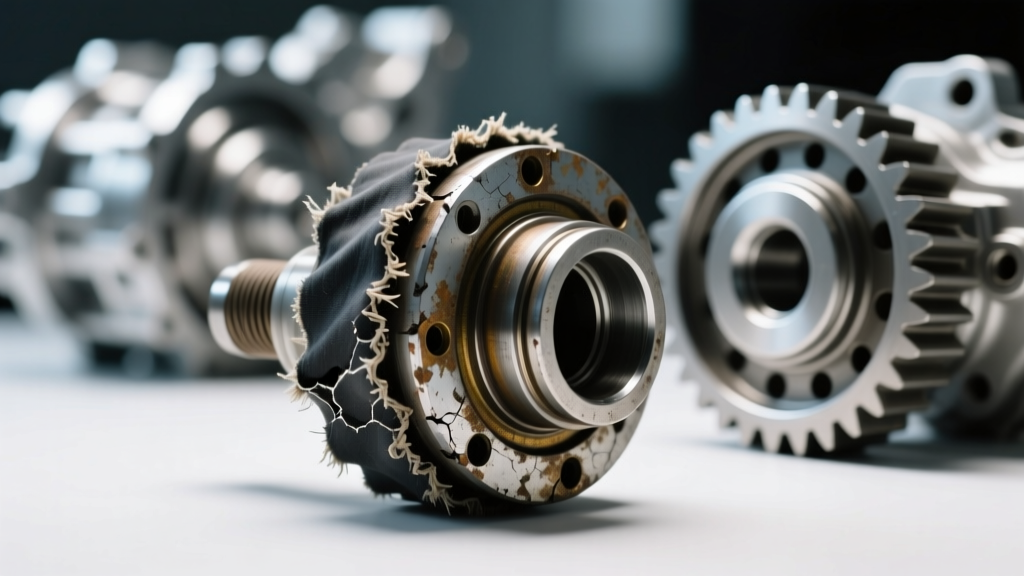
Rebuilding a rear axle assembly—whether it is a ubiquitous Ford 8.8-inch, a GM 9.5-inch semi-floating axle, or a heavy-duty Dana 60—requires meticulous attention to tolerances and cleanliness. While gear whine and metal shavings in the housing are primary indicators of internal failure, a leaking pinion differential seal is often the catalyst that forces a teardown. When fluid levels drop due to a compromised seal, the ring and pinion gears and carrier bearings are starved of lubrication, leading to catastrophic wear.
This step-by-step how-to guide covers complete differential rebuild procedures. We will walk through teardown, pinion depth setting, gear pattern analysis, and the critical installation of the pinion differential seal and axle seals. By following these procedures, you will ensure a whisper-quiet, leak-free rear end capable of handling high-torque applications in 2026 and beyond.
Essential Tools and Materials List
Before beginning, gather the necessary precision measuring tools and consumables. Guessing on shims or using improper seal drivers will result in immediate failure.
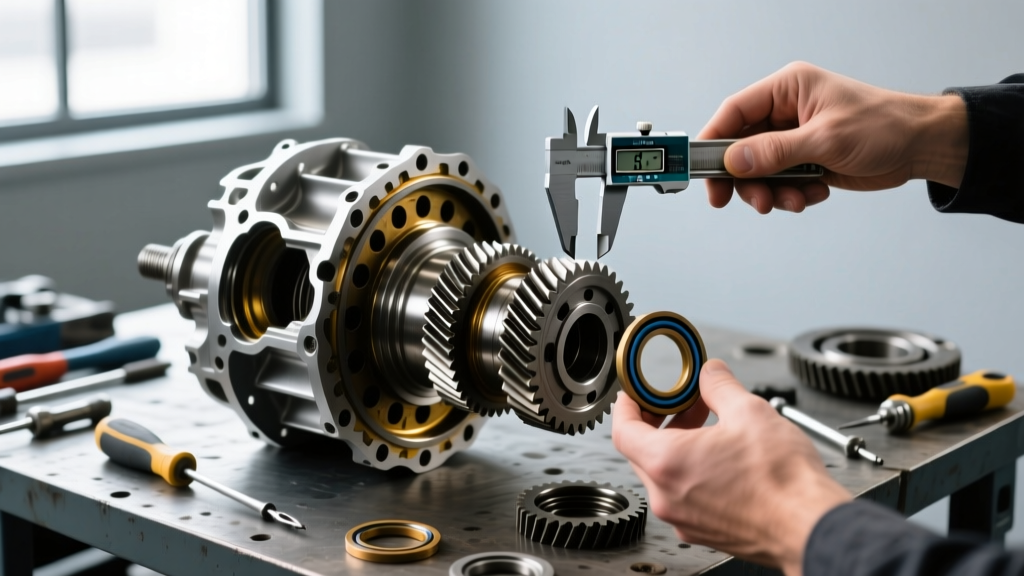
- Measuring Tools: 0-50 in-lb dial torque wrench (for bearing preload), magnetic-base dial indicator (0.0001-inch resolution), digital calipers, and an inch-pound torque beam.
- Installation Tools: Bearing race and cone driver set, pinion yoke holder, 3/4-inch drive breaker bar, and a seal driver set.
- Consumables: Yellow gear marking compound, Red Loctite 262 (for ring gear bolts), RTV silicone (for axle housing cover), and high-quality 75W-90 GL-5 synthetic gear oil.
- Hard Parts: Master rebuild kit (e.g., Timken SET-10 for Ford 8.8-inch axles), Ratech solid pinion spacer kit (eliminates the one-time-use crush sleeve), and OEM-spec replacement seals (e.g., SKF or National brand).
Phase 1: Teardown and Inspection
Begin by safely supporting the vehicle and draining the differential fluid into a catch pan. Inspect the drained oil for glitter-like metallic particles (indicative of bearing wear) or chunky metal shards (indicative of gear tooth spalling).
Extracting the Axleshafts and Carrier
Remove the brake calipers and rotors. Unbolt the axle retainer plates and carefully slide the axleshafts out of the housing. Be incredibly careful not to nick the inner axle seals or damage the splines. Next, remove the differential bearing caps. Pro-Tip: Always mark the bearing caps and their respective sides (e.g., stamp a 'C' on the cap and housing on the right side). These caps are line-bored at the factory and are not interchangeable.
Remove the carrier assembly and set it aside. Use a pinion yoke holder and a massive breaker bar to break the pinion nut loose. Note the thread size (commonly 7/8-14 or 1-inch) and remove the yoke. This exposes the pinion bore and the failing differential seal.
Phase 2: Pinion Depth and Bearing Setup
The most critical measurement in any differential rebuild is the pinion depth. This dictates how deeply the pinion gear meshes into the ring gear's centerline.
Shimming the Pinion
Using a bearing puller, remove the inner pinion bearing cone. Measure the thickness of the original depth shim located beneath the bearing. If you are reusing the original ring and pinion, start with the exact same shim thickness. If installing a new gearset, look for the etched deviation number on the pinion head (e.g., '+2' or '-1') and adjust the shim thickness accordingly using a pinion depth setting tool.
Press the new Timken inner bearing cone onto the pinion gear. Assemble the pinion into the housing without the outer seal or yoke. Install the outer bearing cone and the solid pinion spacer kit (highly recommended over factory crush sleeves for repeatability and strength).
Phase 3: Ring Gear Mounting and Backlash Adjustment
Clean the ring gear and carrier mating surfaces with brake cleaner. Apply a thin bead of Red Loctite 262 to the ring gear bolts and torque them in a star pattern to 75-85 ft-lbs (verify with your specific axle manual). Press the new carrier bearings onto the differential case.
Setting Backlash and Reading the Pattern
Place the carrier back into the housing and reinstall the marked bearing caps. Torque the cap bolts to 80-100 ft-lbs. Mount your dial indicator perpendicular to the ring gear teeth. Adjust the carrier side shims until you achieve a rotational backlash between 0.006 and 0.010 inches.
Apply yellow marking compound to three distinct sections of the ring gear. Rotate the pinion against the ring gear under moderate braking pressure (use a rag wrapped around the pinion yoke to create drag). Inspect the pattern:
- Drive Side (Convex): The pattern should be centered from top to bottom, slightly biased toward the heel (inner edge) under load.
- Coast Side (Concave): The pattern should be centered, slightly biased toward the toe (outer edge).
- Adjustment Rule: If the pattern is too high (toward the top land), increase pinion depth (thicker shim). If too low, decrease pinion depth. Backlash adjustments move the pattern toe-to-heel.
Phase 4: Differential Seal and Axle Seal Installation
Once the gear pattern and backlash are verified, it is time to address the primary cause of external leaks: the differential seal. A poorly installed pinion differential seal will ruin a perfect rebuild in under 500 miles.
Inspecting the Pinion Yoke
Before installing the new differential seal, run your fingernail across the seal-wiping surface of the pinion yoke. If you feel a deep groove worn into the metal by the old seal lip, a new seal will not mate properly and will leak immediately. You have two options: replace the yoke entirely, or install a wear-repair sleeve like the SKF Speedi-Sleeve (Part #99225 for many 8.8 applications). The Speedi-Sleeve slides over the yoke, providing a pristine, factory-smooth surface for the new differential seal lip to ride on.
Seating the Differential Seal
- Clean the Bore: Wipe the differential housing seal bore with brake cleaner to remove any old RTV or debris.
- Lubricate: Coat the outer metal casing of the new differential seal with a light film of oil to prevent binding. Crucially, pack the inner rubber lip with the same 75W-90 gear oil you will use for the final fill. Running the seal dry on initial startup will burn the lip.
- Drive it Square: Select a seal driver from your kit that matches the exact outer diameter of the differential seal. Using a dead-blow hammer, tap the seal into the bore. It must go in perfectly square. If it cocks to one side, you will distort the internal metal casing, ruining the seal. Drive it flush with the housing face.
For comprehensive engineering data on radial shaft seal installation and bore tolerances, refer to the SKF Radial Shaft Seals Technical Guide.
Phase 5: Final Assembly, Preload, and Fluid Fill
Slide the pinion yoke through the new differential seal. The splines should pass through the seal lip without cutting the rubber (wrap the splines with electrical tape or use a seal protector if the edges are sharp). Install the pinion washer and nut.
Setting Pinion Bearing Preload
If using a factory crush sleeve, you must crush it to achieve preload. If using a solid spacer kit, you will torque the nut while measuring rotational drag. Wrap a string around the yoke or use your 0-50 in-lb dial torque wrench on the pinion nut. Tighten the pinion nut in small increments. The target rotational preload for new bearings is typically 18 to 25 in-lbs (check your specific axle spec, e.g., GM 8.6-inch targets 20-25 in-lbs). Once the correct preload is reached, stake the pinion nut or apply a heavy threadlocker, as the nut will be torqued well over 200 ft-lbs.
Torque and Clearance Reference Chart
| Specification | Ford 8.8-Inch (Semi-Float) | GM 8.6-Inch / 9.5-Inch |
|---|---|---|
| Ring Gear Bolt Torque | 70 - 85 ft-lbs (w/ Loctite) | 85 - 95 ft-lbs (w/ Loctite) |
| Target Backlash | 0.006" - 0.010" | 0.005" - 0.009" |
| Pinion Bearing Preload (New) | 16 - 29 in-lbs | 20 - 25 in-lbs |
| Pinion Nut Torque (Approximate) | 160 - 200 ft-lbs | 200 - 250 ft-lbs |
| Common Pinion Seal Part # | SKF 21230 / National 711041 | SKF 22725 / National 710951 |
Reinstalling Axleshafts and Filling
Slide the axleshafts back into the housing, engaging the splines with the carrier side gears gently to avoid damaging the new inner axle seals. Reinstall the retainer plates and brake components.
Seal the differential cover with a 1/4-inch bead of high-temp RTV silicone. Allow it to cure for the manufacturer's specified time (usually 1-2 hours before fluid fill). Fill the housing with the correct capacity of 75W-90 GL-5 synthetic gear oil. Important: If your axle is equipped with a clutch-type limited-slip differential (LSD), you must add the manufacturer-specific friction modifier (e.g., Ford XL-3 or GM EOS) before filling with gear oil to prevent chatter and clutch pack destruction.
For deeper insights into bearing tolerances and axle load ratings during rebuilds, consult the Timken Automotive Bearing Catalog and the Ring-Pinion Technical Installation Library.
Conclusion
A successful differential rebuild hinges on patience, precise measurements, and respecting the sealing surfaces. By properly setting pinion depth, verifying the gear contact pattern, and meticulously installing the differential seal with the correct prep work, you eliminate the root causes of noise and fluid loss. Whether you are refreshing a daily driver or building a high-horsepower trail rig, adherence to these procedures guarantees longevity and reliability on the road and off.