Diagnosing the Need for a Differential Rebuild
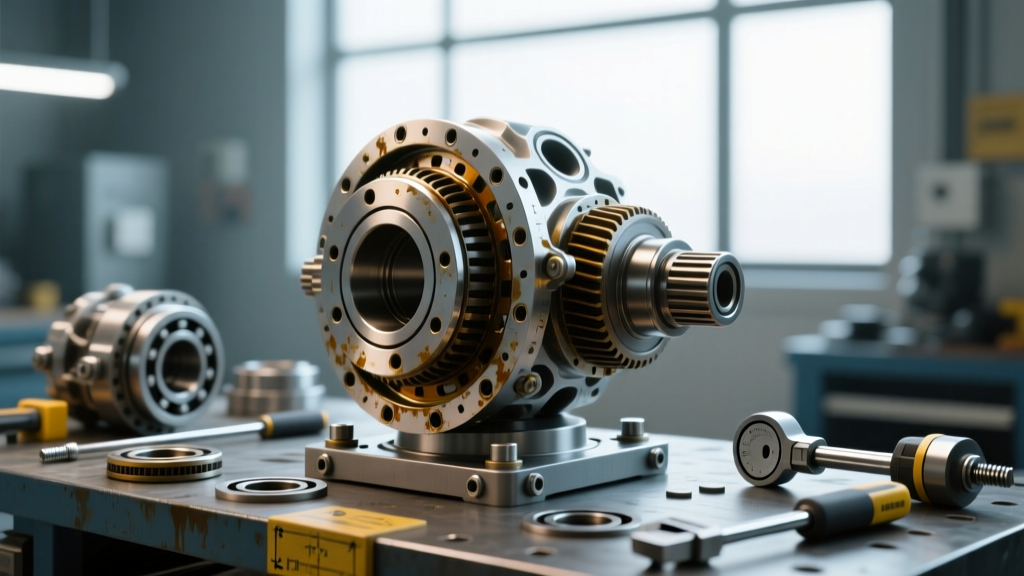
Before tearing into the axle housing, it is critical to confirm that a full differential rebuild is necessary. In 2026, with the rising costs of replacement crate axles, rebuilding the factory differential remains the most cost-effective route for restoring drivetrain integrity. Listen closely to the axle under various loads. A howling noise under deceleration typically indicates a worn drive-side ring and pinion gear face, while noise under acceleration points to coast-side wear. A constant rumble that changes with vehicle speed, regardless of throttle position, usually points to failing carrier or pinion bearings. If your drain plug is covered in metallic glitter or large spalled chunks of steel, a complete teardown and rebuild are mandatory.
When to Use Rear Differential Lock: Selecting the Right Traction Device
One of the most frequent questions we receive at AutoGearNexus is when to use rear differential lock mechanisms versus a traditional limited-slip differential (LSD) during a rebuild. The decision heavily depends on your vehicle application, wheeling style, and on-road manners. If you are rebuilding an axle for a dedicated off-road rig, rock crawler, or heavy-duty overland vehicle, a full locking differential is the only correct choice to ensure equal torque distribution to both wheels when traction is compromised. However, if the vehicle is a daily driver that sees occasional snow or light dirt roads, a helical gear LSD or clutch-type LSD is preferable to avoid the harsh low-speed binding and driveline shock associated with automatic lockers.
| Traction Device | Best Application | Rebuild Complexity | On-Road Manners |
|---|---|---|---|
| Open Differential | Highway cruising, basic replacements | Low | Flawless |
| Clutch-Type LSD | Street performance, light snow, towing | Medium (Requires preload shims) | Excellent (Requires friction modifier) |
| Helical LSD (e.g., Detroit TrueTrac) | Overlanding, daily-driven trucks | Medium (Drop-in carrier) | Seamless, no binding |
| Automatic Locker (e.g., Detroit Locker) | Hardcore rock crawling, mud bogging | Low (Drop-in carrier or full spool) | Poor (Clicking, binding in turns) |
| Selectable Locker (e.g., ARB, Eaton) | Dual-purpose rigs, expedition vehicles | High (Requires drilling/wiring) | Flawless when unlocked |
For a comprehensive look at selectable locker options, consult the engineering specs provided by ARB Air Lockers or the Eaton E-Locker catalog.
Essential Tools and Materials for the Rebuild
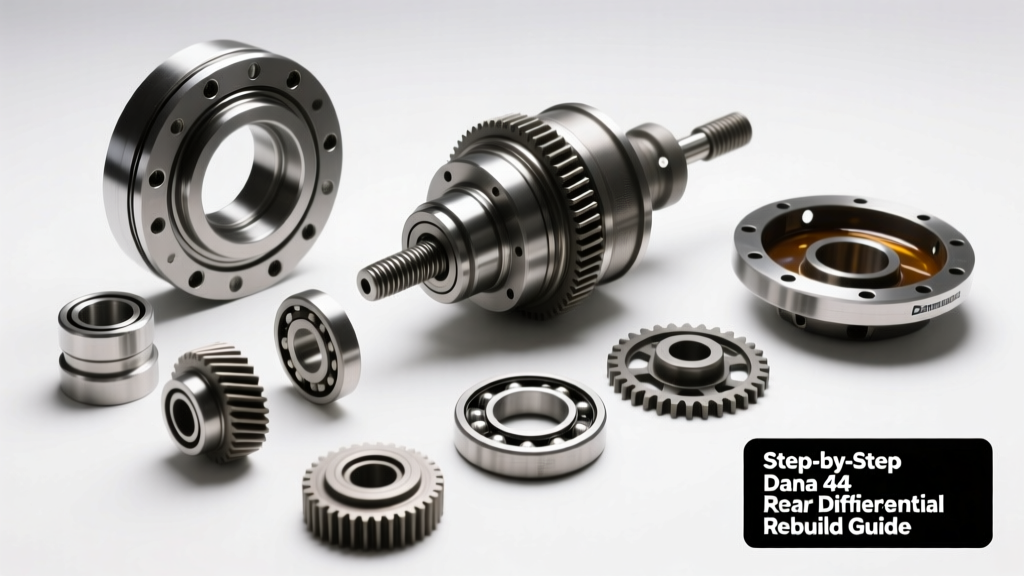
A proper rebuild requires precision measuring tools. Do not attempt this with standard hand tools alone. You will need a dial indicator with a magnetic base, a beam-style inch-pound torque wrench for measuring bearing preload, a hydraulic press for bearing removal and installation, and a high-quality gear marking compound (yellow ochre). Additionally, source a master rebuild kit from a reputable supplier like Randy's Ring and Pinion, which includes Timken or SKF bearings, pinion shims, carrier shims, a crush sleeve, and a new pinion nut.
Step-by-Step Rear Differential Rebuild Procedures
Step 1: Teardown, Inspection, and Cleaning
Begin by draining the gear oil and removing the differential cover. Unbolt the bearing caps, keeping them strictly organized (left cap stays left, right stays right) as they are line-bored with the housing from the factory. Remove the carrier and ring gear assembly. Next, remove the pinion nut and drive the pinion gear out of the housing using a brass drift to avoid damaging the threads. Thoroughly clean the axle housing with brake cleaner, ensuring all old RTV sealant and metal debris are flushed out of the axle tubes.
Step 2: Setting Pinion Depth and Bearing Preload
Pinion depth is the most critical measurement in the rebuild. Using a setup bearing (a bearing with the ID honed out for easy sliding), install the pinion with your estimated depth shims. Apply marking compound to the ring gear teeth and rotate the assembly to check the contact pattern. The pattern should be centered on the tooth face; if it is biased toward the toe or heel, adjust the pinion depth shim thickness accordingly. Once the pattern is perfect, press on the final pinion bearings. Install a new crush sleeve and seal. Tighten the pinion nut incrementally, checking the rotational torque frequently. For a Ford 8.8-inch axle, target 15 to 30 inch-pounds of preload on new bearings. Do not overtighten, or you will crush the sleeve past its yield point and have to start over.
Step 3: Carrier Shimming and Backlash Adjustment
Mount the ring gear to the new carrier or locking differential using new ring gear bolts, torqued to 70-85 ft-lbs (verify with your specific axle manual) and secured with threadlocker. Press the carrier bearings onto the assembly. Install the carrier into the housing and use carrier shims to achieve the correct backlash. Mount your dial indicator perpendicular to a ring gear tooth. For most standard 4x4 axles like the Dana 44 or GM 10-bolt, target a backlash between 0.006 and 0.010 inches. Adjust the side shims until the backlash is within spec and the carrier has zero lateral play but can still be rotated by hand.
Step 4: Installing the Locking Differential
If you determined earlier when to use rear differential lock systems that a selectable locker was right for your build, this is the step to integrate it. For an ARB Air Locker, you must carefully drill a 1/2-inch hole through the axle tube to install the bulkhead air fitting, ensuring no metal shavings enter the housing. Route the air line through the axle tube to the carrier bearing cap. If using an Eaton E-Locker, route the electrical wiring harness through the axle tube and secure it with zip-ties to prevent it from contacting the rotating ring gear.
Step 5: Sealing, Torque Specs, and Fluid Fill
Clean the mating surfaces of the differential cover and housing. Apply a continuous 1/4-inch bead of high-temp RTV silicone (or use a pre-cut rubber gasket if applicable). Reinstall the cover using a star-pattern torque sequence, typically torquing the bolts to 25-35 ft-lbs. Allow the RTV to cure for at least 12 hours before filling. Fill the axle with a high-quality synthetic 75W-90 or 75W-140 gear oil until it reaches the bottom of the fill hole. A standard Dana 44 requires approximately 2.2 quarts. Critical Note: If you installed a clutch-type LSD, you must add the manufacturer-specified friction modifier additive to prevent chatter. Automatic and selectable lockers do not require friction modifiers.
2026 Cost Breakdown: Rebuild vs. Crate Axle
Understanding the financial landscape of drivetrain repairs helps justify the labor of a rebuild. As of 2026, a complete OEM-spec crate axle assembly for a popular half-ton truck can easily exceed $2,500 to $4,000. In contrast, a DIY differential rebuild utilizing a premium master kit ($180), a new ring and pinion set ($300), a high-end selectable locker ($950), and synthetic fluids ($60) will total roughly $1,490. Even if you factor in $200 for machine shop services to pull stubborn bearings or hone the housing, the rebuild offers massive savings while allowing you to customize the traction device to your exact specifications.
Final Thoughts
Rebuilding a rear differential is a meticulous process that rewards patience and precision. By understanding exactly when to use rear differential lock mechanisms versus limited slips, and by strictly adhering to torque specs and backlash tolerances, you can build an axle that will survive decades of abuse. Always reference your specific axle manufacturer's service manual for exact shim calculations and torque values before beginning your teardown.