The 'Lifetime Fluid' Myth and Real-World Intervals
Automakers frequently label differential gear oil as a 'lifetime' fluid, suggesting it never requires replacement under normal driving conditions. However, as of 2026, experienced drivetrain mechanics universally agree that 'lifetime' simply means 'the lifetime of the warranty.' In reality, the extreme shear forces, thermal cycling, and moisture intrusion inherent to axle assemblies degrade the additive packages in gear oil long before the vehicle reaches the end of its operational life. Neglecting this service leads to accelerated ring and pinion wear, limited-slip differential (LSD) chatter, and eventual bearing failure.
Before grabbing your tools, you must determine the correct service interval for your specific drivetrain. While traditional 75W-90 and 80W-90 conventional oils required changes every 30,000 miles, modern full-synthetic formulations offer extended protection. Below is a practical decision matrix for differential fluid change intervals based on real-world usage profiles.
| Driving Profile | Service Interval (Synthetic) | Service Interval (Conventional) | Common Scenarios |
|---|---|---|---|
| Normal / Commuter | 50,000 - 60,000 miles | 30,000 miles | Highway driving, light city traffic, no towing |
| Severe / Towing | 25,000 - 30,000 miles | 15,000 miles | Trailering, heavy payloads, frequent stop-and-go |
| Off-Road / Water Fording | Immediately after exposure | Immediately after exposure | Deep mud, water crossings, rock crawling |
According to Dana Spicer's technical service bulletins, water intrusion is the number one enemy of axle longevity. If your differential breather tube is submerged during a water crossing, the resulting vacuum draws water past the axle seals, turning your gear oil into a milky, ineffective emulsion that will destroy bearings in a matter of miles.
Gathering the Correct Differential Gear Oil and Tools
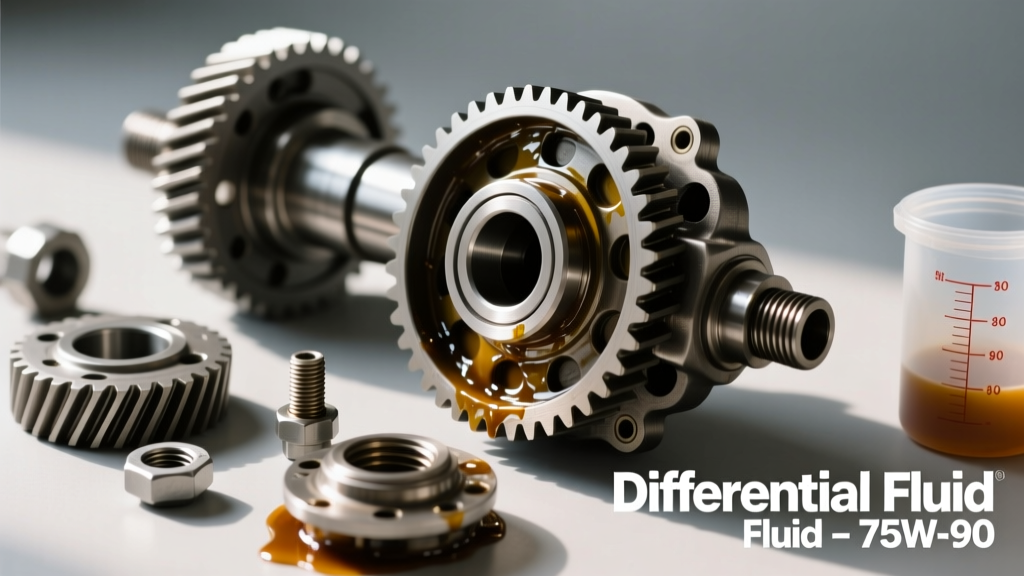
A successful service requires more than just draining and filling. You must match the exact viscosity and additive requirements of your specific axle. For most modern half-ton trucks (such as the Ford F-150 with an 8.8-inch axle or the Chevy Silverado with a GM 10-bolt), a full-synthetic 75W-90 is the factory standard. Heavy-duty applications or vehicles with altered gear ratios (like 4.56 or 4.88 rings) often require a thicker 75W-140 to maintain hydrodynamic film strength under high loads.
The Friction Modifier Variable
If your vehicle is equipped with a clutch-type limited-slip differential (such as the Ford Trac-Lok or GM Gov-Lok), you must add a friction modifier (e.g., Motorcraft XL-3 or GM EOS). Without it, the clutch packs will bind and release erratically during low-speed turns, causing a violent shuddering or 'chatter.' Note that gear-driven LSDs (like the Torsen or Detroit TrueTrac) and open differentials do not require friction modifiers.
Essential Tool List
- 3/8-inch and 1/2-inch drive torque wrenches
- Socket set (including a 3/8-inch square drive or specific Torx/Hex bits for fill plugs)
- High-quality fluid pump (75W-90 is too viscous to pour from a bottle into most axle fill holes)
- Gasket scraper, razor blade, and wire wheel
- Brake cleaner (non-chlorinated)
- Permatex Ultra Black RTV Silicone or a reusable Lube-Locker gasket
- Drain pan (minimum 3-quart capacity)
Step-by-Step Rear Differential Gear Oil Change Procedure
Step 1: Vehicle Prep and the Golden Rule of Fill Plugs
Safely raise the rear of the vehicle using a floor jack and support it with jack stands placed under the axle tubes or designated factory lift points. Ensure the vehicle is as level as possible; an uneven stance will result in an inaccurate fluid level.
The Golden Rule: Always remove the fill plug before you remove the drain plug or differential cover. If the fill plug is seized, stripped, or welded shut by rust, you will be left with an empty axle and a vehicle that cannot be driven to a shop for repairs. If the fill plug won't budge, address it before draining a single drop of oil.
Step 2: Draining the Fluid and Cover Removal
Many modern axles, particularly the GM 8.5/8.6-inch 10-bolt and Ford 8.8-inch, do not feature a dedicated drain plug. You must drain the fluid by removing the differential cover. Place your drain pan beneath the axle. Using a socket, break loose all cover bolts except the top two. Loosen the top two bolts just enough to allow the cover to tilt forward, acting as a hinge. Use a flathead screwdriver to gently pry the bottom edge of the cover, breaking the RTV seal and allowing the old differential gear oil to cascade into the pan.
Once drained, remove the top bolts and take the cover off completely. Inspect the old oil. A slight metallic sheen (like fine glitter) is normal wear from the ring and pinion gears. However, if you find chunky metal shards, needle bearing fragments, or a burnt smell, your differential requires a professional teardown and rebuild.
Step 3: Mating Surface Preparation
This is the most labor-intensive but critical step. Use a gasket scraper and a wire wheel to remove every trace of old RTV silicone from both the differential housing and the stamped steel cover. Follow up with non-chlorinated brake cleaner and a lint-free shop towel. Any leftover debris that falls into the housing will circulate through the pinion bearings, causing premature failure. If you are using a pre-cut reusable gasket (highly recommended for ease of future services), ensure the mating surfaces are completely dry and oil-free.
Step 4: Sealing the Cover
If you opt for RTV silicone instead of a gasket, apply a continuous 1/8-inch bead of Permatex Ultra Black to the differential cover. Ensure you circle the inside of every bolt hole to prevent oil from weeping through the threads. Allow the RTV to skin over for 10 to 15 minutes before installing the cover. Hand-thread all bolts to prevent cross-threading the often-soft aluminum or thin-stamped steel holes.
Step 5: Refilling and Friction Modifier Integration
Attach your fluid pump to the new bottle of synthetic differential gear oil. If your axle requires a friction modifier, add the entire bottle of modifier into the pump reservoir or pour it directly into the fill hole first, followed by the gear oil. Pump the fluid into the fill hole until it begins to drip out onto your finger. This indicates the fluid has reached the exact bottom edge of the fill hole, which is the factory-specified full level.
Reinstall the fill plug immediately to prevent contamination. Wipe down the axle housing with brake cleaner to remove any spilled oil, which will otherwise burn and smoke off the exhaust pipe during your test drive.
Axle-Specific Torque Specifications
Over-torquing differential cover bolts is a common DIY mistake that warps stamped steel covers, guaranteeing a leak. Always use a calibrated torque wrench and follow the manufacturer's star-pattern tightening sequence. Below are the baseline torque specifications for the most common light-truck and SUV axles.
| Axle Model | Cover Bolt Torque | Fill/Drain Plug Torque | Approx. Fluid Capacity |
|---|---|---|---|
| Ford 8.8-inch (10-bolt cover) | 28 - 38 lb-ft | 15 - 20 lb-ft | 1.7 - 2.0 Quarts |
| Dana Spicer 44 | 30 - 40 lb-ft | 25 - 35 lb-ft | 2.0 - 2.5 Quarts |
| GM 8.5 / 8.6-inch (10-bolt) | 25 lb-ft | N/A (Cover Drain) | 2.0 - 2.2 Quarts |
| Toyota 8-inch (Solid Axle) | N/A (Drain/Fill only) | 37 ft-lbs | 3.0 - 3.5 Quarts |
Post-Service Break-In and Noise Diagnosis
After completing the differential gear oil change, take the vehicle for a 10-mile test drive. Focus on performing several tight, low-speed figure-eight turns in an empty parking lot. This maneuver forces the clutch packs in a limited-slip differential to slip and engage, thoroughly mixing the friction modifier with the gear oil and coating the clutches.
Troubleshooting Post-Service Issues
- Axle Chatter on Turns: If you hear a clunking or shuddering noise during tight turns, the clutch packs are binding. You likely need an additional half-bottle of friction modifier. Drain a small amount of fluid to make room, add the modifier, and repeat the figure-eight test drive.
- High-Pitched Whining: A new whining noise immediately after a fluid change is rarely caused by the oil itself. More commonly, the superior cleaning agents and lower friction coefficients of fresh synthetic oil expose pre-existing wear in the pinion bearings or ring-and-pinion gear lash. If the whine is severe, have a drivetrain specialist check the gear backlash and bearing preload.
- Weeping Cover Seals: If oil begins to seep from the cover within 24 hours, the mating surface was likely contaminated with oil during the RTV application, or the cover was warped by uneven bolt tightening. You will need to drop the cover, clean it with a solvent, and reapply the sealant.
By adhering to this precise differential gear oil change procedure, you ensure optimal power transfer, eliminate drivetrain bind, and extend the lifespan of your axle assembly well beyond the 200,000-mile mark. For further technical data on gear ratios and axle identification, consult the Amsoil Gear Lube Technical Guides or your vehicle's specific factory service manual.