The Hidden Culprit in Rear Differential Service
Rear differential service is frequently reduced to a rudimentary drain-and-fill of 75W-90 gear oil. However, when troubleshooting persistent drivetrain anomalies, the differential axle shaft and its associated sealing surfaces are often the true culprits behind what appears to be catastrophic internal ring-and-pinion failure. In 2026, with the aftermarket proliferation of high-torque EV conversions, heavy-duty overlanding rigs, and larger-than-stock tire setups, axle shaft deflection and seal degradation are more prevalent than ever.
Misdiagnosing a leaking or wobbling differential axle shaft as a failing carrier bearing or worn pinion gear can lead to unnecessary teardowns and thousands of dollars in wasted labor. This guide provides a master-technician-level diagnostic framework for isolating axle shaft faults during routine rear differential maintenance.
The Anatomy of Axle Shaft Seal Failure
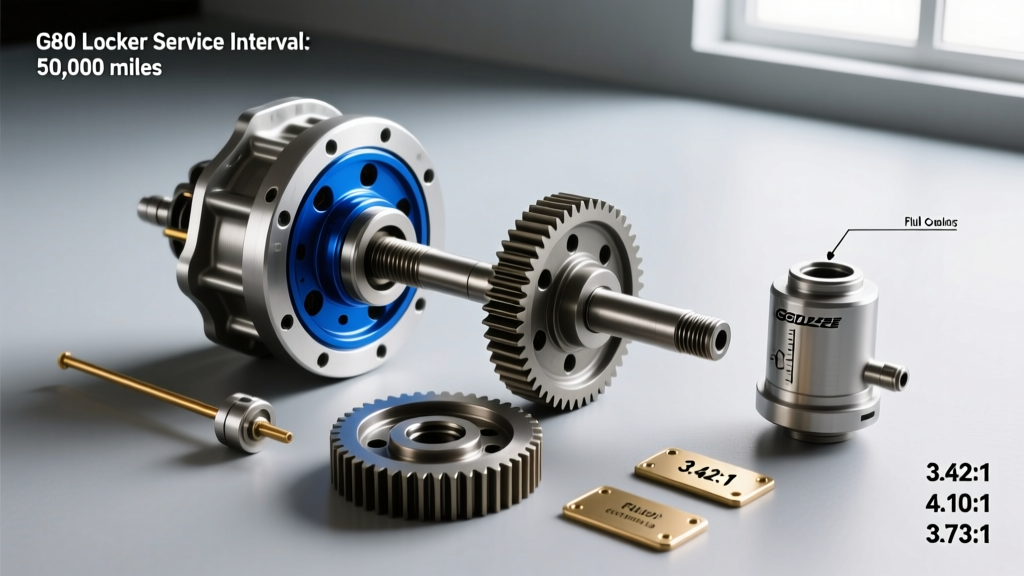
To accurately diagnose a leak, you must understand the mechanical relationship between the axle shaft, the bearing, and the lip seal. In most semi-floating rear axles (such as the ubiquitous GM 8.5" 10-bolt or the Ford 8.8"), the differential axle shaft is supported by a press-on roller bearing. The axle seal rides directly on the machined journal of the shaft, just outboard of the bearing.
When the axle bearing experiences wear, it introduces radial play. This microscopic wobble translates into severe lateral movement at the seal lip, tearing the viton or nitrile rubber and allowing gear oil to migrate down the backing plate and onto the brake friction surfaces. According to drivetrain diagnostic standards highlighted by industry publications like Tire Review, replacing the seal without addressing a worn bearing journal or pitted shaft surface guarantees a rapid return of the leak.
Diagnostic Flowchart: Isolating the Leak Source
Before cracking the differential cover, perform a rigorous visual and auditory inspection. Gear oil on the inside of the rear tires is a classic symptom, but the origin point requires careful tracing.
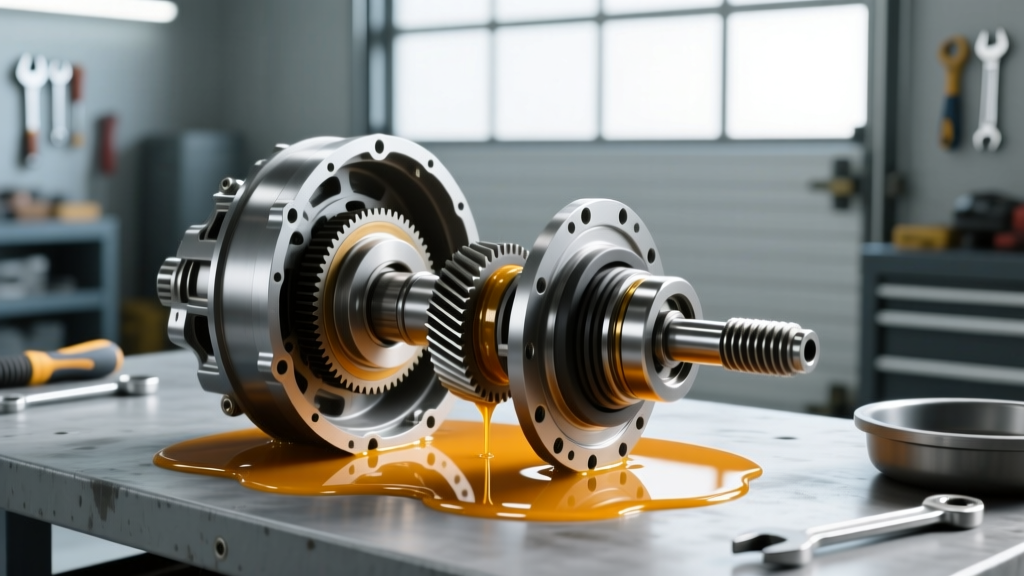
- The Brake Backing Plate Test: If the inside of the brake drum or rotor is coated in thick, sulfurous-smelling 75W-90 or 75W-140 fluid, the differential axle shaft seal has failed. Check for glazing on the brake pads or shoes, which necessitates brake service alongside the axle repair.
- The Axle Tube Sweep: If fluid is found on the exterior of the axle tube but the backing plate is dry, suspect a cracked axle housing or a porous casting flaw, common in heavily abused aftermarket off-road housings.
- The Pinion vs. Cover Differentiation: Fluid slung forward onto the driveshaft indicates a pinion seal failure, while fluid weeping from the perimeter of the diff cover points to degraded RTV or a warped stamped-steel pan. Neither of these implicate the axle shaft directly.
Auditory Clues: Rotational Noise vs. Gear Whine
A failing differential axle shaft bearing produces a very specific acoustic signature that is frequently confused with ring-and-pinion wear.
"A worn ring gear howls or whines on deceleration or acceleration. A failing outer axle bearing, however, produces a cyclic 'growl' or 'rumble' that correlates directly to wheel speed, not engine RPM. If the noise changes pitch when you sway the vehicle side-to-side in a curve, you are loading and unloading a bad axle bearing."
If you detect this rotational growl during a test drive, the differential axle shaft must be pulled to measure the bearing journal for out-of-round wear or spalling.
Fluid Forensics: Reading the Drained Gear Oil
When performing rear differential service, the condition of the drained fluid provides critical telemetry regarding the health of the axle shafts and internal components. Utilizing high-quality synthetic lubricants, such as those detailed in the engineering specs by AMSOIL, can extend service intervals, but fluid analysis remains paramount.
| Fluid Condition | Visual/Tactile Clues | Diagnostic Conclusion |
|---|---|---|
| Healthy / Normal | Dark amber, translucent, strong sulfur odor. | Standard wear. Re-fill with OE-specified 75W-90 GL-5 and limited-slip friction modifier if equipped. |
| Water Intrusion | Milky, opaque, resembles chocolate milk or mayonnaise. | Failed axle shaft seal or submerged breather vent. Immediate bearing inspection required. |
| Friction Material | Dark grey sludge, smells burnt. | Clutch pack degradation in the limited-slip carrier. Axle shafts are likely fine; carrier rebuild needed. |
| Catastrophic Wear | Glittering metallic paste, visible needle bearings or shavings on the magnetic plug. | Pinion bearing collapse or axle shaft bearing disintegration. Do not drive; full teardown required. |
C-Clip vs. Bolt-In: Axle Shaft Removal Procedures
The method for extracting the differential axle shaft dictates your service approach and required tooling. Misidentifying the retention style can lead to severe damage to the carrier or housing.
Semi-Floating C-Clip Axles (e.g., GM 10-Bolt, 12-Bolt)
In C-clip designs, the axle shaft is retained by a small steel C-shaped washer located inside the differential carrier. 1. Remove the differential cover and drain the fluid. 2. Rotate the carrier until the pinion shaft lock bolt is accessible. Remove the lock bolt (typically 5/16" or 8mm) and slide the pinion shaft out partially. 3. Push the differential axle shaft inward toward the center of the vehicle to expose the C-clip. 4. Use a specialized C-clip removal tool or small pick to extract the clip. 5. Slide the axle shaft completely out of the housing tube.
Bolt-In / Flanged Axles (e.g., Ford 8.8", Dana 44, Dana 60)
Bolt-in axles are retained by a flange plate at the wheel end, making them significantly easier to service without opening the differential carrier. 1. Remove the wheel, brake caliper/brake drum, and ABS sensor wiring. 2. Unbolt the four retaining nuts securing the axle retainer plate to the backing plate (usually 1/2" or 13mm hardware). 3. Attach a slide hammer with a flange-puller adapter to the wheel studs. 4. Strike the slide hammer forcefully to break the press-fit bearing and seal free from the axle tube. 5. Extract the differential axle shaft assembly.
Precision Reassembly: Measurements and Torque Specs
Before installing new seals (such as the widely used National Seal 8660S for GM applications or the Timken SET10 bearing and seal kits), you must measure the axle shaft bearing journal. Use a digital micrometer to check the outer diameter where the seal rides. If the shaft is grooved deeper than 0.005 inches by the old seal lip, the new seal will leak immediately. In 2026, sourcing replacement shafts is highly accessible through catalogs like RockAuto, but if a replacement is delayed, a speedy sleeve (repair sleeve) can be pressed over the journal to provide a fresh sealing surface.
Critical Torque Specifications
Proper torque is essential to prevent bearing preload loss and retainer warping. Always use a calibrated torque wrench.
- GM 10-Bolt / 12-Bolt Axle Retainer Plate Bolts: 45 lb-ft (Note: C-clip axles do not have retainer plates, but the differential cover bolts should be torqued to 25 lb-ft).
- Ford 8.8" Axle Retainer Plate Nuts: 35 to 45 lb-ft. Ensure the backing plate is perfectly centered to avoid binding the differential axle shaft.
- Dana 44 / Dana 60 Flange Bolts: 60 to 75 lb-ft, depending on the specific year and housing flange thickness.
- Differential Cover Bolts (Stamped Steel): 20 to 25 lb-ft. Over-torquing will warp the cover and cause perimeter leaks.
2026 Cost Breakdown for Axle Shaft Rehabilitation
Understanding the financial scope of a differential axle shaft repair helps in advising customers or budgeting for DIY overlanding builds. Prices reflect early 2026 market averages for domestic light-duty trucks and SUVs.
- Axle Seal & Bearing Kit (per side): $45 - $90 (Timken, SKF, or National brands).
- OEM Replacement Axle Shaft (Bare): $180 - $350 per side.
- Heavy-Duty Aftermarket Alloy Shaft (e.g., 4340 Chromoly): $400 - $700 per pair. Highly recommended for vehicles running 35-inch tires or higher.
- Professional Labor (Seal/Bearing Replacement): $250 - $400 per side, including fluid refill and brake cleaning.
- Synthetic 75W-90 Gear Oil (3 Quarts): $45 - $75.
Final Verification and Road Testing
After reassembling the differential axle shaft, installing new seals, and refilling the differential with the correct volume of GL-5 gear oil (typically 2.5 to 3.5 quarts, plus 4 oz of limited-slip friction modifier if equipped with a clutch-type LSD), the verification process is not complete. Drive the vehicle for 15 to 20 miles at highway speeds to bring the differential fluid up to operating temperature (160°F - 190°F). Park on a clean, dry surface and let it idle for five minutes. Inspect the axle tube ends and the differential cover for any weeping. A properly seated seal on a true-running differential axle shaft will remain bone-dry, ensuring your rear differential service is a definitive success rather than a temporary band-aid.