The Critical Importance of Rear Differential Service
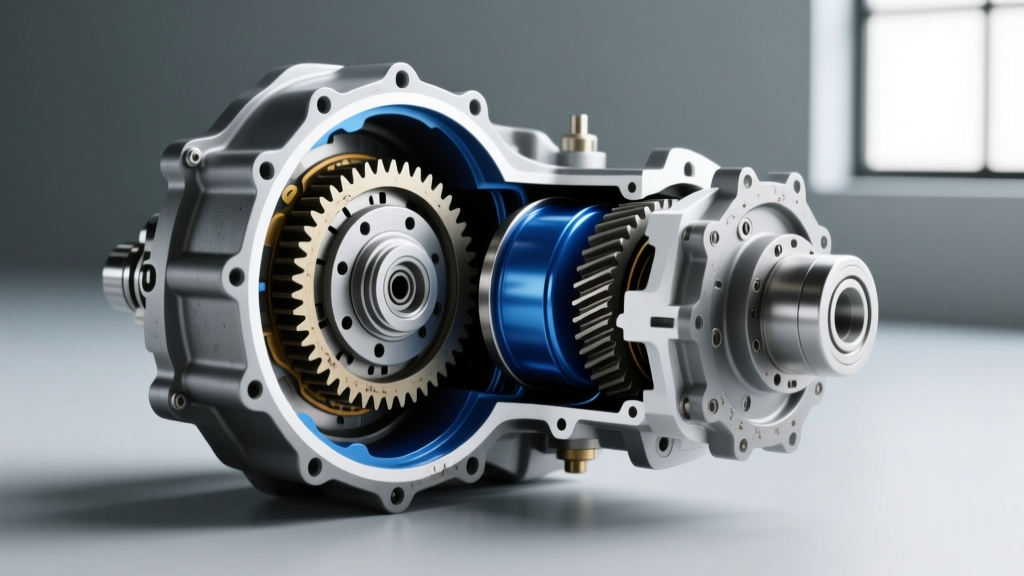
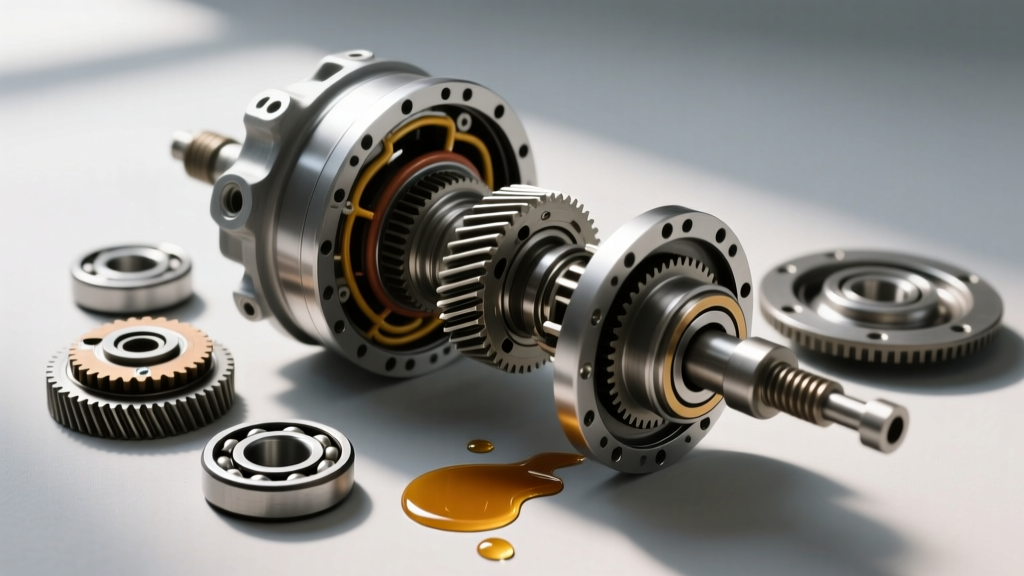
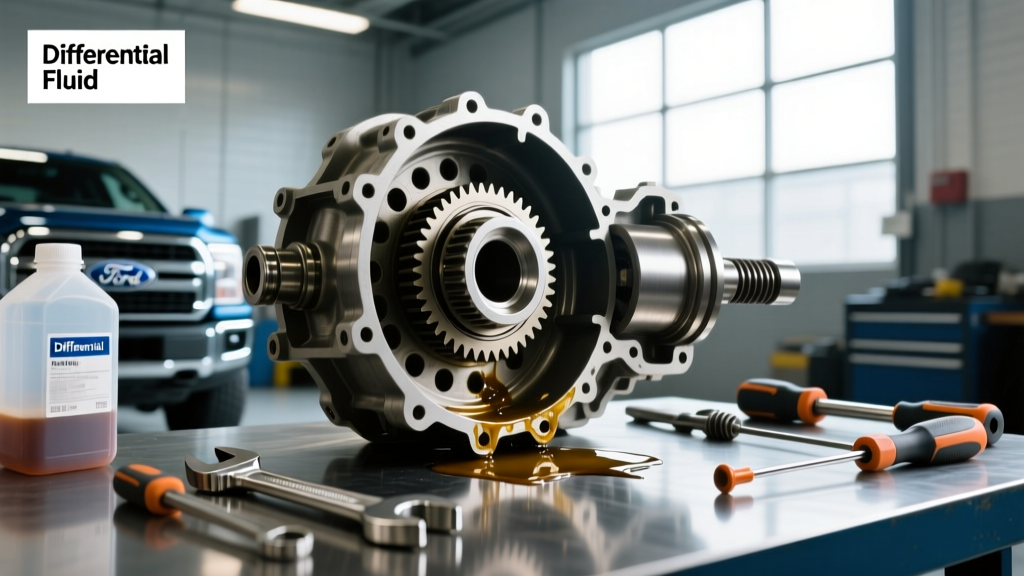
The rear differential is arguably the most neglected drivetrain component in modern trucks and SUVs. While owners meticulously track engine oil changes and transmission flushes, the gear oil bathing the ring and pinion gears, bearings, and clutch packs in the rear axle is often left to degrade for tens of thousands of miles. A proper rear differential service is not just about swapping old oil for new; it is a critical inspection point that ensures your axle can handle the immense torque multiplication generated by your drivetrain.
When you put your foot on the throttle, the driveshaft transfers rotational force to the pinion gear, which meshes with the ring gear to turn the axle shafts. This meshing point generates extreme pressure and localized heat. According to Dana Spicer's aftermarket engineering guidelines, the hypoid gear design used in most rear axles requires a specialized lubricant capable of maintaining a protective hydrodynamic film under immense sliding friction. Over time, the extreme pressure (EP) additives in the fluid deplete, leading to accelerated gear wear, bearing failure, and catastrophic axle seizure.
Debunking the 'Lifetime' Fluid Myth: Real-World Intervals
Many modern OEM owner's manuals list the rear differential fluid as a 'lifetime' fill or recommend service intervals exceeding 100,000 miles. From a mechanical engineering standpoint, 'lifetime' simply means the expected warranty period of the vehicle. In reality, thermal cycling, moisture ingress through the axle breather tube, and shear forces break down the fluid's molecular structure long before the 100,000-mile mark.
For vehicles subjected to severe duty—such as towing trailers, hauling heavy payloads in the bed, or off-roading—the service interval must be drastically compressed. The 2026 towing standards for half-ton and heavy-duty trucks place significantly more thermal load on rear axles than vehicles from a decade ago. Below is a realistic service interval framework based on real-world drivetrain teardown data.
| Driving Profile | Recommended Interval | Fluid Condition at Drain |
|---|---|---|
| Highway Commuting (Unloaded) | 50,000 - 60,000 Miles | Slight darkening, minimal metallic particulate |
| Mixed Towing & Hauling (50% Load) | 30,000 - 40,000 Miles | Dark brown, noticeable metallic shimmer on magnet |
| Heavy Towing, Off-Road, Water Fording | 15,000 - 20,000 Miles | Black, burnt smell, heavy sludge, water emulsion |
Decoding Gear Oil Viscosity and API GL-5 Chemistry
Selecting the correct fluid is paramount. You must use an API GL-5 rated gear oil. Do not substitute GL-4, as it lacks the necessary sulfur-phosphorus EP additives required to protect the sliding action of hypoid gears. However, be aware that high concentrations of sulfur can be corrosive to yellow metals (like brass or bronze), though modern rear axles rarely use yellow metal synchronizers or washers.
Viscosity selection depends on your axle and ambient operating temperatures:
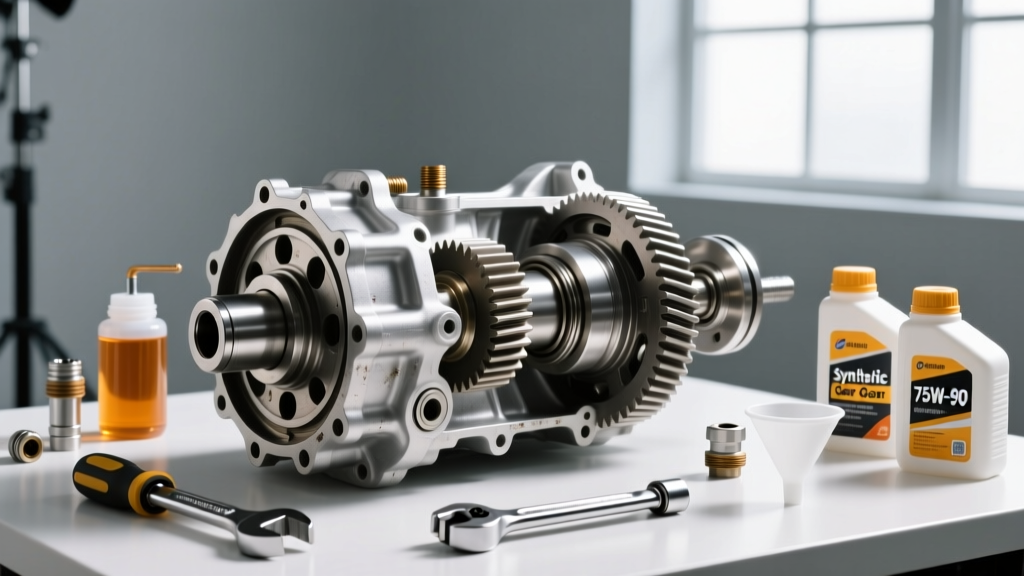
- 75W-90 Synthetic: The standard for most light-duty trucks and SUVs (e.g., standard Ford 8.8, GM 8.6). Offers excellent cold-weather flow and fuel economy.
- 75W-140 Synthetic: Mandatory for heavy-duty towing, commercial use, or high-horsepower applications. The higher high-temperature viscosity prevents film tearing under extreme axle loads. Many OEMs, including Ford, now recommend 75W-140 for F-150s equipped with the Max Tow package.
- 80W-90 Conventional: An older specification, largely superseded by synthetics. Still acceptable for older, high-mileage agricultural or fleet axles where synthetic seepage is a concern.
The Limited-Slip Differential (LSD) Friction Modifier Debate
If your rear axle is equipped with a clutch-type limited-slip differential (such as the Ford Traction-Lok, GM Gov-Lok, or Auburn Gear), you must add a friction modifier (e.g., Ford XL-3 or equivalent). Without it, the clutch packs will bind and chatter during low-speed cornering. Conversely, if your axle uses a helical gear-type LSD (like a Torsen or Detroit Truetrac) or an open differential, do not add friction modifier, as it will reduce the bias ratio and effectiveness of the gear-driven torque biasing system.
Required Tools and Materials
Before crawling under the vehicle, gather the following specific tools to ensure a professional-grade rear differential service:
- 3/8-inch drive click-type torque wrench (calibrated)
- Socket set (typically 3/8-inch or 13mm/15mm for cover bolts; 3/8-inch square or 15/16-inch for fill/drain plugs)
- Gasket scraper (plastic or brass to avoid scoring the mating surface)
- Brake cleaner (non-chlorinated)
- RTV Silicone: Permatex 'The Right Stuff' Grey (Part #29208) or Ultra Black. Note: The Right Stuff allows for immediate return to service, whereas Ultra Black requires a 24-hour cure time.
- Fluid transfer pump (essential for pumping thick 75W-140 gear oil)
- Shop rags and a magnetic drain pan
Step-by-Step Rear Differential Service Procedure
Follow this exact sequence to avoid common pitfalls that lead to leaks or stranded vehicles.
Step 1: Safety and Vehicle Prep
Park on a level surface. Engage the parking brake and chock the front wheels. Lift the rear of the vehicle using a floor jack and secure it on jack stands placed under the axle tubes or designated frame pads. Never work under a vehicle supported only by a hydraulic jack. Allow the axle to cool to the touch to prevent severe burns from hot gear oil.
Step 2: Break the Fill Plug FIRST (The Golden Rule)
Before touching a single cover bolt, locate the fill plug on the upper half of the differential cover or the center section (on axles without a removable cover, like the Chrysler 8.25 or Dana 60). Use your ratchet to break the fill plug loose.
Pro-Tip: If you drain the fluid or drop the cover first, and then discover the fill plug is seized or strips, your vehicle is permanently stranded until the plug is extracted. Breaking it first ensures you can always refill the axle.
Step 3: Drop the Cover and Drain
Place your drain pan directly under the differential. Loosen all cover bolts in a crisscross pattern. Leave the top two bolts threaded in slightly to act as a hinge, then gently pry the bottom edge of the cover with a flathead screwdriver to break the RTV seal. Allow the fluid to drain completely. Inspect the old fluid for large metal chunks; a fine, glittery paste on the magnet is normal wear, but chunks the size of a pea indicate bearing or gear failure requiring a teardown.
Step 4: Scrape, Clean, and Inspect
Remove the cover entirely. Use your gasket scraper to meticulously remove all old RTV from both the cover and the axle housing mating surface. Spray the inside of the housing and the cover with brake cleaner, wiping it down with lint-free shop rags. Never use abrasive Scotch-Brite pads, as the aluminum oxide debris will embed itself in the bearings and act as lapping compound, destroying your axle.
Step 5: Apply RTV Silicone
If your axle uses a reusable rubber gasket (common on some GM 14-bolts), clean it and reinstall dry. For RTV-sealed axles, apply a continuous 3mm to 5mm bead of Permatex 'The Right Stuff' Grey around the cover's mounting flange, ensuring you circle every bolt hole. Do not use excessive amounts, as squeezed-out silicone can break off inside the axle and clog the oil pickup or bearing journals.
Step 6: Reinstall and Torque the Cover
Press the cover into place and thread all bolts by hand to prevent cross-threading. Tighten the bolts in a star pattern to draw the cover down evenly.
Consult your specific axle manual, but standard torque specifications for common axles are as follows:
- Ford 8.8 (10-bolt): 28 - 38 lb-ft
- Dana 44 / Dana 60: 25 - 35 lb-ft
- GM 9.5 (14-Bolt Semi-Floating): 25 lb-ft
- Chrysler 8.25: 30 lb-ft
Step 7: Fill and Verify Level
Attach your fluid transfer pump to the new gear oil bottle. If using a clutch-type LSD, pour the required friction modifier (usually 4 oz) into the pump hose or directly into the fill hole first. Pump the 75W-90 or 75W-140 synthetic gear oil into the fill hole until the fluid begins to weep out of the bottom lip of the hole. This is known as the 'pinky finger rule'—the fluid should be exactly level with the bottom of the fill plug threads. Reinstall the fill plug and torque it to spec (typically 25-33 lb-ft).
Post-Service Troubleshooting and Diagnostics
After completing your rear differential service, take the vehicle for a 10-mile test drive to circulate the fluid and bring the axle up to operating temperature. Check for leaks around the cover perimeter and fill plug.
If you experience a rhythmic 'chatter' or binding sensation when turning at low speeds, your clutch-type LSD requires an additional 1-2 oz of friction modifier. Add it incrementally and test drive again. Conversely, if you hear a high-pitched whine that changes pitch with vehicle speed, the fluid change will not fix it; this indicates a worn pinion bearing or improper ring-and-pion backlash that requires professional shimming and setup.
By adhering to this comprehensive rear differential service procedure, you ensure maximum traction, longevity, and reliability for your vehicle's drivetrain, whether you are commuting in 2026 or hauling heavy loads across the country.