Symptom Triage: Is It the Cover, the Pinion, or the Axle Seals?
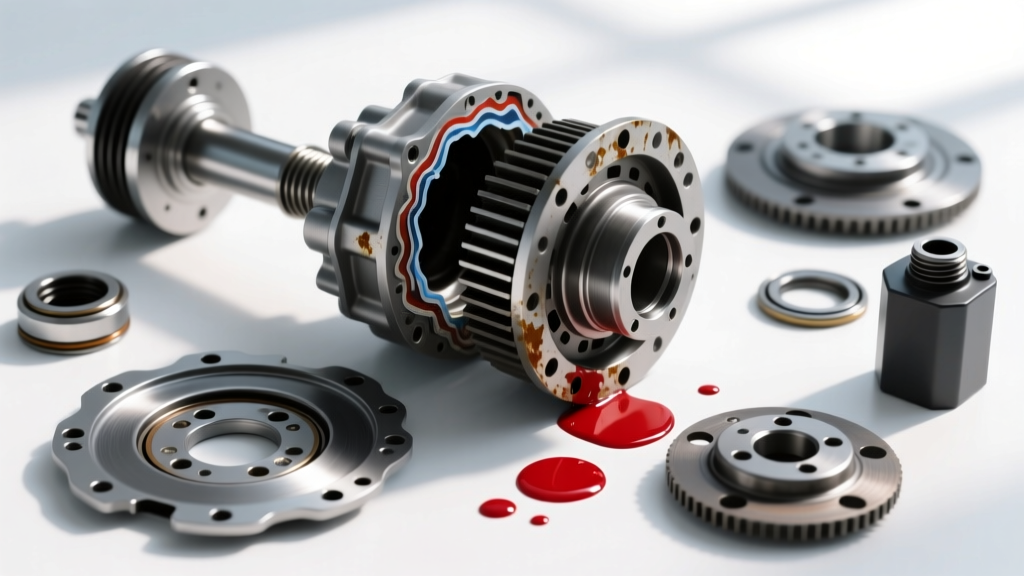
When a vehicle arrives at the bay with gear oil spotting the driveway or a distinct sulfur smell in the cabin, novice technicians often jump straight to a rear differential cover replacement. However, proper rear differential service and maintenance demands a systematic diagnostic approach before any wrenches are turned. Fluid dynamics, combined with undercarriage wind patterns, frequently deposit pinion seal leaks onto the bottom of the differential pan, perfectly mimicking a cover failure.
As of 2026, with extended service intervals pushing gear oils to their thermal limits, seal degradation is just as common as gasket failure. Before committing to a cover removal, you must perform a thorough chemical cleaning and visual triage to isolate the true origin of the leak.
Visual Inspection Matrix: Leak Origin Diagnostics
| Leak Location | Fluid Characteristics | Primary Suspect | Secondary Suspect |
|---|---|---|---|
| Lowest point of pan / bolt heads | Dark, thick, smells of sulfur | Warped cover / Failed RTV | Stripped bolt threads |
| Front of housing, near yoke | Flung backward in a radial pattern | Pinion Seal | Worn yoke companion surface |
| Outboard edges of axle tubes | Wetness on brake backing plates | Axle Shaft Seals | Clogged axle vent tube |
| Top of pumpkin / fill plug | Seeping around plug threads | Missing plug crush washer | Overfilled fluid level |
Root Cause Analysis: Why Rear Differential Cover Replacement Becomes Necessary
If your diagnostic matrix confirms the leak is indeed originating from the mating surface of the pan, you must understand why it failed. Simply swapping parts without addressing the root cause will result in a comeback. According to drivetrain engineering data from Yukon Gear & Axle, stamped steel and cast aluminum covers fail for three primary reasons:
1. The Overtorque Warp
The most common cause of a leaking stamped steel cover (such as the ubiquitous Ford 8.8" 10-bolt or GM 8.5" corporate 10-bolt) is improper torque application. The factory specification for most 5/16" or M8 cover bolts is between 25 and 35 ft-lbs. When technicians use a 1/2" drive impact wrench to "zip" the bolts down, the thin steel flange bends inward between the bolt holes. This creates a concave mating surface that no amount of RTV silicone can permanently seal. Once warped by more than 0.015 inches, a rear differential cover replacement is mandatory; attempting to hammer it flat on an anvil rarely restores the necessary flatness for a reliable seal.
2. Thermal Cycling and RTV Extrusion
Differential housings expand and contract at different rates than the cover, especially when comparing cast iron center sections to aluminum covers. Over thousands of heat cycles, cheap RTV silicone loses its elastomeric memory, extrudes out of the joint under internal pressure, and tears. This is why modern rear differential service and maintenance protocols heavily favor reusable, steel-core elastomer gaskets over liquid sealants.
3. Galvanic Corrosion and Hardware Yield
On vehicles like the Ram 1500 or late-model Silverados equipped with cast aluminum differential covers, galvanic corrosion can occur if the steel bolts are not properly coated or isolated. The corrosion pits the aluminum sealing surface, creating microscopic channels for 75W-90 gear oil to escape. Furthermore, repeated removal of steel bolts from aluminum housings frequently leads to stripped threads, requiring Time-Sert or Heli-Coil inserts before a new cover can be installed.
The Sealing Debate: RTV vs. Reusable Gaskets
When executing a rear differential cover replacement, the choice of sealing method dictates the longevity of the repair. While AMSOIL Technical Guides and OEM service manuals often specify RTV, the aftermarket has evolved.
- Permatex Ultra Black (Part #81878): The industry standard for liquid gaskets. Highly oil-resistant and designed for high-flex applications. Requires a 3/16" continuous bead and a 10-minute tack-up time before assembly. Drawback: Excess RTV can break off internally and clog oil pickup tubes or wedge between the ring gear and housing.
- Lube Locker Reusable Gaskets (e.g., LL-D44 for Dana 44): Featuring a steel core with molded nitrile rubber sealing beads, these gaskets require zero RTV. They torque down evenly, eliminate the risk of internal silicone debris, and can be reused multiple times. Drawback: Higher upfront cost ($35-$45 vs. $8 for a tube of RTV).
- Fel-Pro Cork/Rubber Composites (e.g., RDS55015): Traditional and inexpensive, but highly prone to crushing and splitting if the cover flange is not perfectly flat. Not recommended for heavy-duty or off-road applications.
Step-by-Step Replacement and Service Protocol
A flawless rear differential cover replacement requires meticulous surface preparation. Gear oil contains extreme pressure (EP) additives that leave a microscopic film on metal, preventing liquid sealants from bonding.
- Drain and Remove: Break the lowest bolt first to allow fluid to drain into a catch pan. Support the cover, then remove all perimeter bolts.
- Chemical Degreasing: Scrape the old gasket material using a plastic scraper to avoid gouging the housing. Spray both the housing and cover mating surfaces with a chlorinated brake cleaner or Loctite SF 760. Wipe with a lint-free shop towel until no black residue remains.
- Bolt Inspection: Wire-brush all cover bolts. Inspect the threads for stretching (necking). If the unthreaded shoulder of the bolt is visibly narrowed, the fastener has yielded and must be replaced to prevent snapping inside the housing.
- Seal and Assemble: Apply your chosen gasket method. Hand-start all bolts to prevent cross-threading.
- Torque Sequence: Always use a crisscross or star pattern, starting from the center and working outward. This ensures the cover is pulled down evenly, preventing the "potato chip" effect that causes edge leaks.
Fastener Yield and Torque Specifications
Referencing ARP Fasteners engineering data, overtightening differential covers is a leading cause of component failure. Use a calibrated 1/4" or 3/8" drive torque wrench for these specifications.
| Axle Model | Cover Material | Fastener Size | Torque Spec (ft-lbs) | Fluid Capacity (Approx) |
|---|---|---|---|---|
| Ford 8.8" (10-Bolt) | Stamped Steel | 3/8"-16 | 28 - 38 | 2.5 Quarts |
| GM 8.5" / 8.6" (10-Bolt) | Stamped Steel | 3/8"-16 | 22 - 27 | 2.1 Quarts |
| Dana 44 (Standard) | Cast Iron / Aluminum | 3/8"-16 | 30 - 35 | 2.0 Quarts |
| Chrysler 8.25" | Stamped Steel | 5/16"-18 | 20 - 25 | 2.2 Quarts |
Gear Oil Viscosity and Limited-Slip Diagnostics
A rear differential cover replacement is the perfect opportunity to evaluate the health of the internal components and optimize the fluid. When the cover is off, inspect the magnetic fill plug (or the bottom of the housing if no plug exists).
Master Tech Insight: A fine, glitter-like paste on the magnet is normal wear from the ring and pinion break-in process. However, if you find chunky metal shavings, jagged splinters, or brass-colored flakes (indicating carrier or pinion bearing cage failure), a simple fluid service will not save the axle. The differential must be torn down for a full rebuild.
Selecting the Correct Fluid and Additives
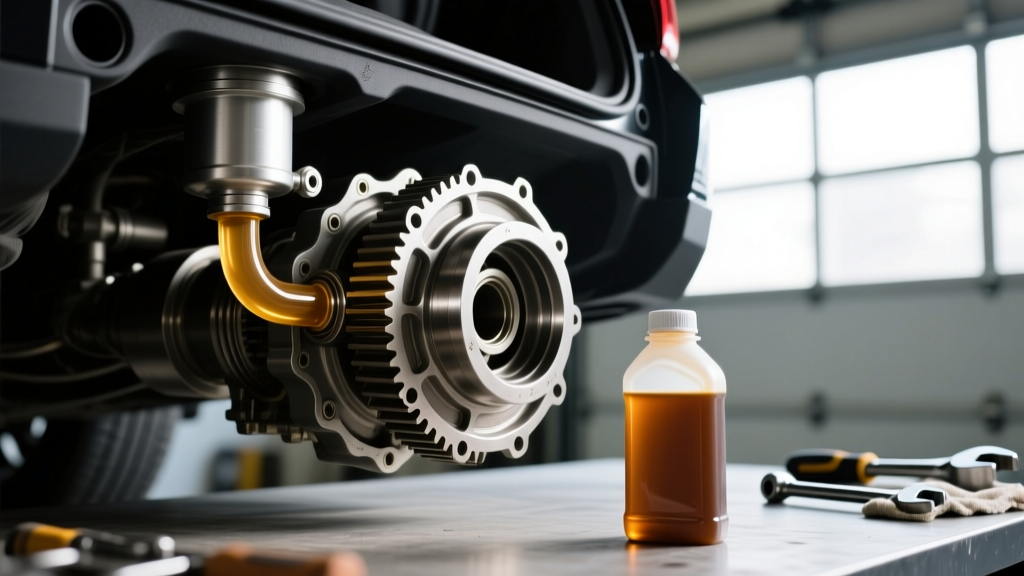
Modern differentials require precise lubrication chemistry. For standard open differentials, a high-quality 75W-90 Synthetic GL-5 gear oil provides superior cold-weather flow and high-temperature shear stability compared to conventional 80W-90.
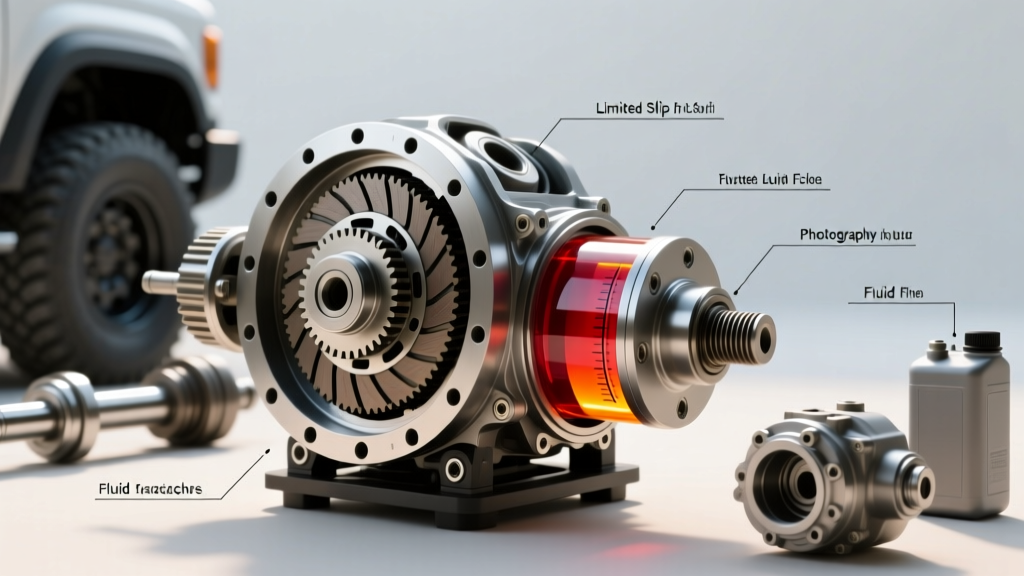
However, if the vehicle is equipped with a clutch-type Limited Slip Differential (LSD) such as Ford's Trac-Loc, GM's Positraction, or an Auburn LSD, the fluid selection is critical. These units require a specific friction modifier (e.g., Motorcraft XL-3 or GM EOS) to prevent the clutches from grabbing and releasing abruptly. If a customer reports a "chattering" or "hopping" sensation during tight, low-speed turns after a differential service, the friction modifier was either omitted, under-dosed, or the clutches are glazed and require a burnish procedure (driving in tight figure-eights in an empty parking lot).
Conclusion: Precision Over Speed
Troubleshooting an axle leak requires patience and a methodical elimination of variables. A successful rear differential cover replacement is not just about stopping a leak; it is a holistic intervention in the rear differential service and maintenance lifecycle. By diagnosing the true source of the fluid loss, respecting torque specifications, utilizing modern sealing technologies, and specifying the correct GL-5 lubricants, you ensure the drivetrain operates reliably for the next 100,000 miles.