The Tipping Point: When a Rear Differential Oil Change Cost Becomes a Rebuild
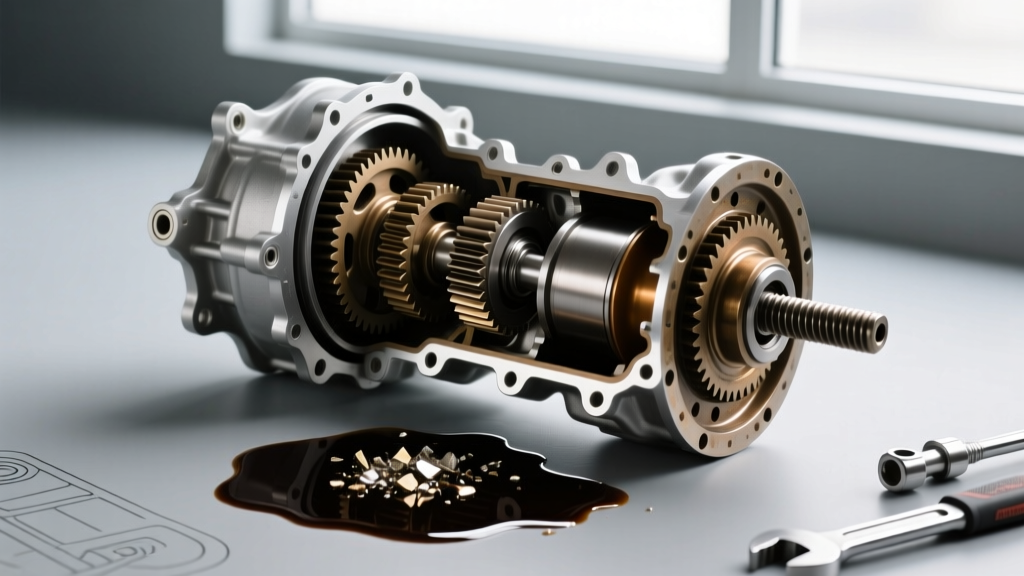
You booked your truck in for routine drivetrain maintenance, expecting a standard service. But when the technician pulls the rear differential cover, the fluid that spills into the drain pan tells a different story. What was supposed to be a simple rear differential oil change cost of $150 to $250 has suddenly morphed into a catastrophic mechanical failure requiring a complete teardown. As of 2026, with supply chain stabilizations but rising specialized labor rates, understanding the bridge between a fluid service and a full differential rebuild is critical for both DIY mechanics and fleet owners.
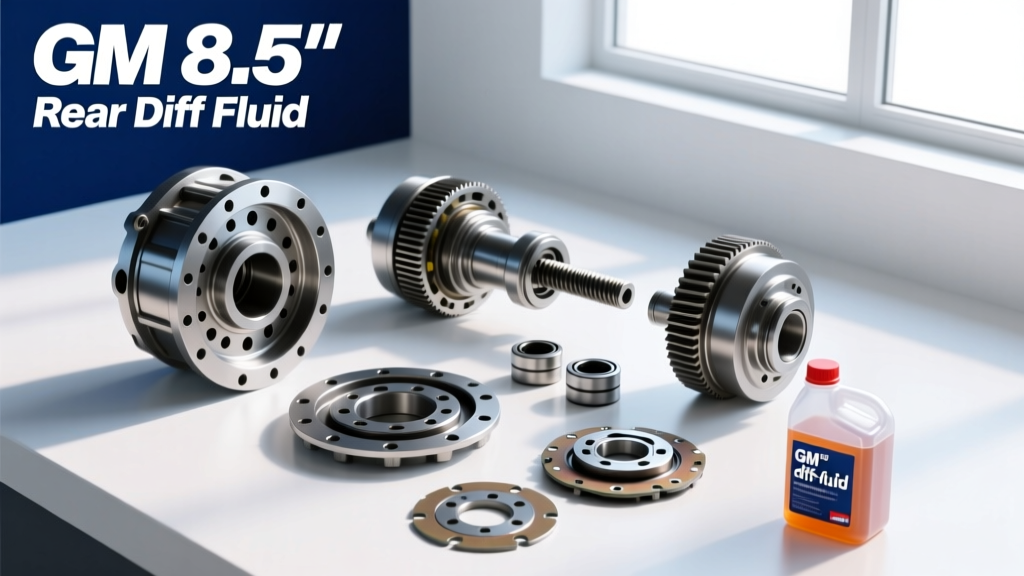
This step-by-step guide focuses on the ubiquitous GM 8.5-inch 10-bolt solid rear axle—found in millions of Silverados, Camaros, and Caprices. We will walk through the diagnostic drain, the precision rebuild procedure, and the hard financial data comparing a fluid swap to a master overhaul.
Step 1: The Diagnostic Drain and Fluid Evaluation
Before committing to a rebuild, you must confirm the internal damage. Differential fluid is the lifeblood of the ring and pinion set. Using a high-quality GL-5 synthetic like AMSOIL Severe Gear 75W-90 can extend service intervals, but it cannot hide physical destruction.
Reading the Drain Pan
When performing the initial drain, pay close attention to the magnetic drain plug and the fluid's viscosity. Here is a diagnostic matrix to determine your next steps:
| Fluid Condition | Magnetic Plug Debris | Diagnosis | Action Required |
|---|---|---|---|
| Clear / Amber | None | Healthy, normal operation | Standard fluid change |
| Dark Brown / Burnt Smell | Light gray paste | Thermal breakdown, normal wear | Flush and refill with synthetic |
| Opaque Black / Glitter | Fine metallic fuzz | Bearing degradation or high mileage | Inspect bearings, potential rebuild |
| Chunky / Sludge-like | Shards, teeth fragments | Catastrophic ring/pinion failure | Full differential rebuild required |
If your drain pan contains chunks of sintered metal or pieces of the thrust washers, the rear differential oil change cost is no longer relevant. You are now looking at a master overhaul kit and a bench rebuild.
Step 2: Core Teardown and Axle Removal
To rebuild the differential, the center section (carrier) must be removed. For a GM 8.5-inch 10-bolt, this requires pulling the axles first.
- Remove the Axles: Unbolt the rear differential cover and drain the remaining fluid. Rotate the carrier to access the differential pinion shaft lock bolt (8mm). Remove the bolt and slide out the cross-pin shaft.
- Extract the C-Clips: Push the axle shafts inward toward the center of the housing. This exposes the C-clip retainers on the axle button heads. Use a small pick or magnet to remove the C-clips, then slide the axle shafts out of the housing tubes.
- Pull the Carrier: Unbolt the four bearing cap bolts (two on each side). Critical Rule: Bearing caps are line-bored with the housing at the factory. They are not interchangeable. Stamp or mark them 'Left' and 'Right' before removal. Pry the carrier assembly out of the housing using a brass pry bar to avoid scoring the bearing saddles.
Step 3: The Math of a Rebuild — Pinion Depth and Backlash
A successful differential rebuild relies entirely on precision measurements. According to Ring & Pinion Technical Articles, improper gear mesh is the leading cause of premature whine and failure in rebuilt axles.
Setting Pinion Depth
The pinion gear must sit at an exact depth relative to the ring gear centerline.
- Remove the old pinion bearing using a hydraulic press.
- Install a 'setup bearing' (an old bearing that has been honed out so it slides on and off by hand) and the new pinion depth shim.
- Measure the distance from the pinion head to the ring gear centerline using a pinion depth gauge. Compare this to the etching on the head of your new ring gear (e.g., a stamp reading '+0.003' means the pinion must be positioned 0.003 inches deeper than the nominal factory baseline).
Dialing in Backlash
Backlash is the rotational play between the ring and pinion teeth. For a street-driven GM 8.5-inch axle, the target backlash is 0.006 to 0.010 inches.
- Mount the dial indicator to the housing, resting the probe on a ring gear tooth.
- Hold the pinion yoke stationary and rock the ring gear back and forth.
- Adjust the side bearing adjuster sleeves (or shims, depending on the specific housing variant) until the dial indicator reads exactly 0.008 inches of play.
Step 4: Gear Pattern Verification
Before pressing on the final, tight-fitting bearings, apply a liberal coat of yellow gear marking compound to three or four teeth on the ring gear. Rotate the pinion to drive the ring gear through the painted section. You are looking for a specific pattern:
- Drive Side (Convex): The pattern should be centered on the tooth face, slightly biased toward the heel (the inner end of the tooth) under no load, but moving to the center under load.
- Coast Side (Concave): Similar to the drive side, but mirrored. If the pattern is high on the tooth (top land), the pinion is too deep. If it is low (root), the pinion is too shallow.
Step 5: Final Assembly and Torque Specifications
Once the pattern and backlash are verified, press on the final Timken or Koyo bearings. Install the carrier into the housing, ensuring the marked bearing caps return to their exact original locations.
GM 8.5" 10-Bolt Torque Specs Chart
| Component | Torque Specification | Notes / Fastener Prep |
|---|---|---|
| Ring Gear Bolts | 70 lb-ft | Apply Red Loctite 272 to threads. Left-hand threads on some aftermarket kits. |
| Bearing Cap Bolts | 60 lb-ft | Apply medium threadlocker. Ensure caps are seated fully. |
| Pinion Nut (Crush Sleeve) | 160 - 210+ lb-ft | Torque until rotational preload is achieved (see below). |
| Differential Cover Bolts | 25 lb-ft | Use RTV silicone (e.g., Permatex Black) instead of a gasket for better sealing. |
| Axle Shaft Retainer Nuts | 35 lb-ft | Clean studs thoroughly before installation. |
Expert Warning: The Crush Sleeve Trap
The pinion nut crushes a steel sleeve to establish pinion bearing preload. The target rotational torque (measured with an inch-pound torque wrench on the pinion nut with the carrier removed) is 15 to 25 in-lbs for new bearings. If you over-tighten the nut by even a fraction of a turn and exceed 25 in-lbs, you cannot simply back the nut off. The sleeve is permanently deformed. You must install a brand-new crush sleeve and start the torque process over. As noted in Yukon Gear & Axle Installation Guides, patience and a high-quality 3/4-inch drive torque wrench are mandatory here.
Cost Breakdown: Rear Differential Oil Change Cost vs. Complete Rebuild
Understanding the financial leap from maintenance to repair helps in making informed decisions. Below is the 2026 pricing landscape for a standard GM 10-bolt solid axle.
| Service Type | DIY Cost Estimate | Professional Shop Cost (2026) |
|---|---|---|
| Standard Fluid Change (75W-90) | $60 - $90 | $150 - $250 |
| Fluid Change w/ Limited Slip Additive | $80 - $110 | $180 - $290 |
| Master Rebuild Kit (Bearings, Seals, Crush Sleeve) | $180 - $350 | N/A (Included in shop parts) |
| Ring & Pinion Gear Set (e.g., Yukon 3.73) | $250 - $400 | $300 - $500 |
| Total Complete Rebuild (Parts + Labor) | $450 - $850 (Requires specialty tools) | $1,600 - $2,800 |
While the rear differential oil change cost remains a minor line item in annual vehicle maintenance, a full rebuild requires specialized tools (bearing presses, dial indicators, inch-pound torque wrenches) that push most DIYers toward professional drivetrain shops. Shop labor rates for drivetrain specialists currently average $145 to $195 per hour, making the 8-to-12-hour rebuild job a significant investment.
Post-Rebuild Break-In Protocol
A freshly rebuilt differential generates immense friction as the gear teeth mate and the new bearings seat.
- Miles 0-50: Drive conservatively. Limit speeds to 45 MPH. Avoid heavy throttle loads or towing.
- Miles 50-500: Normal driving, but avoid sustained highway speeds for more than 30 minutes at a time to prevent heat soak.
- The 500-Mile Service: Drain and refill the differential with fresh 75W-90 gear oil. This critical step removes the microscopic metal shavings generated during the initial mating process, ensuring the longevity of your rebuild.
By recognizing the warning signs in the drain pan and understanding the meticulous procedures required for a proper gear setup, you can accurately weigh the value of a simple fluid service against the necessity of a complete axle resurrection.