Identifying Rear Differential Leak Symptoms Before Catastrophic Failure
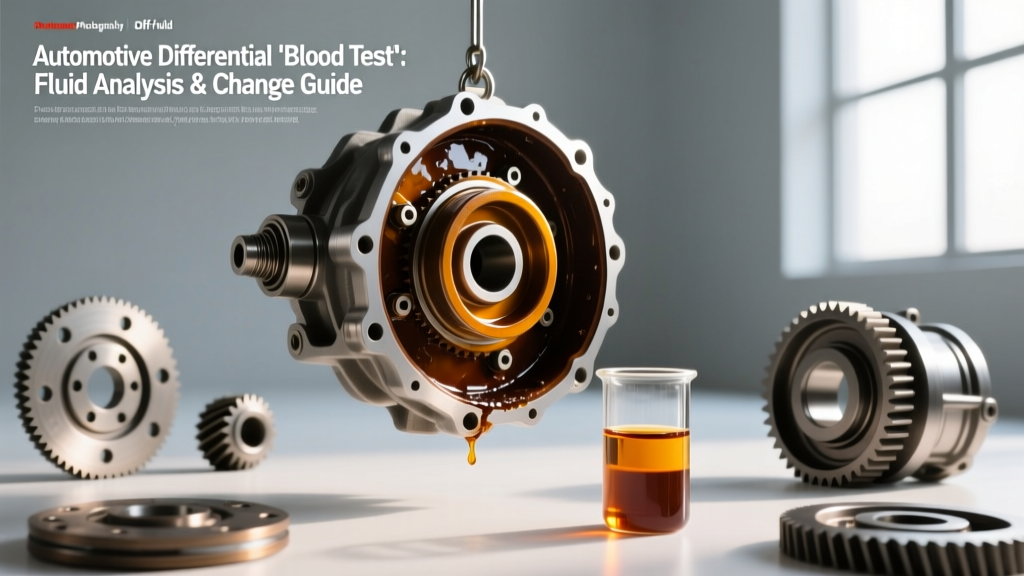
Ignoring early rear differential leak symptoms is one of the most common mistakes vehicle owners make. A few drops of gear oil on the driveway might seem trivial, but differential fluid is the lifeblood of your ring and pinion set, carrier bearings, and axle shafts. When fluid levels drop, the extreme pressure (EP) additives required to protect hypoid gears under high-torque loads are depleted, leading to rapid thermal degradation and catastrophic gear scoring.
As of 2026, modern synthetic 75W-90 and 75W-140 gear oils are engineered to last upwards of 100,000 miles under normal conditions. However, seal degradation, bearing wear, and clogged axle breather vents can compromise the system long before the fluid itself fails. Recognizing the precise location and nature of a leak is the first step in determining whether you need a simple seal swap or a comprehensive bearing and seal replacement.
Pinion Seal vs. Axle Seal Leaks: Visual Diagnostics
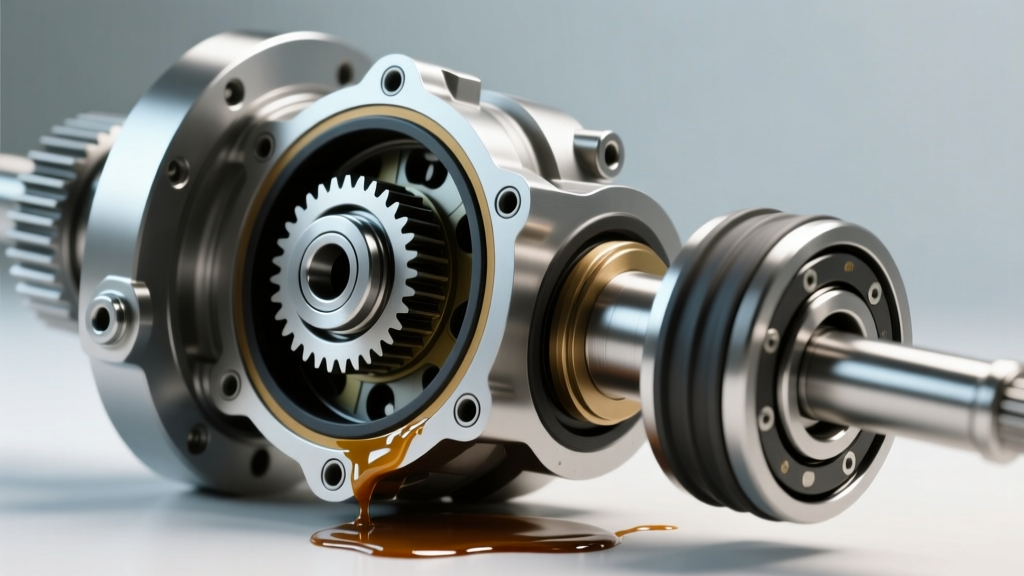
- Pinion Seal Leak: Fluid accumulates directly in the center of the vehicle, near the driveshaft yoke. You will often see oil slung in a radial pattern across the undercarriage, exhaust, and fuel tank due to the rotational force of the yoke.
- Axle Shaft Seal Leak: Fluid migrates outward along the axle tubes, pooling at the inner edge of the brake rotors or drums. In severe cases, gear oil contaminates the brake friction material, causing severe braking hazards and a distinct burning sulfur smell during stops.
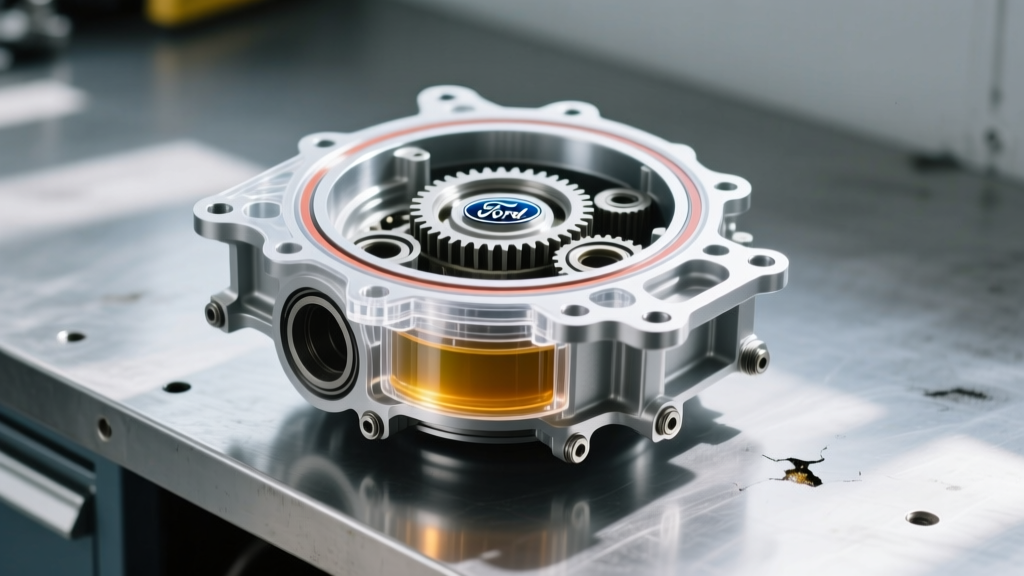
- Differential Cover Leak: Often mistaken for a seal leak, this presents as a steady drip directly beneath the differential pumpkin, usually caused by degraded RTV silicone or overtightened cover bolts warping the stamped steel pan.
The Root Cause: Why Bearings and Seals Fail Together
Many DIY mechanics attempt to cure rear differential leak symptoms by simply prying out the old pinion seal and tapping in a new one. While this might stop the leak temporarily, it ignores the mechanical root cause: bearing wear.
The pinion seal rides on the machined surface of the pinion yoke. If the inner or outer pinion bearings (such as the common Timken LM503349 inner and LM501349 outer) develop microscopic pitting or cage wear, the pinion gear will exhibit radial runout. This harmonic wobble at highway speeds acts like a reciprocating saw against the delicate rubber lip of the pinion seal, tearing it from the inside out. If you replace the seal without addressing the worn bearing and resetting the bearing preload, the new seal will fail within 2,000 miles. According to technical bulletins from Spicer Parts, proper bearing preload is non-negotiable for seal longevity and gear mesh stability.
Expert Guide: Pinion Bearing and Seal Replacement
Performing a full pinion bearing and seal replacement requires precision tools, including an inch-pound torque wrench, a dial indicator, and a hydraulic press. Here is the professional workflow for setting up a pinion bearing correctly.
1. Teardown and Pinion Depth Measurement
Before removing the pinion gear from the housing, mark the relationship between the pinion nut, yoke, and pinion shaft thread. Once the carrier is removed, press the pinion gear out of the housing. When pressing off the old inner bearing, carefully preserve the original pinion depth shim. This shim dictates the exact distance between the pinion gear face and the axle centerline. Even a 0.002-inch deviation will result in excessive gear whine or premature tooth shearing.
2. Bearing Preload and Crush Sleeve Torque Specs
OEM differentials use a "crush sleeve" to establish pinion bearing preload. As you torque the pinion nut, the sleeve collapses, creating tension. The danger here is over-crushing: if you exceed the target rotational torque, the sleeve must be replaced, as it cannot expand back. Expert Tip: Discard the OEM crush sleeve and install a solid spacer (crush sleeve eliminator) with a precision shim pack. This allows for infinite preload adjustments without the risk of ruining a one-time-use crush sleeve.
| Axle Model | Target Pinion Preload (New Bearings) | Target Pinion Preload (Used Bearings) | Common Pinion Nut Torque (Approx.) |
|---|---|---|---|
| Ford 8.8-Inch | 15 - 29 in-lbs | 8 - 14 in-lbs | 175 - 250 lb-ft |
| Dana 44 | 20 - 40 in-lbs | 10 - 20 in-lbs | 200 - 260 lb-ft |
| GM 10-Bolt (8.5") | 18 - 30 in-lbs | 10 - 15 in-lbs | 150 - 220 lb-ft |
Note: Rotational preload must be measured using a beam-style or digital inch-pound torque wrench with the carrier removed and seals uninstalled to eliminate drag variables.
Axle Shaft Bearing and Seal Replacement Best Practices
Axle shaft leaks are equally destructive, particularly in semi-floating axle designs where the bearing and seal share the same journal on the axle shaft. If the bearing seizes due to oil starvation, it can spin on the axle shaft, scoring the metal and requiring a complete axle shaft replacement.
Handling C-Clip vs. Pressed-In Retainers
On GM corporate axles (C-clip eliminators), you must remove the differential cover, rotate the carrier, and extract the C-clips from the spider gear block before the axle shafts can slide out. On Ford and Dana axles, the axle shafts are retained by a pressed-in bearing and a bolt-on retainer plate. When pressing out old axle bearings, always use a bearing splitter behind the bearing to avoid damaging the axle shaft splines.
When installing the new seal (e.g., National Seal 8660S or Motorcraft BR3Z-4653-A), use a dedicated cylindrical seal driver. Never** use a hammer and socket, as this can cock the seal in the bore, cutting the inner lip immediately upon insertion. Apply a thin film of grease to the seal lip before sliding the axle shaft in to prevent dry-start tearing.
Fluid Selection and Break-In Procedures
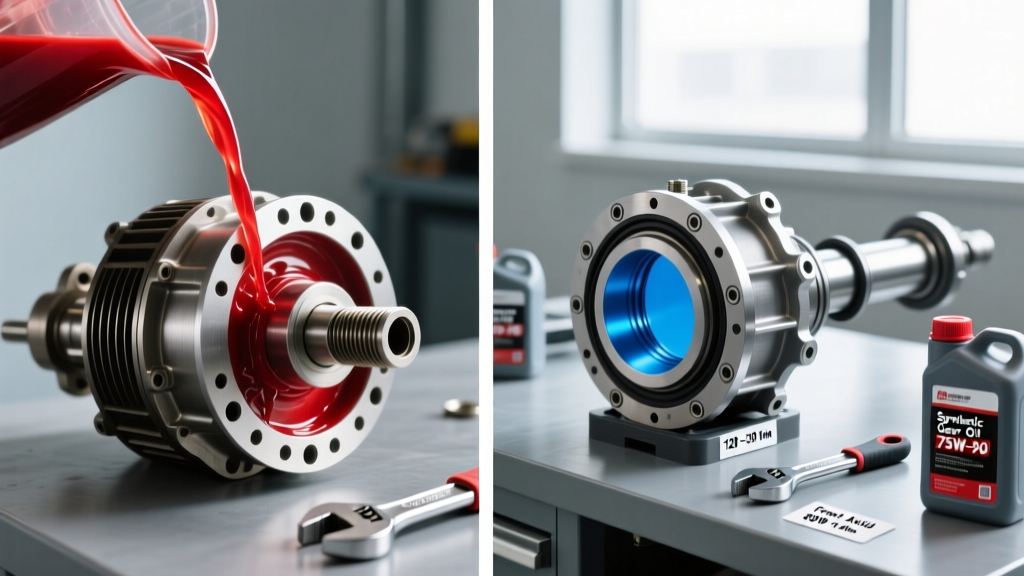
Following a bearing and seal replacement, flushing and refilling with the correct fluid is critical. For heavy-duty towing or off-road applications in 2026, a full synthetic 75W-140 API GL-5 fluid is highly recommended for its superior shear stability and thermal resistance. Brands like Amsoil Severe Gear or Mobil 1 Synthetic Gear Lubricant offer robust protection.
If your differential is equipped with a clutch-type limited-slip differential (LSD) such as an Eaton Posi or Ford Trac-Loc, you must add a friction modifier additive (typically 4 oz). Failure to do so will result in aggressive clutch pack chatter during low-speed cornering. However, if you have a helical gear LSD (like a Torsen or TrueTrac) or an open differential, do not add friction modifiers, as they are unnecessary and can reduce the fluid's overall film strength.
Expert Break-In Protocol: After rebuilding a differential with new bearings and setting gear backlash, the first 500 miles are critical. Avoid sustained highway speeds and heavy towing. The microscopic high spots on the new bearing races and gear teeth must wear in smoothly to establish proper load distribution. Change the fluid again after this 500-mile break-in period to remove metallic assembly paste and initial wear particulates.
Cost Breakdown: DIY vs. Professional Rebuild
Understanding the financial scope of a differential bearing and seal job helps set realistic expectations. While a simple seal swap is cheap, doing the job correctly with bearings and setup tools requires a larger investment.
| Service Level | Estimated Parts Cost | Estimated Labor / Tool Cost | Total Estimated Range |
|---|---|---|---|
| DIY Seal Swap Only (Band-Aid) | $15 - $35 | $0 (Basic Hand Tools) | $15 - $35 |
| DIY Full Bearing & Seal Kit | $120 - $250 | $150 (Tool Rental/Purchase) | $270 - $400 |
| Professional Shop Rebuild | $250 - $450 | $400 - $800 (Labor) | $650 - $1,250 |
Data sourced from industry averages and Ring & Pinion technical resources. Professional rebuilds include carrier bearing replacement, backlash setting, and gear contact pattern verification using marking compound, which guarantees the long-term survival of your ring and pinion set.
Summary
Addressing rear differential leak symptoms promptly is the difference between a routine maintenance job and a $3,000 axle replacement. By diagnosing the leak source accurately, replacing worn bearings that cause seal runout, and adhering to strict inch-pound preload specifications, you ensure the drivetrain's longevity. Whether you are tackling a Ford 8.8 or a heavy-duty Dana 60, precision, clean assembly, and high-quality synthetic fluids are your best defenses against differential failure.