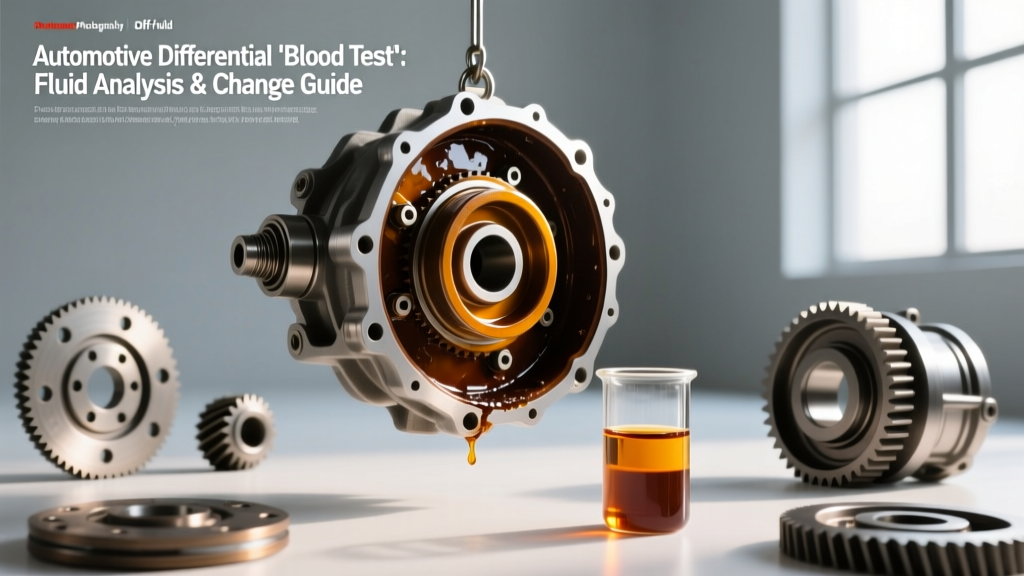
In the medical field, a differential blood test analyzes various white blood cell types to diagnose underlying health conditions. In the automotive (auto) world, we perform a metaphorical 'differential type blood test' via Used Oil Analysis (UOA) to diagnose the internal health of your axle and drivetrain. As vehicles in 2026 continue to push higher torque outputs through smaller, more stressed gear sets, understanding your differential fluid is no longer just about maintenance—it is about predictive survival.
Whether you are driving a daily commuter, a heavy-duty tow rig, or a dedicated off-roader, the gear oil inside your differential holds the microscopic secrets of your ring and pinion's wear patterns. This comprehensive guide will teach you how to extract and interpret your differential's 'blood test,' select the precise fluid type for your specific differential architecture, and execute a flawless step-by-step fluid change procedure.
The Auto Differential 'Blood Test': Used Oil Analysis (UOA)
Before you drain your old gear oil into a catch pan, you have a unique opportunity to perform a diagnostic blood test on your drivetrain. Used Oil Analysis (UOA) involves taking a small sample of your differential fluid and sending it to a lab, such as Blackstone Laboratories. For roughly $35, the lab will run a spectrometric analysis that reveals exactly what metals are wearing inside your axle housing.
Decoding Your UOA Results
- Iron: The primary material of your ring and pinion gears. A steady, low-level presence is normal. Spikes indicate severe gear wear or improper backlash setup.
- Copper/Bronze: Often points to the wear of thrust washers or pilot bearings. (Note: If you are testing a manual transaxle rather than a standalone axle, high copper could mean synchro degradation, as GL-5 fluids can corrode yellow metals).
- Aluminum: Typically indicates wear on the differential carrier case or pinion bearing cages.
- Silicon: Silicon is dirt (silica). High silicon levels mean your differential breather valve is clogged or missing, allowing road dust and water to be sucked into the axle housing as it cools down.
- Water: Labs test for water percentage. Anything above 0.5% means your axle seals or pinion seal are compromised, or the differential was submerged without proper waterproof breather extensions.
Matching Your Differential Type to the Correct Fluid
Not all differentials drink the same fluid. The American Petroleum Institute (API) classifies gear oils primarily into GL-4 and GL-5 categories. The critical difference lies in the extreme pressure (EP) additives, usually sulfur-phosphorus compounds, which protect the sliding friction of hypoid gears.
| Fluid Specification | Viscosity Examples | Best Application | Warnings & Edge Cases |
|---|---|---|---|
| API GL-5 (Synthetic) | 75W-90, 80W-90, 75W-140 | Modern solid axles, hypoid ring & pinions, heavy towing. | High sulfur content can corrode yellow metals (bronze/brass) in older axles or transaxles. |
| API GL-4 | 75W-90, 80W-90 | Manual transmissions, transaxles, older classic car differentials. | Lacks the extreme pressure additives required for modern high-offset hypoid gears. |
| OEM Specific / Limited Slip | 75W-85, 75W-140 | Clutch-type LSDs, modern integrated power transfer units (PTUs). | Requires specific friction modifiers to prevent clutch-pack chatter during low-speed turns. |
For most modern trucks and SUVs (like the Ford F-150 with an 8.8 or 9.75-inch axle, or the GM Silverado with a 9.5 or 10.5-inch semi-floating axle), a high-quality synthetic 75W-90 or 75W-140 GL-5 gear oil, such as Mobil 1 Synthetic Gear Lubricant or Amsoil Severe Gear, is the gold standard.
Step-by-Step Differential Fluid Change Procedure
Performing a differential fluid change requires patience, the right tools, and strict adherence to torque specifications. Here is the definitive procedure for a standard solid rear axle with a removable cover (e.g., GM 10-bolt, Ford 8.8, Dana 44).
Step 1: Preparation and Extraction
- Level the Vehicle: Park on a perfectly level surface. Jack up the rear of the vehicle and secure it on jack stands placed under the axle tubes or designated lift points.
- Extract the 'Blood Test' Sample: Before removing the cover, use a fluid extraction pump to pull 2-3 ounces of fluid from the fill plug hole into a clean sample bottle for UOA testing.
- Remove the Fill Plug FIRST: This is a golden rule of drivetrain maintenance. Always remove the top fill plug before removing the bottom drain plug or cover. If the fill plug is seized and you drain the fluid first, you will be stranded with an empty axle.
Step 2: Draining and Cover Removal
- Place a large catch pan (minimum 5-quart capacity) under the differential.
- Loosen the differential cover bolts using a 3/8-inch drive socket. Leave the top two bolts loosely threaded to act as a hinge.
- Use a flathead screwdriver or a specialized gasket scraper to gently break the seal between the cover and the axle housing. Allow the old 80W-90 or 75W-140 fluid to drain completely.
- Remove the final two bolts and take off the cover.
Step 3: Cleaning and Inspection
- Inspect the Magnet: Most differential covers feature an internal magnet. A fine, metallic 'fuzz' is normal wear. Chunky metal shards, needle bearing fragments, or brass-colored flakes indicate catastrophic internal failure requiring a rebuild.
- Clean the Surfaces: Spray the inside of the axle housing and the cover with non-chlorinated brake cleaner. Wipe down with lint-free shop towels. Scrape all old RTV silicone or cork gasket material from the mating surfaces using a plastic scraper to avoid gouging the metal.
Step 4: Sealing and Refilling
- Apply Sealant: If your axle uses RTV silicone instead of a pre-cut gasket, apply a continuous 1/8-inch bead of high-temp, oil-resistant black or grey RTV (like Permatex Ultra Black) to the cover. Ensure you circle every bolt hole.
- Reinstall Cover: Hand-thread all bolts, then tighten them in a crisscross star pattern. Allow the RTV to cure for the time specified on the tube (usually 1 hour before filling, 24 hours for full cure) if you are doing a dry fill.
- Pump in New Fluid: Using a hand-pump attached to your new gear oil bottle, pump fluid into the fill hole until it begins to weep out of the bottom edge of the hole. This ensures the fluid level is exactly at the centerline of the axle tube.
- Reinstall Fill Plug: Clean the fill plug threads, apply a drop of blue threadlocker if desired, and torque to spec.
Torque Specifications & LSD Additive Requirements
Over-torquing differential cover bolts is a common DIY mistake that warps thin stamped-steel covers, leading to immediate leaks. Always use a calibrated inch-pound or low-range foot-pound torque wrench.
Common Differential Cover Torque Specs
- GM 8.5" / 8.6" 10-Bolt: 25 lb-ft (34 Nm)
- Ford 8.8" Super 8.8: 28 - 38 lb-ft (38 - 51 Nm)
- Dana 44 / Dana 60: 25 - 35 lb-ft (depending on bolt grade and cover thickness)
- Fill / Drain Plugs (Standard 3/8" or 1/2" NPT): 25 - 35 lb-ft
The Friction Modifier Variable
If your vehicle is equipped with a clutch-type Limited Slip Differential (LSD)—such as the Ford Trac-Lok, GM Gov-Loc, or Auburn LSD—you must add a friction modifier additive. Omitting this will result in aggressive chattering and binding during low-speed, tight-radius turns, eventually destroying the clutch packs.
- Ford / General Applications: Motorcraft XL-3 Friction Modifier (P/N C8AZ-19586-A). Add 4 oz upon initial fill, test drive in figure-eights, and add up to 4 oz more if chatter persists.
- GM Specific Applications: ACDelco Limited Slip Axle Lubricant Additive (P/N 88900333).
- Helical Gear LSDs (Eaton Truetrac, Torsen): These operate on gear bias and do not use clutch packs. Do NOT add friction modifiers to these units.
Recommended Service Intervals for 2026 and Beyond
While many modern owner's manuals claim differential fluid is a 'lifetime' fill, drivetrain engineers universally disagree. Heat cycling, condensation, and extreme shear forces degrade the fluid's viscosity and deplete the EP additives over time.
- Normal Highway Driving: Inspect every 15,000 miles; replace every 40,000 to 50,000 miles.
- Severe Duty (Towing, Off-Road, Track): Replace every 15,000 to 30,000 miles. If you tow a heavy trailer through mountain passes, the differential fluid temperatures can easily exceed 250°F, rapidly oxidizing conventional mineral oils. Synthetic 75W-140 is highly recommended for these scenarios.
- Water Ingestion: If your axle is submerged past the hub center during off-roading or flooding, the fluid must be changed immediately, regardless of mileage. Water emulsifies gear oil, stripping it of its load-bearing film strength and causing rapid rust on the bearing races.
By treating your differential fluid change not just as a chore, but as a vital diagnostic 'blood test,' you can add hundreds of thousands of miles to your axle's lifespan. Keep your UOA records, respect the torque specs, and your ring and pinion will reward you with years of quiet, reliable operation.