Bridging the Gap: Real-World Track Prep and Sim Calibration
Selecting the correct racing clutch for a dedicated track car or high-horsepower time-attack build is one of the most critical drivetrain decisions you will make. A mismatched clutch leads to slip under high boost, premature failure from heat soak, or an inability to smoothly modulate engagement out of slow corners. Furthermore, as sim-to-real training pipelines become standard in the 2026 motorsport landscape, replicating the exact hydraulic feel and engagement curve of your real-world setup in the simulator is paramount for building muscle memory.
This step-by-step guide will walk you through the engineering principles of racing clutch selection—covering torque calculations, friction materials, and rotational inertia—before detailing how to map your Moza racing clutch pedal to perfectly mimic the physical characteristics of your chosen real-world hardware.
Step 1: Calculate True Torque Requirements and Shock Loading
Before browsing catalogs, you must establish your baseline torque requirement. The standard formula for calculating torque at the crank is:
Torque = (Horsepower x 5252) / RPM
However, for a racing application, static torque calculations are insufficient. You must account for shock loading, aerodynamic downforce increasing mechanical grip, and aggressive launch control. According to ACT Clutches engineering guidelines, you should apply a 20% to 30% safety margin for dedicated track use.
- Example Calculation: A turbocharged track car producing 600 WHP at 6,500 RPM generates roughly 484 lb-ft of torque.
- Safety Margin: 484 lb-ft x 1.30 (30% margin) = 629 lb-ft.
- Target Clutch Rating: You need a clutch system rated for a minimum of 650 lb-ft to prevent slip during high-RPM, high-grip launches.
Additionally, verify your transmission's input shaft limits. If you are running a Tremec T56 Magnum-F (part number T56-MF), the input shaft is rated for roughly 700 lb-ft. Installing a carbon clutch capable of 1,200 lb-ft on a stock T56 input shaft will simply result in the shaft twisting or snapping under shock load before the clutch slips.
Step 2: Select the Correct Friction Material
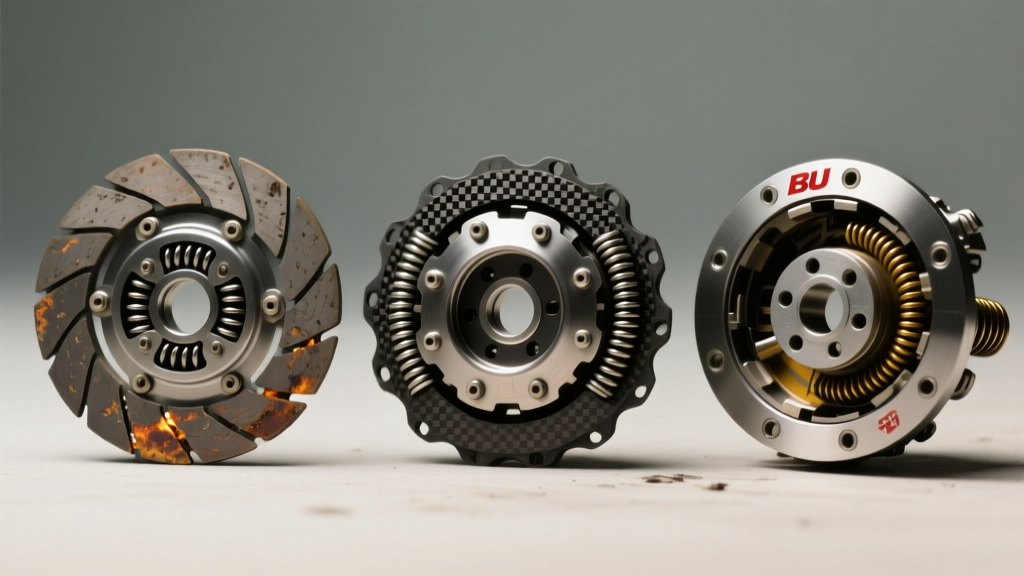
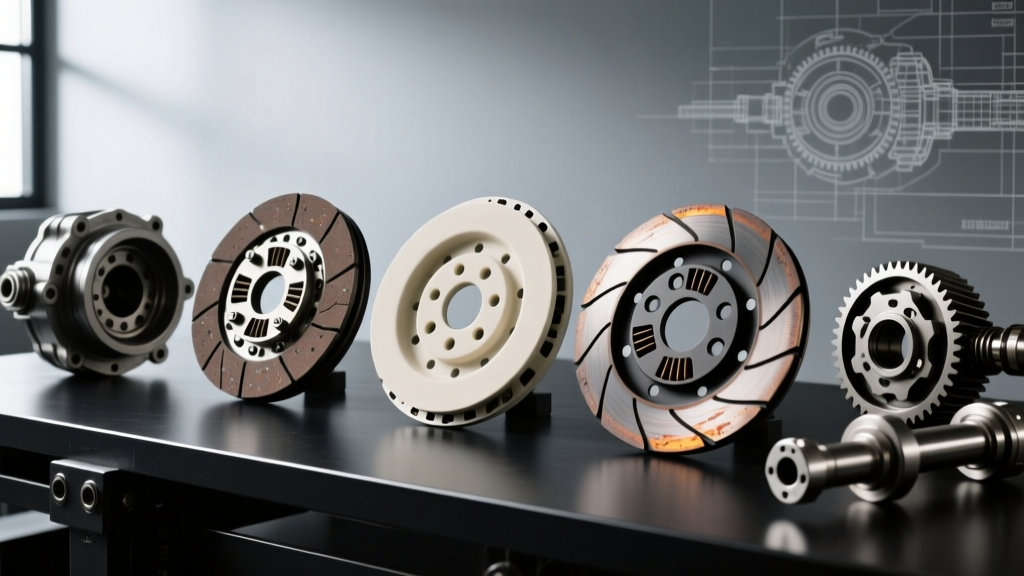
Friction material dictates the engagement window, heat threshold, and drivability of the clutch. Racing clutches generally abandon organic compounds in favor of aggressive, high-temperature materials.
| Material | Torque Capacity | Heat Threshold | Engagement Feel | Best Application |
|---|---|---|---|---|
| Sintered Iron | High (800+ lb-ft) | 1000°F+ | Aggressive, On/Off | Time Attack, Drift, Drag |
| Ceramic Puck | Med-High (600-800 lb-ft) | 800°F | Harsh, Chattery at low RPM | Street-Track, Roll Racing |
| Carbon/Carbon | Extreme (1000+ lb-ft) | 1200°F+ | Progressive, Requires Heat | F1, Pro GT, Pro Mod |
| Kevlar/Organic Blend | Medium (400-550 lb-ft) | 600°F | Smooth, Linear | Endurance, Autocross |
For a dedicated time-attack car, a sintered iron multi-disc setup (such as the Tilton OT-II series) is ideal. It offers immense torque capacity and recovers quickly from heat soak. However, sintered materials require significant heat to generate optimal friction coefficients; they will slip and chatter if driven gently in cold pit lanes.
Step 3: Determine Disc Configuration and Rotational Inertia
Rotational mass, specifically the Moment of Inertia (MOI), drastically affects how quickly an engine can rev and how easily you can execute rev-matches. A standard 11-inch single-disc street clutch assembly can weigh over 15 lbs and possess a high MOI, making the engine sluggish to respond.
Multi-Disc Racing Setups
Racing clutches utilize smaller diameters (typically 5.5-inch or 7.25-inch) and multiple friction discs to maintain high torque capacity while drastically reducing weight and MOI. A Tilton Engineering 5.5-inch twin-disc setup reduces the rotating mass to roughly 4 lbs. This allows the engine to spool turbochargers faster and enables lightning-quick shifts in sequential dog-ring gearboxes like the Sadev SL90, where clutchless upshifts rely on rapid RPM drops.
Step 4: Map Your Moza Racing Clutch Pedal to the Real-World Setup
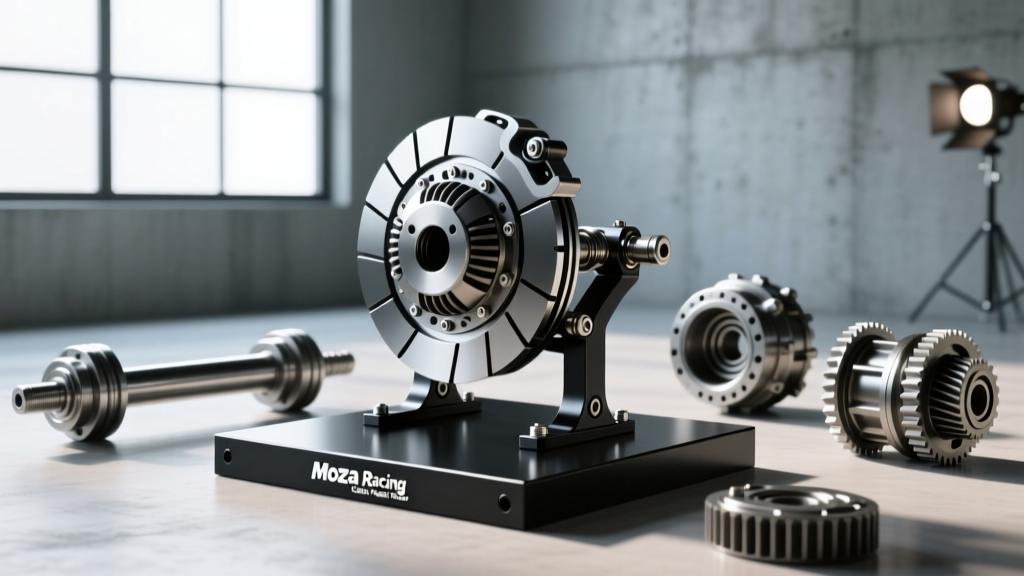
Once your real-world hardware is selected, you must configure your simulator to match it. Practicing heel-toe downshifts or modulation out of hairpins with a generic, linear sim pedal will build incorrect muscle memory. The Moza racing clutch pedal, equipped with a high-resolution load cell and adjustable elastomers, allows for precise physical and software mapping.
Physical Elastomer Tuning
Real racing clutches with hydraulic throwout bearings (like those found in Porsche G50 or Hewland sequential transaxles) have a very distinct feel: a light initial stroke followed by a sudden, massive spike in resistance as the pressure plate fingers are compressed.
- Remove soft elastomers: If you are simulating a 5.5-inch sintered twin-disc, remove the softer rubber dampeners from the Moza pedal shaft.
- Install stiff polyurethane bump stops: This replicates the harsh, abrupt mechanical stop of a racing clutch piston reaching the end of its travel.
- Adjust Preload: Increase the physical preload on the load cell to mimic the heavy return spring pressure required to snap a racing clutch pedal back to the floor for rapid engagement.
Moza Pit House Software Calibration
Open the Moza Pit House software to map the digital curve. Racing clutches do not have the long, forgiving engagement zones of organic street clutches.
- Deadzone: Set the top deadzone to 5%. Real racing hydraulics have minimal free-play.
- Engagement Curve: Use a custom curve that remains flat for the first 40% of travel (simulating the hydraulic fluid moving the throwout bearing through the air gap), then ramps up exponentially.
- Max Travel: Restrict the physical travel to roughly 45mm-50mm. Real racing clutches require very little pedal movement to fully disengage the friction discs.
Step 5: Real-World Installation, Bedding, and Verification
Transitioning back to the garage, the physical installation of your selected racing clutch requires strict adherence to torque specifications and surface preparation.
Flywheel Preparation and Torque Specs
Racing friction materials, especially sintered and carbon, require a specific flywheel surface finish. A standard organic street finish is too smooth. The flywheel must be machined to an Ra 32-64 microfinish to allow the aggressive material to bite and bed properly.
Critical Torque Specifications:
- Flywheel to Crank (ARP Bolts): 85 lb-ft with Loctite 262 (Red) threadlocker.
- Pressure Plate to Flywheel (M8 Bolts): 25 lb-ft in a strict star pattern. Do not use impact guns, as uneven loading will warp the pressure plate cover and cause inconsistent release.
- Hydraulic System: Bleed using a high-boiling-point fluid like Motul RBF 660 or Castrol SRF to prevent vapor lock under heavy track braking and heat soak.
The Bedding-In Procedure
Unlike organic clutches that can be driven gently to bed in, sintered and carbon clutches require a thermal bedding process to transfer a layer of friction material to the flywheel and pressure plate faces. Failure to do this will result in immediate glazing and slip.
- Perform 10 to 15 moderate engagements from 40 mph down to 20 mph in 3rd gear, allowing the vehicle to coast between each engagement.
- Follow this with 5 to 8 aggressive, high-RPM starts (slipping the clutch intentionally to generate 600°F+ surface temperatures).
- Park the vehicle and allow the drivetrain to cool completely to ambient temperature. Do not use water or compressed air to force-cool the assembly, as thermal shock will warp the steel plates.
By meticulously calculating your torque needs, selecting the appropriate friction material, and utilizing your Moza racing clutch pedal to build accurate muscle memory in the simulator, you ensure that when the green flag drops, your left foot and your drivetrain are operating in perfect, mechanical harmony.