The Diagnostic Trap: Electrical vs. Mechanical PTO Failures
In the heavy-duty commercial sector, Power Take-Off (PTO) systems are the lifeblood of dump trucks, wreckers, and agricultural equipment. When a PTO fails to engage or the main clutch exhibits severe chatter and slipping under load, the immediate instinct for many fleet technicians in 2026 is to grab a digital multimeter. Learning how to test PTO clutch with multimeter diagnostics is a fundamental skill, but it frequently leads to a diagnostic dead end when the root cause is actually mechanical degradation inside the bell housing.
Specifically, clutch fork and pivot ball wear in heavy-duty manual transmissions—such as the Eaton Fuller 10-speed and 13-speed series (e.g., RTLO-12913A)—mimics electrical PTO engagement faults. The lost motion caused by a worn pivot stud prevents the throwout bearing from traveling the necessary distance, resulting in incomplete clutch disengagement, PTO gear clash, and premature friction disc failure. This expert guide bridges the gap between electrical triage and deep mechanical diagnostics, providing exact specifications, torque values, and failure mode analysis.
Phase 1: Electrical Triage and PTO Coil Testing
Before tearing down the driveline, you must definitively rule out the electromagnetic PTO clutch coil (common in Chelsea and Muncie setups). An open or shorted coil will prevent the PTO from engaging, regardless of the mechanical health of the transmission.
Multimeter Testing Protocol
- Isolate the Circuit: Disconnect the wiring harness from the PTO clutch coil to prevent back-feeding voltage through the truck’s CAN bus or relay circuit.
- Set the Multimeter: Configure your digital multimeter to measure resistance (Ohms/Ω).
- Probe the Terminals: Place the probes directly on the coil’s male spade terminals.
Reference Specifications:
- 12V Systems: Expected resistance is between 2.5Ω and 4.5Ω.
- 24V Systems: Expected resistance is between 9.0Ω and 14.0Ω.
If your multimeter reads "OL" (Open Loop), the internal winding is broken. If it reads near 0.0Ω, the coil has shorted internally. However, if the resistance falls within the manufacturer's specification and the clutch receives a solid 12V/24V reference under load, the electrical system is healthy. The fault lies in the mechanical linkage—specifically, the clutch fork and pivot assembly.
Phase 2: Mechanical Degradation of the Clutch Fork and Pivot
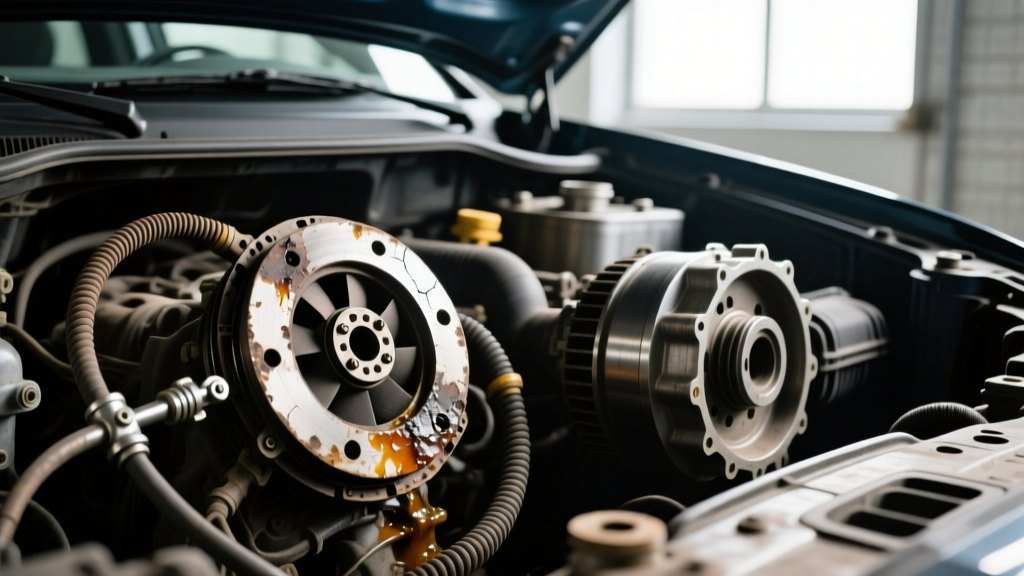
Once the electrical side is verified, the focus shifts to the bell housing. In heavy-duty applications, the clutch fork is subjected to immense hydraulic or mechanical leverage. The fork pivots on a hardened steel ball stud (or a cross-shaft bushing arrangement, depending on the transmission architecture). Over hundreds of thousands of miles, the metallurgy yields to friction and shock loading.
Failure Mode 1: Pivot Ball Dimpling and Galling
The pivot stud is typically induction-hardened steel, while the clutch fork pivot pocket is often cast iron or forged steel with a softer Brinell hardness rating. Under the extreme clamping force of a 15.5-inch heavy-duty ceramic or organic clutch, the pivot ball slowly wears a concave dimple into the fork's pocket.
The Symptom: This wear introduces "lost motion." When the driver depresses the clutch pedal or the PTO controller actuates the system, the first 0.100" to 0.150" of fork movement is absorbed by the worn pocket rather than pushing the throwout bearing forward. This results in incomplete release, causing the PTO gears to grind upon engagement or the main clutch to slip under high-torque PTO loads.
Failure Mode 2: Fork Ear and Pad Attrition
The ears of the clutch fork that interface with the throwout bearing (clutch brake) sleeve utilize wear pads. While modern 2026 heavy-duty setups often use sintered bronze or high-durometer polyurethane, older or budget-rebuilt units may use nylon. These pads wear down, altering the geometry of the clutch release and causing the fork to bind on the pivot ball at extreme angles.
Diagnostic Measurements and Torque Specifications
Precision measurement is non-negotiable when evaluating clutch fork and pivot health. Visual inspection is insufficient; micrometers and dial calipers must be used to verify service limits. Consult the Eaton Roadranger Service Literature for model-specific tolerances, but the following table represents the industry-standard heavy-duty baseline.
| Component | Measurement Point | Maximum Wear Limit | Torque / Installation Spec |
|---|---|---|---|
| Pivot Ball Stud | Sphere Diameter | 0.030" (0.76mm) reduction | 45-55 lb-ft (with medium threadlocker) |
| Fork Pivot Pocket | Depth / Dimpling | 0.040" (1.01mm) concavity | N/A (Replace fork if exceeded) |
| Fork Wear Pads | Pad Thickness | Less than 0.125" (3.17mm) | Press-fit / Peened (No torque) |
| Cross-Shaft Pinch Bolt | Thread Engagement | N/A | 25-30 lb-ft (Apply anti-seize to threads) |
Step-by-Step Mechanical Inspection Protocol
When the transmission is separated from the engine block, follow this strict inspection workflow to identify pivot and fork anomalies:
1. Extract and Measure the Pivot Stud
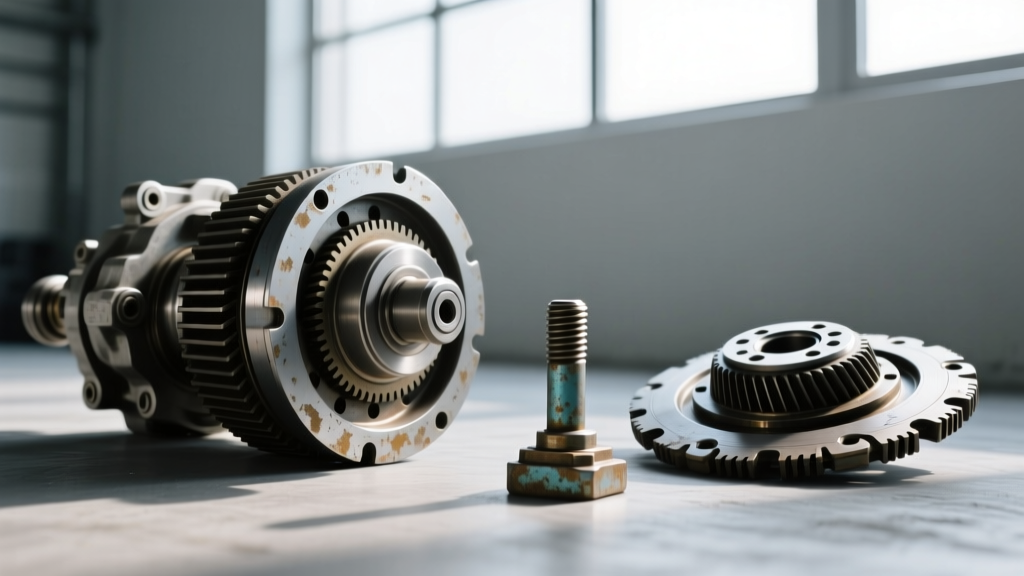
The pivot stud is threaded into the bell housing or the transmission front bearing retainer plate. Before removal, wire-brush the threads to prevent aluminum or cast-iron galling. Use a micrometer to measure the sphere. A new pivot ball typically measures exactly 1.000" or 1.250" depending on the application. If the ball exhibits flat-spotting, galling, or a diameter reduction exceeding 0.030", it must be replaced. Expert Tip: Always chase the female threads in the bell housing with a bottoming tap (usually 1/2"-13 UNC or 5/8"-11 UNC) to ensure the new stud seats perfectly square to the clutch centerline.
2. Evaluate the Clutch Fork Geometry
Inspect the pivot pocket for the aforementioned dimpling. Additionally, check the fork for torsional twisting. Heavy-duty clutches with high pedal effort can literally twist the forged steel fork over time. Lay the fork on a known-flat machined surface or use a dial indicator to check for runout across the fork pads. If the fork is twisted, it will bind on the transmission front bearing retainer tube, causing erratic clutch engagement and severe PTO chatter.
3. Inspect the Front Bearing Retainer (Quill)
The throwout bearing slides on the front bearing retainer tube. If the clutch fork pivot is worn, the throwout bearing may cock at an angle, gouging the aluminum or steel quill. If the quill exhibits deep grooves, the throwout bearing will hang up, preventing smooth PTO engagement. In 2026, most OEMs recommend replacing the quill if scoring exceeds 0.005" in depth.
Part Numbers, Pricing, and Upgrade Paths
Sourcing high-quality replacement components is critical for fleet longevity. Avoid unbranded aftermarket forgings, which often suffer from improper heat treatment, leading to rapid pivot pocket wear. For comprehensive PTO integration guidelines and mechanical linkages, refer to Muncie Power Products Tech Support documentation.
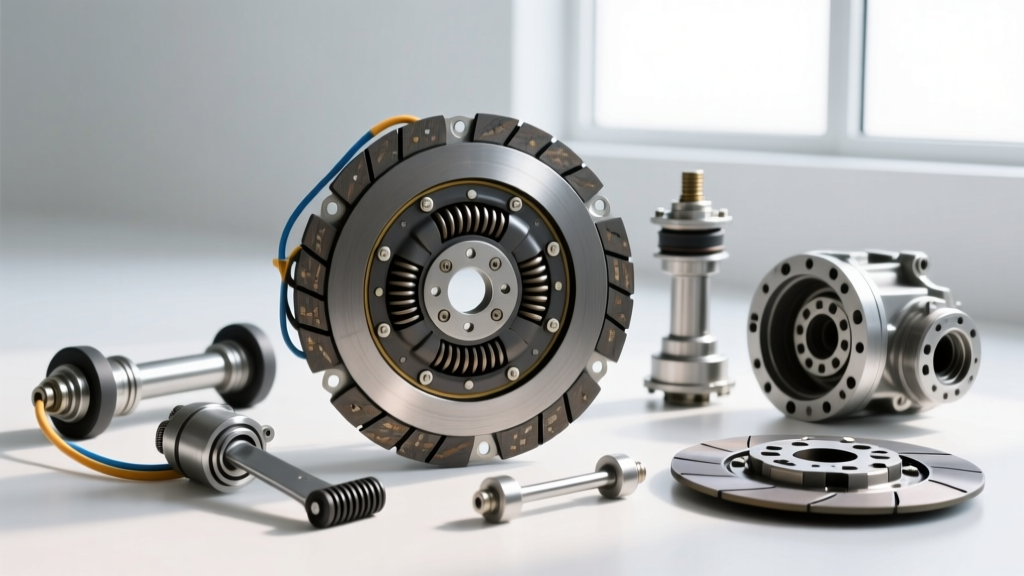
- OEM Heavy-Duty Clutch Fork (Eaton Fuller compatible): Part # K-3519-1 or equivalent forged steel upgrade. Expected Cost: $180 - $285.
- Hardened Pivot Ball Stud (1/2"-13 Thread): Part # 14839. Expected Cost: $35 - $65.
- Sintered Bronze Wear Pad Kit: Upgrading from OEM nylon to sintered bronze pads (Part # K-2541-X) increases high-cycle PTO lifespan by up to 40%. Expected Cost: $45 - $70.
- Front Bearing Retainer (Quill): If scored. Expected Cost: $120 - $190.
Expert Synthesis: The Complete Diagnostic Picture
Mastering how to test PTO clutch with multimeter diagnostics is an essential first step in isolating commercial driveline faults, but it is only the tip of the iceberg. The electrical system merely commands the engagement; the mechanical linkage executes it. When PTO systems clash, grind, or fail to fully disengage the main driveline, technicians must look past the wiring harness and into the bell housing.
By adhering to strict measurement tolerances for the pivot ball and fork pocket, utilizing proper thread-locking compounds, and upgrading to bronze wear pads for high-cycle PTO applications, you eliminate the lost motion that plagues heavy-duty manual transmissions. This holistic approach—bridging electrical verification with precision mechanical metrology—ensures maximum uptime, protects expensive PTO gearing, and delivers the seamless clutch engagement demanded by modern commercial operators.