The Anatomy of Thermal Failure: Reading the Manual Clutch Diagram
When the cabin of your vehicle fills with an acrid, unmistakable odor, immediate diagnosis is required to prevent catastrophic drivetrain failure. Tracing the source of this thermal degradation requires more than just a visual inspection; it demands a systematic understanding of the assembly. By consulting a detailed manual clutch diagram, technicians can isolate whether the friction disc, pressure plate diaphragm spring, release bearing, or hydraulic actuation system is generating the excessive heat that causes these odors.
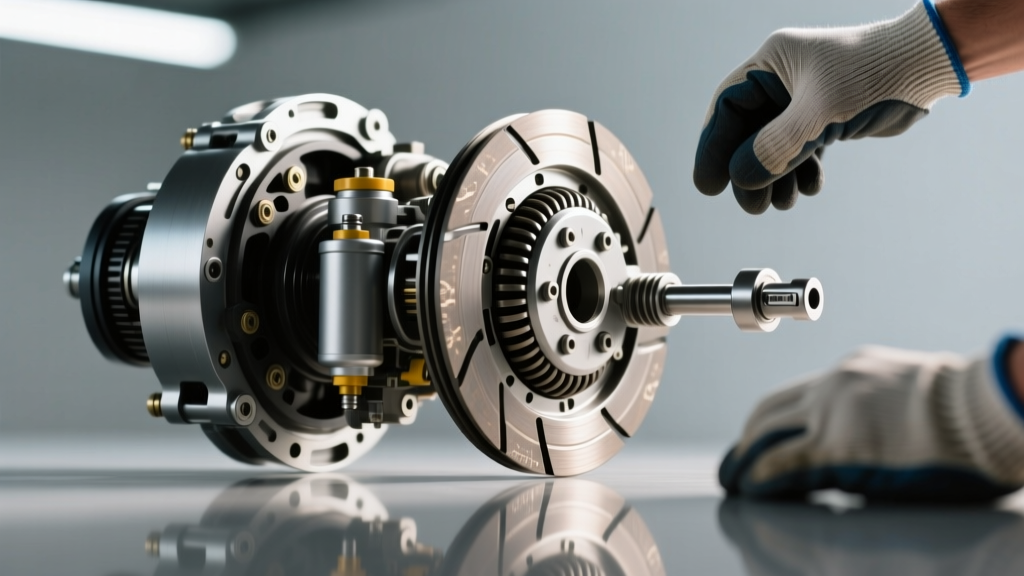
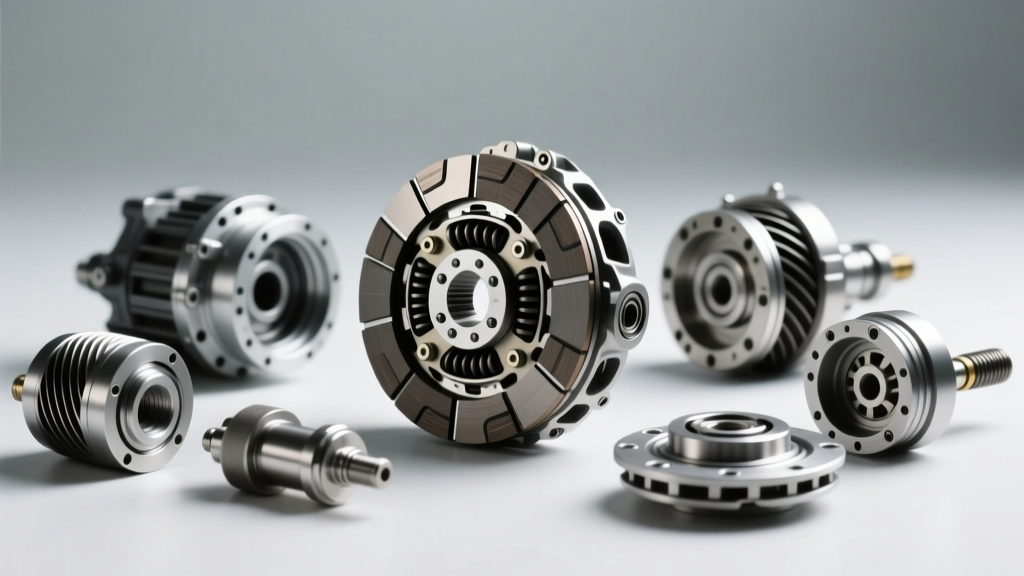
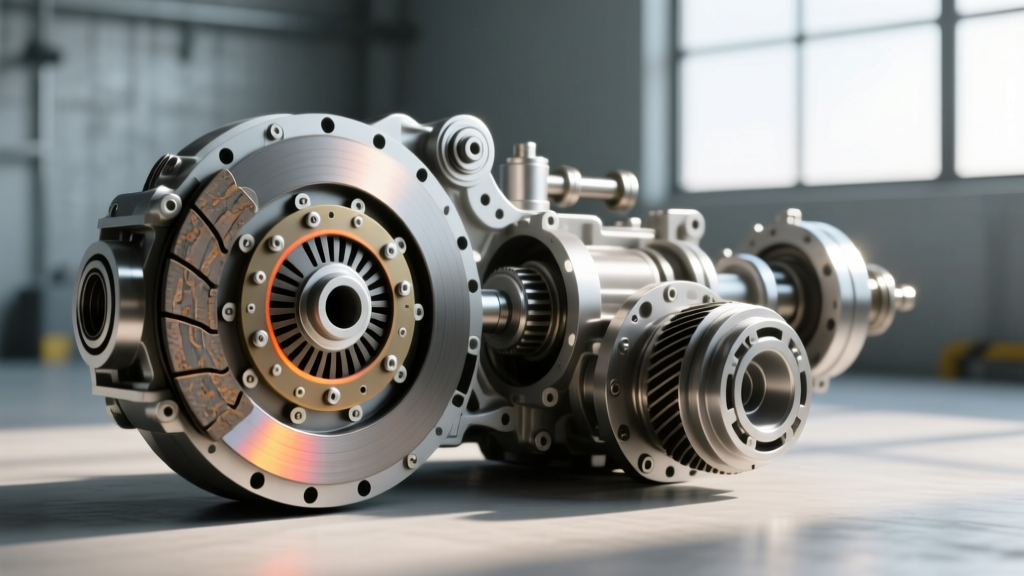
A standard manual clutch diagram illustrates the precise relationship between the flywheel, friction disc marcel springs, pressure plate cover, and the release mechanism. Heat generation is rarely a standalone event; it is a symptom of kinetic energy failing to convert into mechanical grip, instead converting into thermal energy. Whether you are driving a Mazda Miata ND with a pull-type setup or a Chevrolet Camaro SS utilizing a Tremec T56 Magnum with a hydraulic throwout bearing, the physics of clutch slip remain identical.
Olfactory Diagnostics: Identifying the Exact Scent Profile
Not all burning smells originate from the friction material itself. The specific chemical composition of the burning component dictates the scent profile. Use the diagnostic matrix below to correlate the odor with the failing component identified in your manual clutch diagram.
| Scent Profile | Primary Culprit | Component Location (Per Diagram) | Root Cause |
|---|---|---|---|
| Burnt Paper / Cardboard | Organic Friction Facing | Friction Disc (Outer Radius) | Driver-induced slip, riding the pedal, or weak pressure plate clamping force. |
| Sharp Metallic / Acrid | Glazed Flywheel / Blued Pressure Plate | Flywheel Friction Surface / Diaphragm Fingers | Prolonged high-RPM slipping causing steel to exceed 600°F and oxidize. |
| Sulfur / Rotten Eggs | GL-5 Gear Oil Contamination | Input Shaft Seal / Rear Main Seal | Seal failure allowing gear oil onto the disc, which burns on the hot exhaust. |
| Melting Plastic / Sweet | Dual-Mass Flywheel (DMF) Grease | DMF Internal Arc Springs | Internal DMF bearing failure causing friction and ignition of internal packing grease. |
Thermal Thresholds of Clutch Friction Materials
To accurately diagnose why a clutch is burning, you must understand the thermal limits of the friction material installed. According to engineering data from South Bend Clutch, different friction compounds exhibit distinct failure modes when pushed beyond their thermal boundaries.
Organic and Kevlar Blends
Standard OEM organic discs utilize phenolic resin binders and fiberglass/Kevlar matrices. These materials provide smooth engagement due to their high coefficient of friction at low temperatures. However, phenolic resins begin to break down and vaporize at approximately 400°F to 500°F. This vaporization is what produces the classic "burnt cardboard" smell. Once the resin burns away, the disc glazes, dropping the coefficient of friction and creating a self-fulfilling prophecy of continuous slip.
Ceramic and Sintered Iron
Performance ceramic pucks can withstand temperatures exceeding 1,000°F without fading. However, they are prone to "chatter" and poor low-speed engagement. Paradoxically, ceramic clutches often burn out prematurely in street-driven vehicles because the driver must slip the clutch excessively at low RPMs to achieve smooth launches, generating localized heat that warps the flywheel rather than burning the disc itself.
Hydraulic Pre-Load Errors: The Hidden Cause of Slip
One of the most frequently misdiagnosed causes of clutch burning is hydraulic pre-load, a concept clearly visible when reviewing the hydraulic circuit on a comprehensive manual clutch diagram. If the Clutch Master Cylinder (CMC) pushrod is improperly adjusted or if the pedal stop is missing, the piston may not fully retract to expose the compensation port.
When the compensation port is blocked, the clutch fluid has nowhere to expand as it heats up from the engine bay or from the release bearing. As the fluid expands, it applies unintended pressure to the clutch slave cylinder (CSC) or hydraulic throwout bearing. This effectively "rides the clutch" for you, slightly lifting the pressure plate diaphragm and reducing clamping force by hundreds of pounds. The result is high-speed highway slip that generates massive heat and a burning smell, even when the driver's foot is entirely off the pedal.
Diagnostic Tip: To check for hydraulic pre-load, locate the clutch slave cylinder or inspection cover. Have an assistant press the pedal. You should observe a minimum of 1/8-inch of free play at the release fork before the throwout bearing makes contact with the diaphragm fingers. If there is zero free play, your hydraulic system is pre-loaded and causing slip.
Step-by-Step Teardown and Measurement Protocol
Once the burning smell has been verified and hydraulic issues ruled out, the transmission must be dropped. Referencing your specific manual clutch diagram for flywheel step-height requirements is critical during reassembly. For example, pull-type clutches (common in Honda K-Series and Subaru WRX applications) require a specific negative step height, whereas push-type setups require a positive step.
Critical Measurements and Torque Specifications
- Flywheel Runout: Measure with a dial indicator. Maximum allowable runout is typically 0.004 inches. Excessive runout causes the disc to drag and burn during disengagement.
- Pressure Plate Bolts: Torque in a star pattern. Standard M8 bolts generally require 25-35 lb-ft. Over-torquing can warp the pressure plate cover, leading to uneven clamping and localized burning.
- Flywheel to Crankshaft Bolts: For a standard GM LS application, torque to 74 lb-ft using red Loctite. For Honda K-Series, torque to 76 lb-ft. Always use a new stretch bolt if mandated by the OEM.
- Release Bearing Pre-load: Ensure the manual clutch diagram specifies the correct gap between the bearing face and diaphragm fingers. A bearing resting constantly on the fingers will overheat, melt its internal nylon cage, and transfer heat directly into the pressure plate.
Cost Breakdown and Replacement Strategy
Ignoring a burning clutch smell will inevitably lead to the destruction of the flywheel friction surface and the annealing of the pressure plate diaphragm spring. Below is an estimated cost breakdown for addressing thermal clutch failure in 2026, based on average aftermarket and labor rates.
| Component / Service | Estimated Cost Range (USD) | Notes |
|---|---|---|
| Clutch Kit (LuK RepSet / Exedy OEM) | $250 - $550 | Includes disc, pressure plate, release bearing, and alignment tool. |
| Flywheel Resurfacing (Machine Shop) | $60 - $120 | Only viable if bluing is light and minimum thickness spec is maintained. |
| OEM Single-Mass Flywheel Replacement | $300 - $800 | Required if DMF is failing or if resurfacing limits are exceeded. |
| CMC and CSC Hydraulic Replacement | $150 - $350 | Highly recommended if fluid contamination or compensation port blockage is found. |
| Professional Labor (RWD/AWD) | $600 - $1,400 | Varies heavily by drivetrain. AWD and transverse FWD setups require more subframe removal. |
For further technical reading on drivetrain diagnostics and hydraulic system failures, the AA1Car Automotive Library provides excellent foundational schematics. Ultimately, treating a burning smell early by cross-referencing a manual clutch diagram and verifying hydraulic free-play will save you from replacing a $600 flywheel and enduring thousands in collateral drivetrain damage.