Decoding PTO Clutch Symptoms: Vibration, Noise, and Feel
In the modern agricultural and heavy landscaping sectors, the Power Take-Off (PTO) clutch is the critical gateway between engine output and implement performance. Whether you are operating a 2026 model commercial zero-turn mower with an electromagnetic Warner Electric PTO or a heavy-duty hydraulic PTO on a tractor, diagnosing failures early prevents catastrophic drivetrain damage. Clutch system diagnostics require a systematic approach to isolate engine harmonics from implement feedback. By categorizing issues into vibration, noise, and engagement feel, technicians can pinpoint the exact failure mode before ever reaching for a wrench.
1. Vibration: Harmonic Imbalance vs. Mechanical Warp
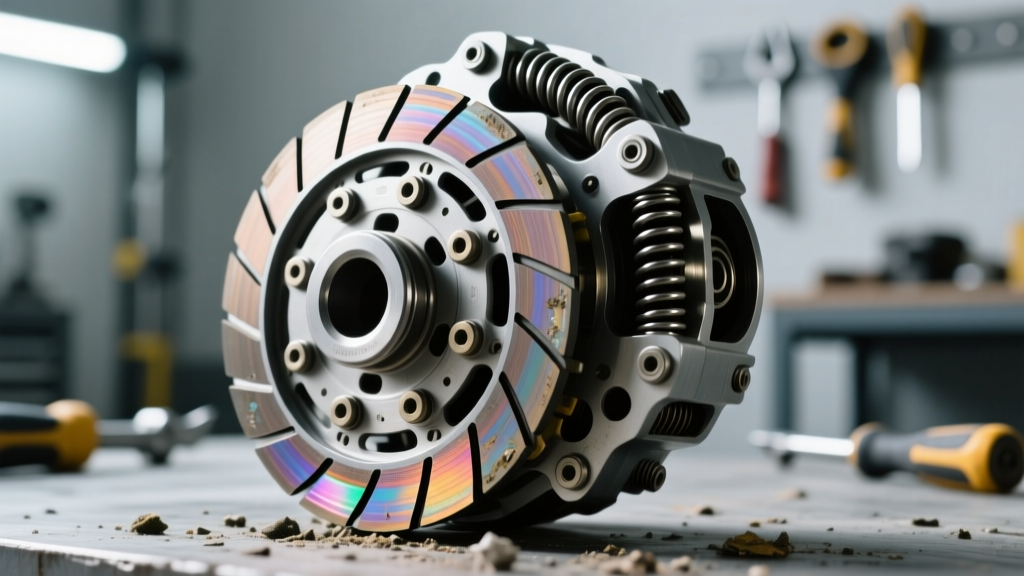
Vibration in a PTO system is often misdiagnosed as an engine misfire or a bent implement driveshaft. However, when the vibration peaks precisely at the moment of clutch engagement or scales linearly with engine RPM under no-load conditions, the PTO clutch assembly is the prime suspect. In electromagnetic clutches, uneven wear on the friction disc or a warped armature plate creates a severe rotational imbalance. Furthermore, if the clutch hub has elongated due to improper torque on the crankshaft retaining bolt, the clutch will wobble on the crankshaft axis, transmitting destructive harmonic frequencies directly into the engine block main bearings.
2. Noise: Squeal, Clatter, and Drag
Auditory cues provide immediate insight into the internal state of the clutch. A high-pitched squeal during engagement usually indicates a slipping friction surface, often caused by oil contamination from a leaking crankshaft front seal or insufficient coil voltage. Conversely, a metallic clatter or clicking sound while the PTO is disengaged points to an improperly adjusted air gap. If the air gap is too tight, the armature drags against the rotor face, generating immense heat and accelerated wear. Mechanical PTO clutches may emit a grinding noise if the throw-out bearing or internal spline lubrication has failed.
3. Engagement Feel: Sluggishness and Harshness
The feel of a PTO clutch is primarily evaluated through engagement timing and shock load transfer. A sluggish engagement that causes the drive belt to smoke is typically an electrical fault, such as a voltage drop across a corroded relay or a failing clutch coil winding. On the other hand, an excessively harsh engagement that violently jerks the implement indicates missing or fatigued dampening springs within the clutch hub, or a complete lack of cushioning material on the friction disc.
Symptom-to-Failure Diagnostic Matrix
| Primary Symptom | Auditory / Tactile Cue | Probable Root Cause | Diagnostic Action Required |
|---|---|---|---|
| Vibration | Low-frequency hum scaling with RPM | Warped armature or elongated hub keyway | Dial indicator runout test on the clutch face |
| Noise (Engaged) | High-pitched squeal or chirping | Slipping friction disc or oil contamination | Check front crank seal; measure coil voltage under load |
| Noise (Disengaged) | Metallic clicking or scraping | Armature dragging due to tight air gap | Measure air gap with feeler gauge (Target: 0.015 in) |
| Sluggish Feel | Delayed implement spin-up, belt smoke | Voltage drop or degraded coil winding | Multimeter voltage drop test at the clutch connector |
| Harsh Feel | Violent chassis jerk upon engagement | Failed internal dampening springs | Visual inspection of hub cushioning components |
The Critical Role of a Dedicated PTO Clutch Removal Tool
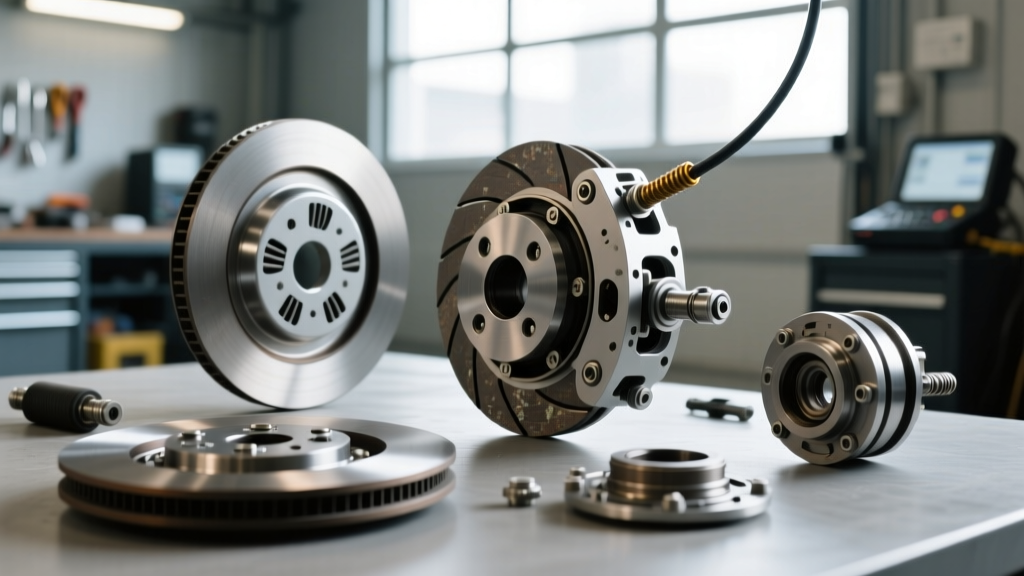
Once diagnostics confirm that the clutch requires replacement or internal rebuilding, extraction becomes the primary hurdle. PTO clutches are subjected to extreme torsional shock, moisture, and thermal cycling. This environment breeds severe galvanic corrosion between the steel clutch hub and the engine crankshaft. Attempting to pry the clutch off with screwdrivers or striking it with a steel hammer is a catastrophic mistake. Hammering transfers axial shock loads directly into the engine crankshaft thrust bearings, which can instantly destroy the engine block. To safely extract the unit, a specialized PTO clutch removal tool is mandatory. These tools typically consist of a threaded push-pull plate or a heavy-duty 3-jaw puller designed to apply even, hydraulic or mechanical forcing pressure directly against the crankshaft end, safely pressing the hub off the splines without damaging internal engine components.
Step-by-Step PTO Clutch Removal Guide
Follow this precise procedure to safely remove a seized electromagnetic or mechanical PTO clutch using the appropriate extraction tooling.
Step 1: Electrical Isolation and Safety Prep
Disconnect the negative battery terminal to prevent accidental engagement or electrical shorts. For electromagnetic clutches, unplug the weather-pack connector and inspect the pigtail for heat damage. Secure the implement driveline and block the equipment to prevent any rotational movement of the crankshaft during bolt extraction.
Step 2: Retaining Bolt Extraction
The central retaining bolt (typically a 5/8-18 UNF or 3/4-16 UNF Grade 8 flange bolt) is torqued to extreme specifications and sealed with threadlocker. Apply a high-quality penetrating fluid to the bolt threads. Use an induction heater to safely heat the bolt head and hub center to approximately 400°F. This breaks down the threadlocker without risking the explosive hazards of an oxy-acetylene torch near the clutch coil wiring. Use a high-torque 1/2-inch drive impact wrench with an impact-rated deep socket to break the bolt free.
Step 3: Deploying the PTO Clutch Removal Tool
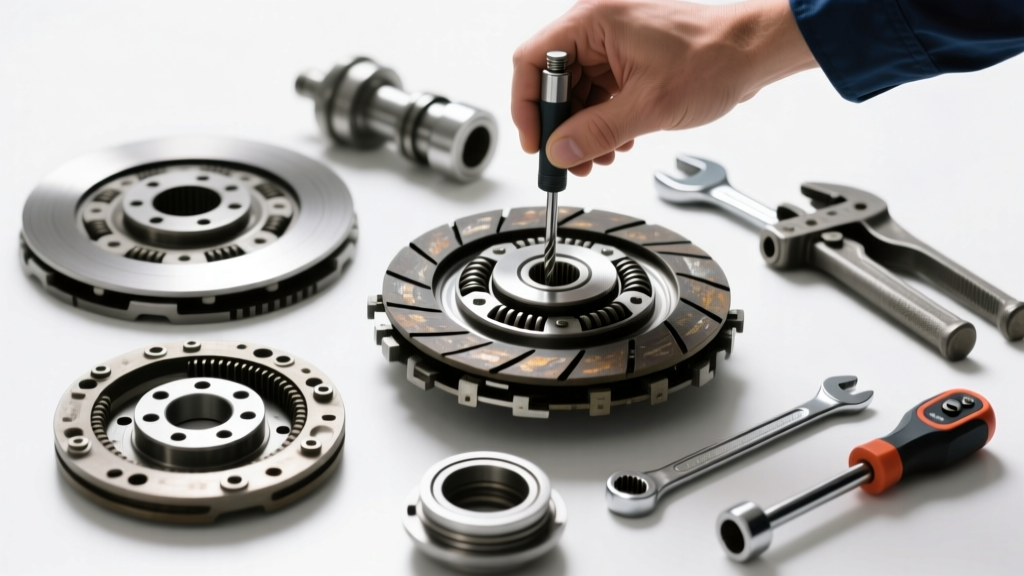
Select a removal tool matched to the clutch hub threading. Many commercial PTO clutches feature threaded extraction holes on the hub face. Thread the forcing bolts of the push-pull plate evenly into the hub. If using a 3-jaw puller, ensure the jaws are seated securely behind the hub flange. Position the forcing screw directly against the center of the crankshaft. Apply steady torque to the forcing screw. If the hub refuses to yield, apply localized heat to the outer hub ring while maintaining tension on the removal tool. The combination of thermal expansion and mechanical pressure will break the corrosion bond.
Step 4: Spline and Keyway Inspection
Once the clutch slides off, immediately inspect the crankshaft splines or keyway. Look for galling, brinelling, or rust pitting. Clean the shaft with a wire wheel and solvent. If the splines are deformed, the crankshaft will require machining or replacement, as a new clutch will quickly destroy itself on a damaged shaft.
Reinstallation, Torque Specs, and Air Gap Calibration
Reinstalling the PTO clutch requires meticulous attention to surface preparation and torque specifications. Coat the crankshaft splines with a thin layer of copper-based anti-seize compound to prevent future galvanic welding, ensuring none migrates onto the friction surfaces. Slide the new clutch onto the shaft, verifying it seats fully against the crankshaft flange.
Install the new retaining bolt with a medium-strength threadlocker (such as Loctite 243). For standard 5/8-18 UNF crankshaft bolts, the target torque specification is generally between 95 and 110 lb-ft. Always refer to the specific OEM service manual for your engine model. After torquing, the final and most crucial step for electromagnetic clutches is verifying the air gap.
Pro-Tip for 2026 Equipment: Modern high-efficiency PTO clutches often require tighter air gaps for rapid engagement. Use a brass feeler gauge to measure the gap between the rotor and the armature at three equidistant points around the circumference. The gap should uniformly measure between 0.012 and 0.018 inches. Adjust the locknuts on the armature springs until the gap is perfectly uniform, preventing the drag and clicking noises associated with uneven wear.
By mastering clutch diagnosis by symptom and utilizing the correct PTO clutch removal tool, technicians can drastically reduce equipment downtime, protect expensive engine internals, and ensure seamless power delivery to the implement. For further technical specifications on electromagnetic clutch tolerances, consult the engineering resources at Altra Industrial Motion (Warner Electric). For sourcing heavy-duty pullers and extraction tooling, McMaster-Carr offers comprehensive industrial catalogs. Additional agricultural maintenance protocols can be reviewed via Farm Progress technical archives.