The Enduring Legacy of the Powerglide in Modern Drag Racing
Despite being introduced by General Motors in the 1950s, the two-speed Powerglide remains the undisputed king of bracket racing, radial tire classes, and big-turbo drag setups. Its unparalleled strength-to-weight ratio, minimal parasitic loss, and predictable torque multiplication make it the go-to choice for professional and sportsman racers alike. However, transforming a street-era cast-aluminum transmission into a 3,000-horsepower-capable race unit requires precision, specialized components, and a deep understanding of internal hydraulics.
As we navigate the 2026 racing season, the supply chain for billet aluminum components has largely stabilized, but the cost of raw 9310 steel for planetary gearsets has pushed high-end build prices up. Whether you are freshening up a bracket car or building a Pro Mod terror, understanding the financial and mechanical steps of rebuilding a Powerglide transmission is critical to your success on the starting line.
Cost Breakdown: Stock Overhaul vs. Performance Upgrades
Before pulling the transmission from the chassis, you must define your performance goals. The cost of rebuilding a Powerglide transmission scales exponentially with horsepower requirements. Below is a realistic 2026 cost breakdown for three common build tiers.
| Build Tier | Target Application | Key Components | Estimated Cost (Parts Only) |
|---|---|---|---|
| Stock Refresh | Street/Strip, Mild Bracket | Master rebuild kit, stock planetary, standard pump | $350 - $550 |
| Stage 1: Sportsman | Bracket Racing, Radial Tires | Billet direct drum, 5-clutch pack, manual valve body, high-volume pump | $1,400 - $2,200 |
| Stage 2: Outlaw/Pro | Big Turbo, Pro Mod, Outlaw 8.5 | 1.80/1.69 billet planetary, Reid case, trans-brake, billet main shaft | $3,800 - $6,500+ |
Note: Labor costs for professional assembly typically add $600 to $1,200 depending on machine work requirements, such as case line-boring and drum balancing.
Step-by-Step Powerglide Overhaul: From Teardown to Trans-Brake
Phase 1: Teardown and Core Inspection
The first step in any performance rebuild is a methodical teardown. Drain the fluid and remove the tailhousing, governor assembly (if equipped), and the extension housing. For race applications, the governor is deleted entirely to save rotating weight and eliminate high-RPM lockout issues.
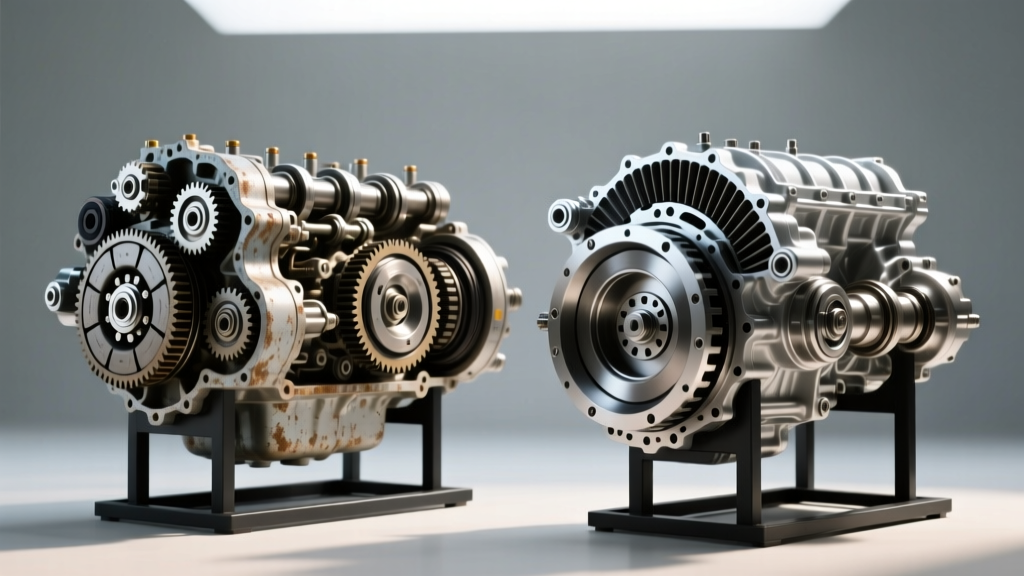
Once the direct clutch drum and planetary gearset are removed, inspect the main shaft. On stock units, the splines are prone to twisting under the shock load of a trans-brake launch. If you see any spline deformation or galling, the main shaft must be replaced with a billet 300M steel shaft. Next, measure the internal bore of the direct clutch drum. Even minor scoring requires either replacing the drum with a billet aluminum unit or having it sleeved by a specialized transmission machine shop.
Phase 2: Upgrading the Planetary and Drums
The stock Powerglide planetary gearset utilizes a 1.76:1 ratio and is cast from powdered metal or standard steel. For anything exceeding 600 horsepower, upgrading to a straight-cut billet planetary is mandatory. According to ATI Performance Products, racers must choose between a 1.80:1 and a 1.69:1 ratio based on vehicle weight and engine characteristics.
- 1.80:1 Ratio: The gold standard for lightweight doorslammers and dragsters. It provides aggressive initial torque multiplication, ideal for cars that need to leave the line hard and hook on tight radial tires.
- 1.69:1 Ratio: Preferred for heavier vehicles (3,200+ lbs) or combinations with massive turbochargers that require more time and RPM to spool before applying peak torque to the tires.
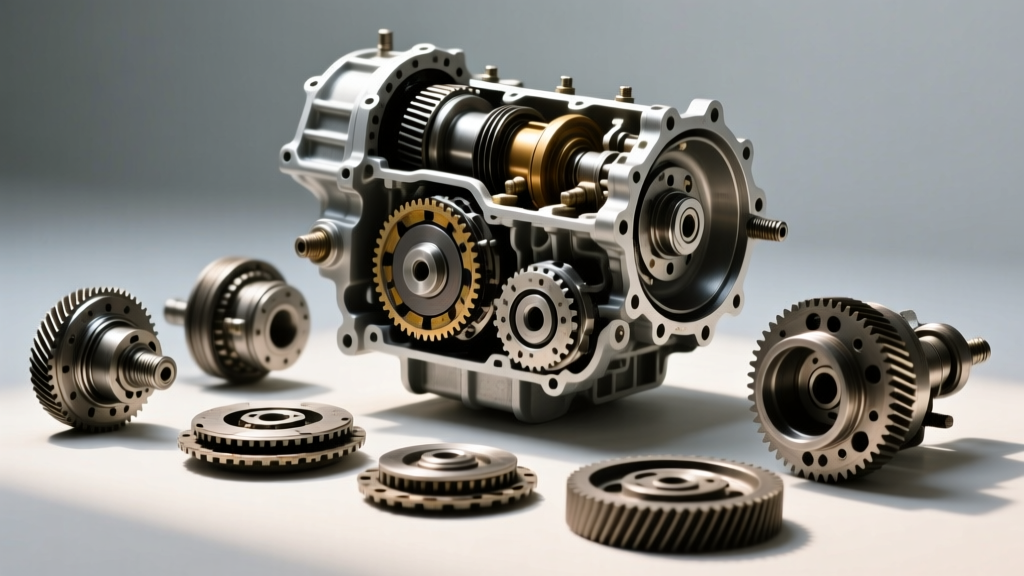
When installing a straight-cut planetary, ensure you are using the matching billet sun gear and ring gear. These components must be lapped together at the factory; mixing and matching straight-cut gears from different manufacturers will result in catastrophic binding and immediate failure.
Phase 3: Clutch Pack Assembly and Clearances
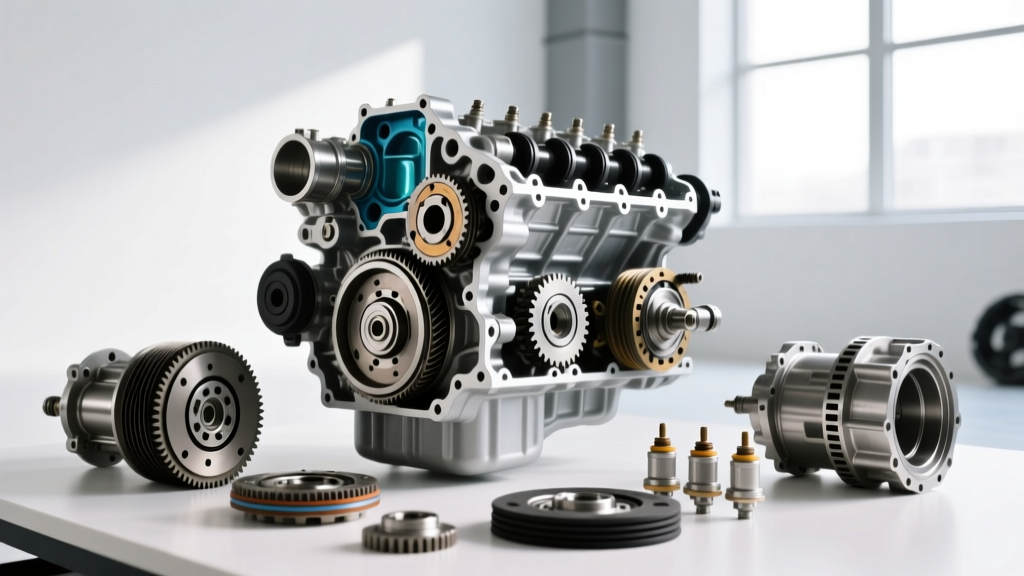
The direct clutch pack is where the magic happens. A stock Powerglide uses a 3 or 4-clutch setup. For performance applications, you will machine the drum or use a specialized pressure plate to accommodate a 5 or 6-clutch pack. Using high-energy .062-inch frictions and .052-inch Kolene-coated steels, you can achieve massive holding power without excessive drag.
Clutch clearance is a hotly debated topic in the pits. For a trans-brake equipped race car, total clutch pack clearance should be set between .010 and .015 inches per friction. This tight clearance ensures instant lockup when the trans-brake is released, minimizing the 'lag' that costs you hundredths of a second in the 60-foot time.
The Band Adjustment: The Powerglide relies on a single band to hold the low gear. Upgrading to a Kevlar or High-Glyde band (available from suppliers like TCI Automotive) is essential. During assembly, torque the band adjusting screw to exactly 72 in-lbs to seat the band against the drum, then back it off precisely 1.5 to 2 full turns. This specific race-clearance prevents the band from dragging during high gear, which would otherwise cause severe fluid temperature spikes and horsepower loss.
Phase 4: Pump, Valve Body, and Trans-Brake Integration
The stock Powerglide pump is a 3-vane or 4-vane design that struggles to maintain pressure at the 8,000+ RPM range seen in modern drag racing. Upgrading to a 10-vane or 11-vane high-volume pump ensures consistent line pressure during the critical 1-2 shift.
For the valve body, a full manual reverse-pattern valve body with an integrated trans-brake is the industry standard. The trans-brake works by simultaneously applying low gear (via the band) and high gear (via the direct clutch), locking the transmission in place. When you release the trans-brake button, the low gear circuit is instantly dumped, and the car launches forward in high gear. Ensure your trans-brake solenoid is wired with a minimum of 10-gauge wire directly to a dedicated 12V relay to ensure instantaneous hydraulic release.
Critical Torque Specifications and Assembly Data
Proper torque is non-negotiable when rebuilding a Powerglide transmission. Over-torquing can warp the thin aluminum case, leading to cross-leaks and pressure drops. Always use a calibrated inch-pound and foot-pound torque wrench.
| Component | Fastener Size | Torque Specification |
|---|---|---|
| Pump to Case | 5/16'-18 | 18 - 22 ft-lbs |
| Tailhousing to Case | 1/2'-13 | 25 - 30 ft-lbs |
| Servo Cover | 5/16'-18 | 12 - 15 ft-lbs |
| Pan Bolts | 5/16'-18 | 120 - 144 in-lbs |
| Flexplate to Converter | 3/8'-24 | 30 - 35 ft-lbs |
| Valve Body to Case | 1/4'-20 | 72 - 96 in-lbs |
Endplay Specification: Total geartrain endplay must be set between .010' and .015'. This is achieved by swapping the selective thrust washer located between the pump and the direct clutch drum. Excessive endplay will cause the planetary to hammer under load, while zero endplay will cause the thrust washers to gall and weld themselves together due to friction.
Fluid Selection and Final Break-In
Once the transmission is bolted to the engine, fluid selection becomes the final piece of the puzzle. Modern racing Powerglides require a low-viscosity, high-shear synthetic racing fluid, such as AMSOIL Dominator or Lucas Oil SAE 10W Racing ATF. These fluids reduce parasitic drag in the torque converter and clutch packs, freeing up rear-wheel horsepower.
During the initial dyno run or first shakedown pass, monitor your transmission fluid temperature closely. A properly built race Powerglide should operate between 180°F and 200°F. If temperatures exceed 220°F, check your band clearance and clutch pack drag. You will also need to ensure your external transmission cooler is rated for at least 20,000 GVW and is mounted in direct, unobstructed airflow.
Rebuilding a Powerglide transmission for performance is an exercise in precision and calculated investment. By understanding the exact clearances, selecting the correct planetary ratio for your chassis, and investing in billet internals, you can build a two-speed powerhouse capable of surviving hundreds of brutal trans-brake launches. Whether you are spending $1,500 on a reliable bracket car setup or dropping $6,000 on a Pro Mod bullet, the step-by-step methodology remains the same: measure twice, assemble clean, and torque to spec.