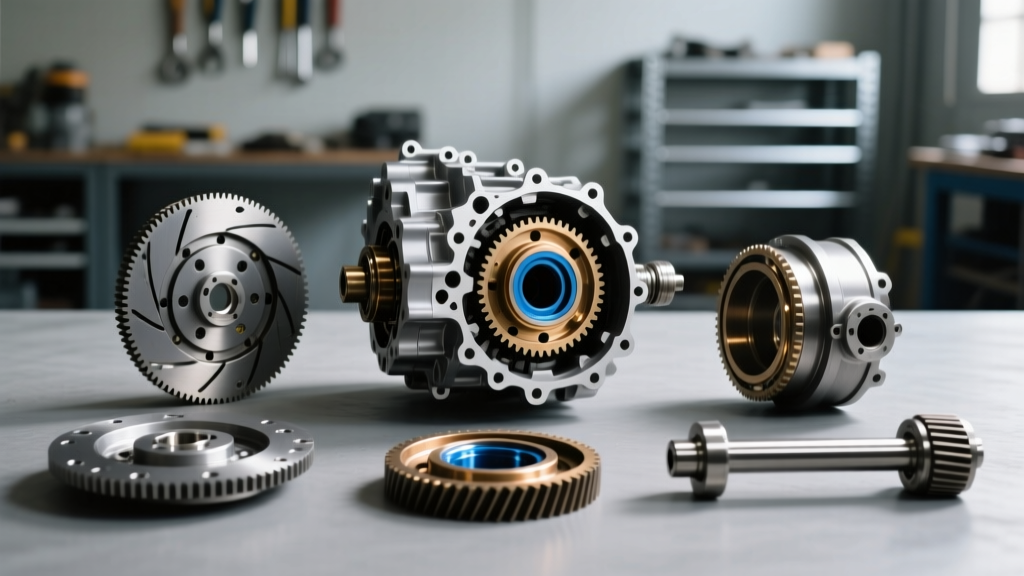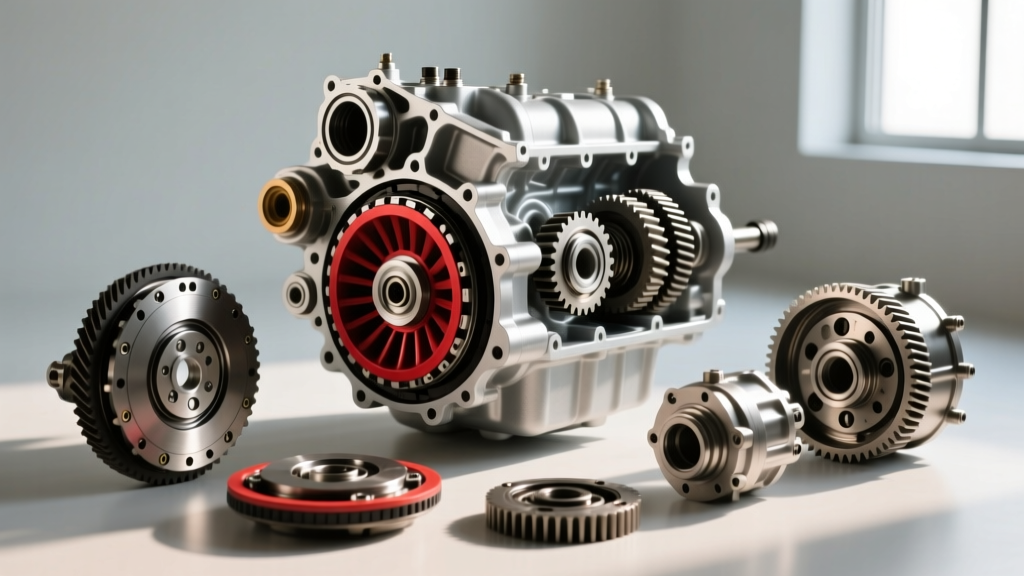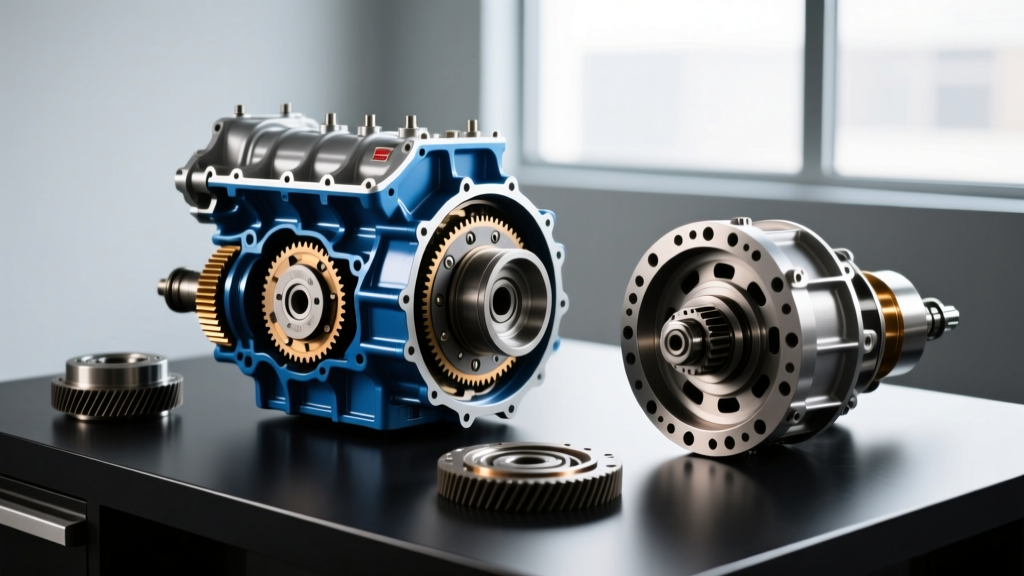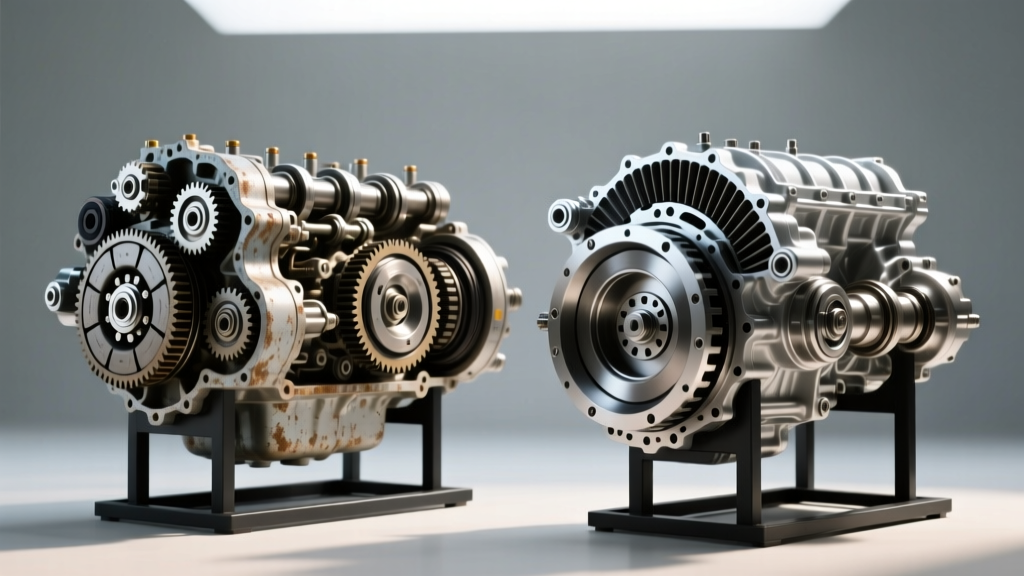
The Restomod Crossroads: Classic vs. Modern GM Transmissions
When building a classic GM muscle car or truck, the drivetrain is where the battle between nostalgia and modern performance is won or lost. For decades, the go-to solution for vintage Chevy and Buick builds was the Turbo Hydra-Matic 200-4R. However, as we navigate the automotive landscape in 2026, the 6-speed 6L80E has become the undisputed king of the LS/LT swap world.
If you search '200r4 transmission rebuild' on any classic car forum, you will find thousands of threads debating TV cable geometry and 3-4 clutch pack failures. But is rebuilding the classic 4-speed still the most cost-effective route, or does a 6L80E swap offer better long-term value? This beginner-friendly guide breaks down the rebuild procedures, exact specifications, and real-world costs of both platforms to help you make an informed decision for your project.
The Baseline: Understanding the 200-4R Platform
The 200-4R (RPO BRF, MGF, etc.) was GM's workhorse in the 1980s, famously powering the Buick Grand National and Chevy Monte Carlo SS. It features a 10-bolt pan, a 27-spline output shaft, and a mechanical Throttle Valve (TV) cable that dictates line pressure based on engine load.
Why the TV Cable is the 200-4R's Achilles Heel
The most common cause of catastrophic failure during a 200-4R rebuild isn't bad parts; it's incorrect TV cable geometry. If the cable is too loose, line pressure drops under heavy throttle, causing the 3-4 clutch pack to slip and burn up in a matter of miles. A proper rebuild requires a precision TV cable correction bracket and a pressure gauge to verify line pressure rises from ~75 PSI at idle to 200+ PSI at wide-open throttle.
The Modern Contender: 6L80E Rebuild Guide for Beginners
Introduced in 2006 and produced through 2013 for rear-wheel-drive applications, the 6L80E (RPO MYC/MYD) is a technological marvel. It utilizes a 32-element Lepelletier planetary gearset, allowing six forward speeds in a package roughly the same size as the old 4L60E.
For a beginner, the most intimidating aspect of a 6L80E rebuild is the TEHCM (Transmission Electro-Hydraulic Control Module). Unlike older transmissions where the TCM was mounted externally, the 6L80E houses its computer, solenoids, and pressure switches directly inside the transmission pan.
Expert Warning: The TEHCM is highly sensitive to static electricity and heat. Never weld on a vehicle with the TEHCM plugged in, and always use an anti-static mat when rebuilding the valve body. Replacing a fried TEHCM in 2026 costs upwards of $650 and requires GM's GDS2 software to flash the VIN and calibration files.
2026 Cost Breakdown: 6L80E vs. 200-4R
Understanding the financial commitment is critical. While the 200-4R is mechanically simpler, hard parts are becoming scarce, driving up costs. Conversely, the 6L80E benefits from massive aftermarket support, though the electronics add to the bottom line.
| Component / Service | 200-4R (Classic Rebuild) | 6L80E (Modern Rebuild/Swap) |
|---|---|---|
| Master Overhaul Kit (Seals, Clutches, Steels) | $180 - $250 | $350 - $500 |
| Hard Parts (Drums, Hubs, Sunshells) | $400 - $800 (Scarce) | $200 - $400 (Abundant) |
| Machine Work (Drum machining, Case boring) | $150 - $300 | $100 - $200 |
| Solenoids / TEHCM / Electronics | $50 (Kickdown switch) | $400 - $750 |
| Standalone Swap Controller (If swapping) | N/A (Mechanical) | $800 - $1,500 |
| Total DIY Rebuild Estimate | $800 - $1,400 | $1,200 - $2,500 |
| Total Pro Shop Estimate (Installed) | $1,800 - $2,800 | $3,500 - $5,500 |
Note: Pro shop estimates are based on 2026 national averages reported by the Automatic Transmission Rebuilders Association (ATRA). Swap controller costs are excluded from the base 6L80E rebuild cost if the transmission is returning to its original 2006-2013 host vehicle.
Critical 6L80E Rebuild Specs & Clearances
If you are tearing down a 6L80E in your garage, precision is non-negotiable. Here are the exact specifications you need to verify during assembly.
1. Oil Pump Gerotor Clearances
The 6L80E uses a high-volume gerotor pump. Excessive clearance leads to low line pressure and delayed shifts. Use a feeler gauge and a straight edge to measure:
- Inner/Outer Rotor Tip Clearance: 0.003 in. to 0.007 in. (Max wear limit: 0.010 in.)
- Rotor to Pump Pocket Depth (Endplay): 0.0015 in. to 0.0035 in.
2. Clutch Pack Clearance Specifications
Unlike the 200-4R, which relies on wave plates to cushion engagements, the 6L80E relies on precise clutch pack clearances managed by selective backing plates. According to Sonnax engineering guidelines, target these clearances:
- 1-2-3-4 Clutch Pack: 0.040 in. - 0.060 in.
- 3-5-R Clutch Pack: 0.050 in. - 0.070 in.
- 4-5-6 Clutch Pack: 0.045 in. - 0.065 in.
- Low/Reverse Clutch Pack: 0.060 in. - 0.085 in.
3. Essential Torque Specifications
Over-torquing the valve body or case bolts will warp the aluminum castings, causing cross-leaks and binding valves. Always use a calibrated inch-pound torque wrench for internal components.
- Valve Body to Case Bolts (M6x1.0): 8 Nm (71 lb-in)
- Oil Pump to Case Bolts (M8x1.25): 10 Nm (89 lb-in)
- TEHCM to Valve Body Screws: 4 Nm (35 lb-in)
- Extension Housing to Case: 35 Nm (26 lb-ft)
Common 6L80E Failure Modes to Watch For
Before ordering your rebuild kit, inspect these high-wear areas that frequently plague the 6L80E platform:
- Cracked 4-5-6 Backing Plate: The snap ring groove on the 4-5-6 clutch backing plate is notorious for cracking under high-torque LS3 or LT1 applications. Always upgrade to an aftermarket billet aluminum backing plate.
- Stator Support Bushing Wear: The stator support shaft rides on the torque converter hub. If the bushing wears out, it will leak converter charge pressure, resulting in a P0741 (TCC Stuck Off) code and eventual converter failure.
- TEHCM Pressure Switch Leaks: The internal pressure switches inside the TEHCM can develop micro-cracks in their plastic housings, causing erratic shift adapts. Many professional rebuilders now use Summit Racing or Sonnax zip kits to reinforce these circuits.
The Swap Reality: Wiring and Standalone Controllers
If you are abandoning the 200r4 transmission rebuild route and swapping a 6L80E into a classic Chevelle or C10, you cannot simply plug it in. The 6L80E requires a high-speed GMLAN network to communicate with the engine ECU for torque management and shift scheduling.
For standalone swaps, you will need a dedicated transmission controller. Systems like the Holley Terminator X V2 or specialized TCMs from ShiftTech allow you to paddle-shift or map shift points via a laptop without needing a modern CAN-bus engine ECU. Factor in an additional $200 for a custom wiring harness and a 12-volt power relay that only energizes the TEHCM when the ignition is in the 'Run' position to prevent battery drain.
Final Verdict: Which Path Should You Take?
If you are restoring a numbers-matching 1987 Buick Grand National or want a budget-friendly, mechanical overdrive for a mild 350ci small block, the 200-4R remains a viable, cost-effective choice—provided you respect the TV cable setup. However, if your project produces over 450 horsepower, requires a 3.06 first gear for aggressive launches, and demands a 0.67 overdrive for highway cruising, the 6L80E is the undisputed champion. While the initial 6L80E rebuild and swap controller costs are higher, the durability, gear spread, and modern shift logic make it the ultimate drivetrain upgrade for the modern era.