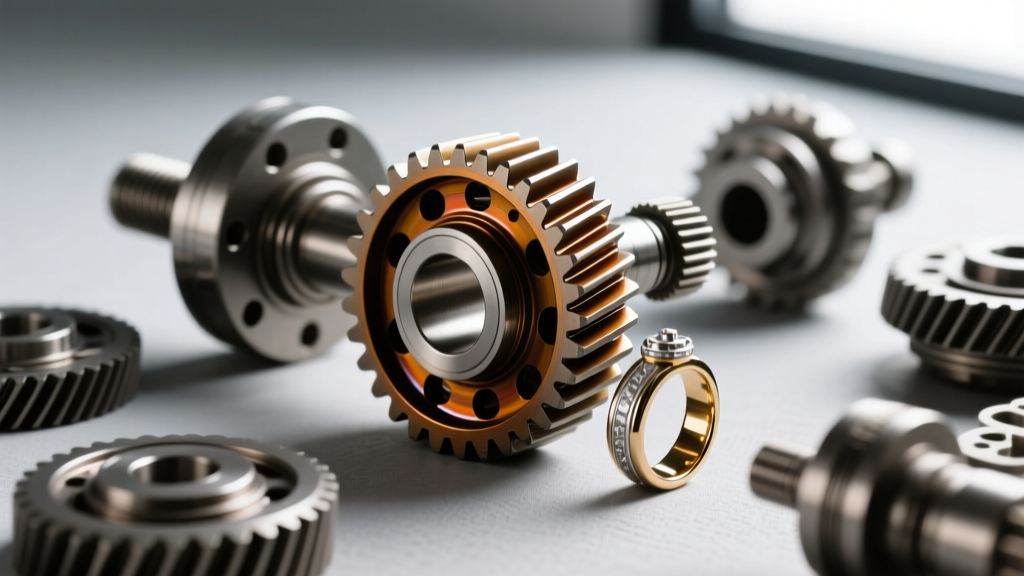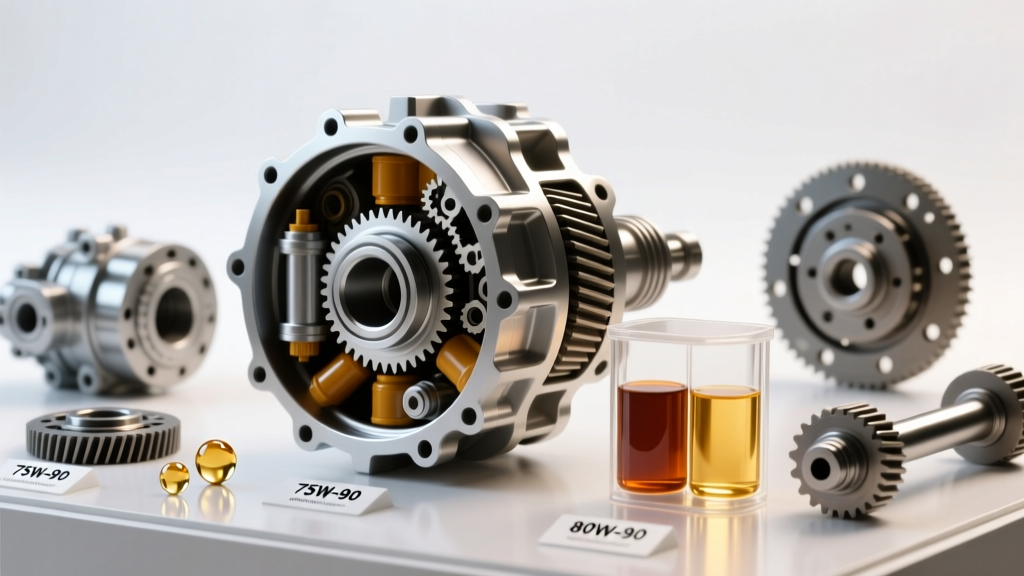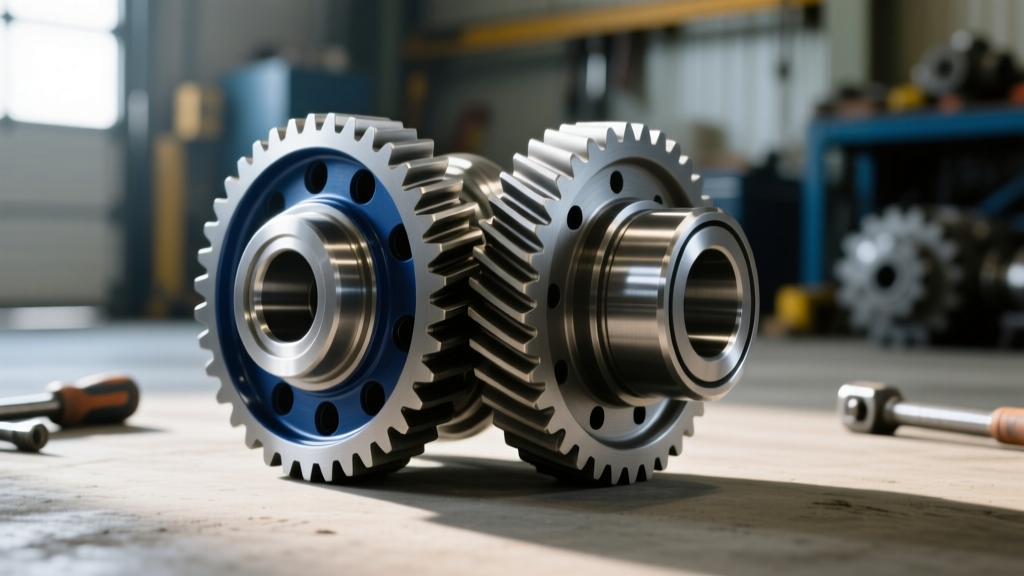
The Heart of the Drivetrain: Understanding the Ring and Pinion
If you are stepping into the world of commercial vehicle maintenance, few components are as critical—or as intimidating—as the differential. At the core of this assembly lies the ring and pinion gear set. For fleet technicians and owner-operators alike, mastering the ring and pinion gear setup for Eaton heavy duty truck differentials is a rite of passage. Whether you are rebuilding a classic Eaton 40,000-lb single drive axle or servicing a modern tandem setup, the fundamental physics of gear meshing remain unchanged.
In this beginner-friendly explainer, we will demystify the setup process. We will break down the jargon, outline the exact specifications you need, and provide a clear roadmap to ensure your Eaton axle operates quietly, efficiently, and reliably for hundreds of thousands of miles.
Why Eaton Heavy Duty Truck Differentials Require Precision
Eaton has been a cornerstone of the North American commercial trucking industry for decades. Their heavy-duty axles, such as the widely used Eaton 40-145 and 46,000-lb tandem models, are engineered to handle massive torque loads. As of 2026, with the industry seeing a surge in high-torque downsped engines and even heavy-duty electric powertrains, the stress placed on hypoid gear sets is higher than ever.
A passenger car differential might see 300 lb-ft of torque. A Class 8 truck equipped with an Eaton axle is routinely managing 1,600 to 2,050 lb-ft of engine torque, multiplied significantly by the transmission and axle ratios. If the ring and pinion are not set up with microscopic precision, this immense force will rapidly destroy the gear teeth, leading to catastrophic failure, shredded bearings, and a stranded truck.
The Four Pillars of Gear Setup
Setting up a ring and pinion is not about guesswork; it is a sequential process built on four interdependent measurements. If you change one, you affect the others. Here is the beginner-friendly breakdown of the four pillars.
1. Pinion Depth
Pinion depth refers to how far the pinion gear protrudes into the differential housing relative to the centerline of the ring gear. Because every gear set is machined with slight variances, manufacturers laser-etch a specific depth variance on the head of the pinion gear (e.g., +0.003 or -0.002). You must use a specialized pinion depth gauge or a master setup bearing to measure this distance and adjust the shims located behind the inner pinion bearing cup until the exact factory specification is met.
2. Pinion Bearing Preload
Preload is the rolling resistance of the pinion bearings when the gear is spinning without the ring gear engaged. It ensures the bearings are tight enough to handle heavy loads without wobbling, but loose enough to prevent overheating. In heavy-duty Eaton axles, this is typically achieved using a crush sleeve or a precise shim pack. You measure preload using an inch-pound torque wrench attached to the pinion yoke.
3. Backlash
Backlash is the microscopic amount of rotational 'play' between the ring gear and the pinion gear teeth before they make contact. If backlash is too tight, the gears will bind and overheat under load. If it is too loose, the gears will slam together, causing a knocking noise and chipped teeth. You measure this by mounting a magnetic dial indicator to the housing and rocking the ring gear back and forth while holding the pinion stationary.
4. The Contact Pattern
The ultimate judge of your setup is the contact pattern. By painting the teeth of the ring gear with a specialized yellow or white gear marking compound and applying resistance while rotating the gears, you reveal exactly where the pinion is biting the ring gear. A perfect pattern sits squarely in the middle of the tooth face, slightly biased toward the toe under load.
Eaton Axle Setup Specifications Reference Table
While you must always consult the specific service manual for your exact axle model and gear ratio, the table below provides a reliable baseline for standard Eaton 40,000-lb class heavy-duty hypoid axles.
| Specification Metric | Target Range / Value | Measurement Tool Required |
|---|---|---|
| Ring Gear Backlash | 0.008" - 0.012" | Magnetic Dial Indicator (0.001" resolution) |
| Pinion Bearing Preload (New Bearings) | 20 - 45 in-lbs (rolling) | Inch-Pound Beam Torque Wrench |
| Pinion Nut Torque (To achieve preload) | 450 - 650 lb-ft | 3/4" Drive Heavy-Duty Torque Wrench / Multiplier |
| Ring Gear Bolt Torque | 250 - 300 lb-ft | 1/2" or 3/4" Drive Torque Wrench |
| Ring Gear Runout | Max 0.003" | Dial Indicator on Gear Backface |
Decoding the Contact Pattern: A Visual Guide
For beginners, reading the gear pattern is where the magic happens. The pattern tells you exactly what to adjust. When inspecting the marking compound on the ring gear teeth, focus on the drive side (the convex side of the tooth) and the coast side (the concave side).
- Perfect Pattern: The pattern is centered vertically from the root to the crown of the tooth, and centered horizontally from the toe (inner edge) to the heel (outer edge).
- Toe Contact (Pattern near the inner edge): The pinion is too far away from the ring gear. Fix: Increase pinion depth (add shims) and re-adjust backlash.
- Heel Contact (Pattern near the outer edge): The pinion is too deep into the ring gear. Fix: Decrease pinion depth (remove shims) and re-adjust backlash.
- Face Contact (Pattern too high): Backlash is too tight. Fix: Increase backlash by moving the ring gear away from the pinion.
- Flank Contact (Pattern too low): Backlash is too loose. Fix: Decrease backlash by moving the ring gear closer to the pinion.
Always remember the golden rule of differential setup: Adjust pinion depth to fix the horizontal pattern (heel-to-toe), and adjust backlash to fix the vertical pattern (face-to-flank).
Essential Tools for the Job
You cannot perform a professional setup on Eaton heavy duty truck differentials with standard garage tools. The forces and tolerances demand specialized equipment:
- Arbor Press & Bearing Pullers: Heavy-duty Timken taper roller bearings (like the HM89443 pinion cone) require tons of force to seat properly. Never hammer bearings into place.
- Master Setup Bearings: These are bearings with the centers ground out, allowing them to slip on and off the pinion shaft easily during the trial-and-error depth setting phase, saving hours of pressing and pulling.
- Case Spreaders: Eaton heavy-duty axle housings are incredibly rigid. To remove or install the differential carrier without damaging the housing bore, a hydraulic or mechanical case spreader is mandatory. You typically spread the case no more than 0.015" to 0.020".
- High-Quality Marking Compound: Standard grease will not work. Use a dedicated gear marking paste (often yellow ochre-based) applied in a thin, even layer.
Common Beginner Mistakes to Avoid
Even with the right tools, novice technicians often fall into a few costly traps:
Reusing Crush Sleeves: If your Eaton axle uses a crush sleeve for pinion preload, it is a one-time-use item. Once crushed, its metallurgical memory is altered. Reusing it will result in a loss of preload after a few thousand miles, leading to pinion bearing failure.
Ignoring Thermal Expansion: Heavy duty axles run hot. A gear set that is set up on the tight side of the backlash specification (e.g., 0.006") may bind when the housing and gears expand under heavy highway loads. Always aim for the middle-to-upper end of the Eaton backlash specification (0.009" - 0.011").
Forgetting Ring Gear Runout: Before you even look at the contact pattern, you must check ring gear runout. If the ring gear is warped or improperly seated on the differential case, the backlash will vary as the gear rotates. If runout exceeds 0.003", no amount of shimming will save the setup.
Cost Expectations and Sourcing Parts
Rebuilding an Eaton heavy-duty axle is an investment. As of 2026, a complete master rebuild kit (including Timken bearings, seals, shims, and a crush sleeve) typically ranges from $600 to $950. A high-quality, OEM-equivalent ring and pinion gear set (such as a 3.36:1 or 4.11:1 ratio) will cost between $1,400 and $2,800 depending on the exact model and metallurgy.
Always source your technical data directly from the manufacturer. The Eaton Technical Publications Portal is an invaluable, free resource where you can download exact service manuals, torque specifications, and exploded diagrams for your specific axle serial number. Additionally, verifying bearing tolerances via the Timken engineering database ensures your preload calculations are flawless.
Final Thoughts
Setting up the ring and pinion in Eaton heavy duty truck differentials is a methodical exercise in patience and precision. It is not about forcing parts together; it is about coaxing them into perfect alignment. By respecting the four pillars of setup, utilizing the correct heavy-duty tooling, and trusting the contact pattern over your own assumptions, you will build an axle capable of hauling heavy freight across the country without a whisper of gear whine. Take your time, measure twice, and let the dial indicator guide your hands.