The $200 Differential Leak Repair That Became a $2,000 Nightmare
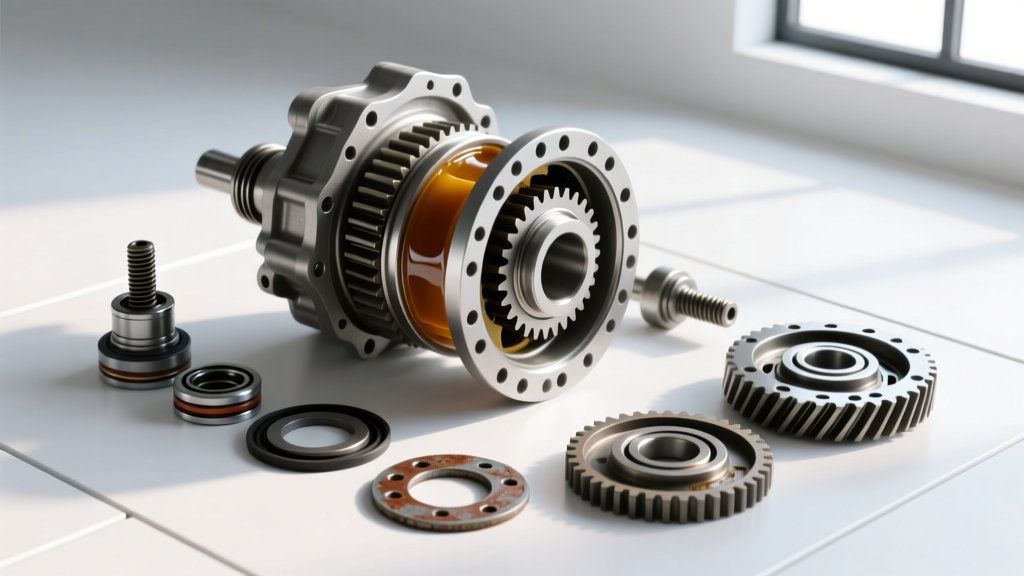
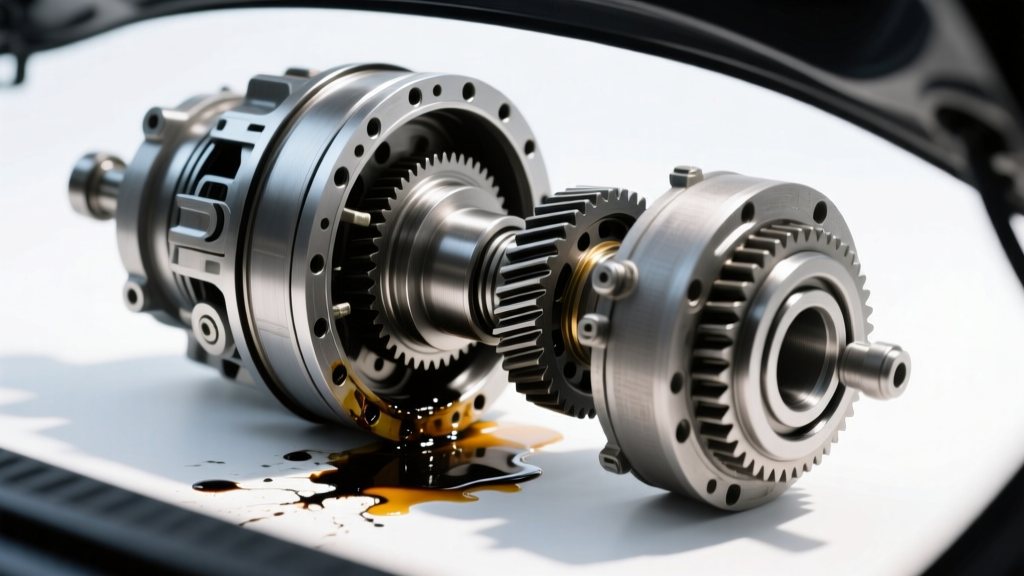
You pull into your driveway and spot a puddle of thick, pungent 75W-90 gear oil right beneath the center of your truck's rear axle. Assuming it is a simple seal issue, you take it to the shop expecting a standard differential leak repair. A few hours later, the service advisor calls with devastating news: the pinion bearing has failed due to fluid starvation, the gear teeth are scored, and you now need a complete ring and pinion gear setup. For a beginner or daily driver, this escalation feels like a scam. However, understanding the internal mechanics of your axle reveals why ignoring a minor leak can destroy a精密 (precision-machined) gear set.
In this beginner-friendly explainer, we will bridge the gap between external axle maintenance and internal drivetrain rebuilding. We will explore exactly how a leaking pinion seal compromises gear mesh, what a ring and pinion gear setup actually entails, and the specific measurements mechanics use to save your axle from the scrap bin.
How a Pinion Seal Leak Destroys Your Gear Mesh
The pinion seal sits at the very front of the differential housing, right behind the driveshaft yoke or flange. Its sole job is to keep hypoid gear oil inside the housing and keep road grime out. When this seal fails, fluid escapes. If the differential leak repair is delayed, the fluid level drops below the pinion bearing centerline.
The Starvation Effect on Pinion Bearings
Unlike the lower carrier bearings that sit in a bath of oil, the front and rear pinion bearings rely on the centrifugal force of the spinning pinion gear to sling oil upward for lubrication. When fluid drops too low, the front pinion bearing runs dry. Within just a few dozen miles of highway driving, the bearing rollers and races overheat, gall, and develop axial play (wobble).
This wobble is the death knell for your gears. A ring and pinion gear set is machined to tolerate clearances measured in thousandths of an inch. If the pinion gear wobbles even 0.015 inches due to a destroyed bearing, the gears are forced out of their engineered mesh pattern. The result is catastrophic spalling, chipped teeth, and a whining noise that sounds like a jet engine in your cabin. At this point, a simple differential leak repair transforms into a full axle teardown.
Ring and Pinion Gear Setup: A Beginner's Breakdown
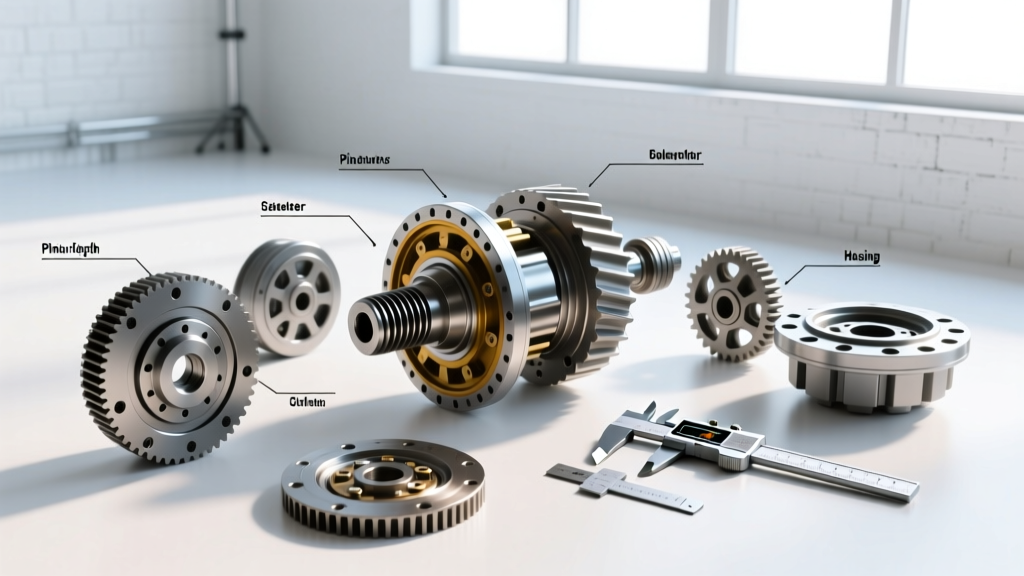
If your mechanic determines the gears are ruined, they must install a new ring and pinion gear set. This is not a simple 'bolt-in' job. Setting up hypoid gears requires mastering three distinct mechanical adjustments. According to the technical engineering guides from Dana Spicer, failing to achieve all three simultaneously guarantees premature gear failure.
1. Pinion Depth (The Foundation)
Pinion depth dictates how far the pinion gear reaches into the carrier housing to meet the ring gear. This is adjusted using precision shims placed between the pinion bearing and the pinion gear head. If the pinion is too deep, it binds against the root of the ring gear teeth. If it is too shallow, it rides on the very tips of the teeth, snapping them off under load. Mechanics use a specialized pinion depth setting tool and a dial indicator to measure this to within 0.001 inches.
2. Backlash (The Wiggle Room)
Backlash is the amount of rotational free-play between the ring gear and the pinion gear before the teeth make contact. It is adjusted by moving the entire carrier assembly left or right using threaded adjusters or side shims. Too little backlash causes the gears to overheat and seize as the metal expands. Too much backlash causes a loud 'clunk' when shifting from reverse to drive. Most light-duty truck axles require a backlash specification between 0.006 and 0.012 inches.
3. Bearing Preload (The Tension)
Bearing preload ensures the pinion and carrier bearings are tightly compressed, eliminating any microscopic wobble while still allowing them to spin freely. On modern axles, this is often achieved using a 'crush sleeve'—a hollow steel spacer that deforms as the massive pinion nut is torqued down. Once a crush sleeve is compressed, it can never be reused. If a mechanic over-torques the nut by even a few foot-pounds, the sleeve crushes too far, requiring the entire pinion assembly to be pulled apart and restarted with a new sleeve.
Axle Specifications and 2026 Rebuild Cost Matrix
To give you a realistic expectation of what a ring and pinion gear setup involves, here is a breakdown of common light-duty and off-road axles. The costs reflect 2026 labor rates and premium aftermarket gear pricing (such as Yukon or Motive Gear).
| Axle Model | Target Backlash | Pinion Nut Torque (Crush) | Est. Rebuild Cost (2026) |
|---|---|---|---|
| Ford 8.8-inch | 0.008'' - 0.012'' | 200 - 250 ft-lbs | $1,200 - $1,600 |
| Dana 44 (JK/TJ) | 0.006'' - 0.010'' | 160 - 200 ft-lbs | $1,400 - $1,900 |
| GM 8.5'' 10-Bolt | 0.007'' - 0.012'' | 180 - 220 ft-lbs | $1,100 - $1,500 |
| Chrysler 8.25'' | 0.005'' - 0.009'' | 150 - 190 ft-lbs | $1,000 - $1,400 |
Note: Upgrading to a solid pinion spacer kit (which eliminates the frustrating crush sleeve) typically adds $150 to $250 to the parts cost but drastically increases the longevity and reliability of the setup.
Reading the Gear Pattern: The Mechanic's Secret Language
How does a mechanic know if the pinion depth and backlash are correct before filling the axle with fluid? They use a specialized gear marking compound (often yellow ochre or Prussian blue) painted onto the ring gear teeth. By rotating the gears by hand under light braking pressure, the pinion gear wipes away the paint, leaving a contact pattern. Experts at Ring-Pinion.com emphasize that reading this pattern is the ultimate test of a successful setup.
- Flank vs. Face: The flank is the bottom of the tooth (near the root), and the face is the top. A correct pattern sits dead center vertically.
- Heel vs. Toe: The heel is the inner edge of the tooth (near the carrier), and the toe is the outer edge. Under load, gears deflect slightly, so a perfect setup will show a pattern that is slightly biased toward the toe, which centers out perfectly when driving under heavy throttle.
- The Danger Zone: If the pattern is concentrated entirely on the heel and the flank, the pinion is too deep, and the gears will howl loudly and overheat within 500 miles.
Upgrading Fluids During Your Differential Leak Repair
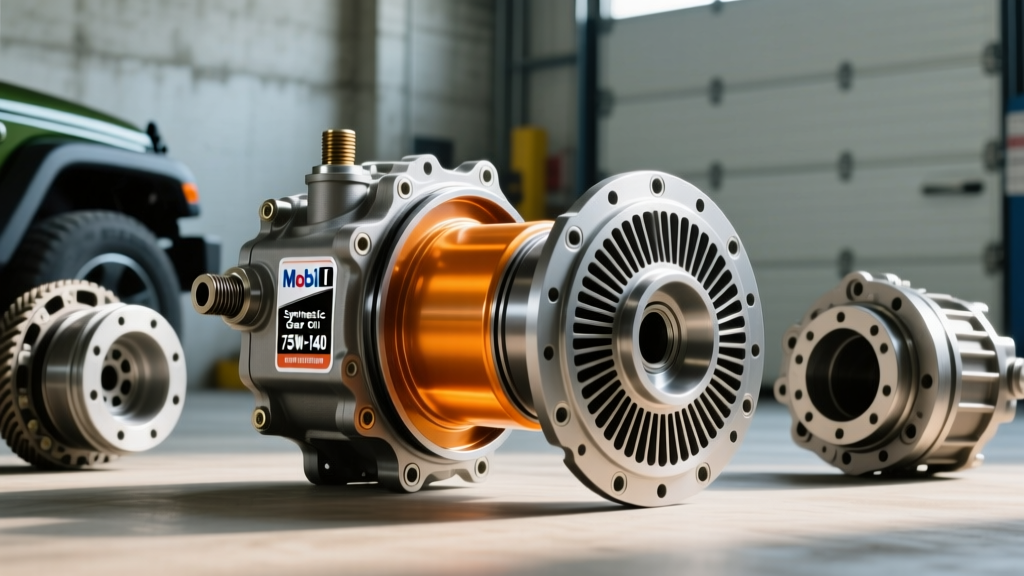
If you catch the leak early and only need a differential leak repair (replacing the pinion seal and yoke), you have the perfect opportunity to upgrade your gear oil. For heavy towing or off-road use in 2026, moving from a standard 75W-90 to a high-zinc, full-synthetic 75W-140 can provide a thicker protective film on the gear teeth, mitigating minor wear. Furthermore, if your vehicle is equipped with a clutch-type Limited Slip Differential (LSD), you must remember to add the manufacturer-specific friction modifier additive. Failing to do so will result in chattering, binding, and eventual destruction of the clutch packs during tight parking lot turns.
Expert Tip: When replacing a leaking pinion seal, always inspect the sealing surface of the driveshaft yoke. If the old seal wore a deep groove into the yoke metal, a new seal will just leak again immediately. Use a harmonic balancer puller to remove the yoke and install a stainless steel 'Speedi-Sleeve' over the worn groove to provide a pristine, factory-smooth sealing surface.
Preventative Maintenance: Stopping the Leak Before the Damage
The key takeaway for any vehicle owner is that a differential leak is never 'just a leak.' It is a countdown timer on your ring and pinion gear set. Make it a habit to check your differential fluid levels every time you get an oil change. The fluid should be level with the bottom of the fill hole. If you spot gear oil on the inside of your rear tires (axle seal leaks) or on the pumpkin face of the housing (pinion or cover leaks), address it immediately. A $30 seal and an hour of labor today will save you from a $2,000 ring and pinion gear setup tomorrow. For more deep-dive tutorials on drivetrain maintenance, bearing preloads, and axle identification, consult the technical archives at Yukon Gear and Axle.