Understanding the Class 8 Cooling Challenge
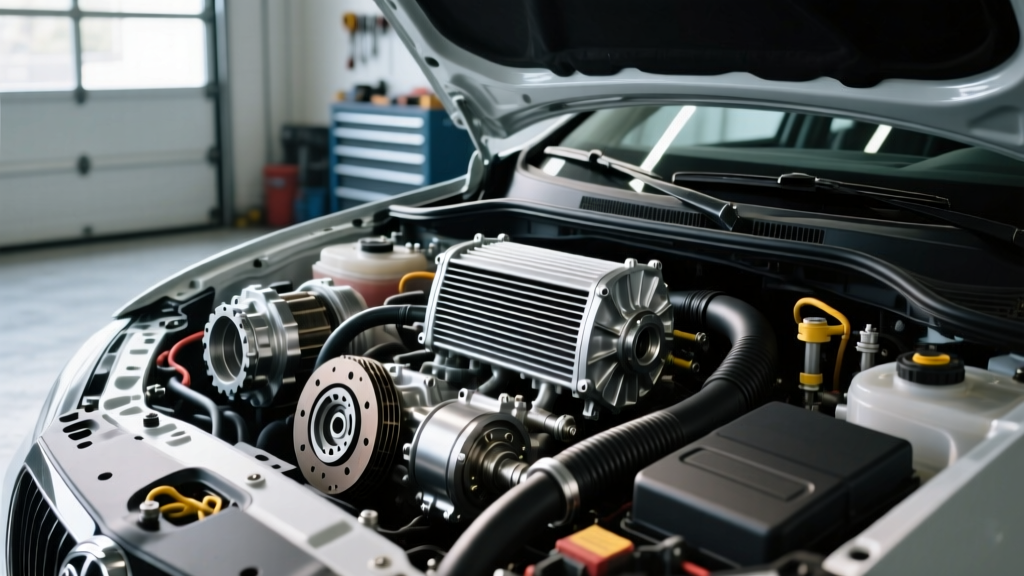
Welcome to the heavy-duty side of transmission cooling. If you are an owner-operator or a junior diesel tech stepping up to maintain a Class 8 truck, understanding your Peterbilt transmission cooler is non-negotiable. In 2026, with tighter emission regulations and more aggressive torque curves from engines like the PACCAR MX-13, the thermal load placed on your drivetrain is higher than ever. A failing cooler doesn't just mean warm fluid; it means baked clutch packs, degraded synthetic lubricants, and a $15,000 transmission rebuild bill. This beginner-friendly guide will walk you through the exact steps to install, upgrade, or replace a transmission cooler on a Peterbilt chassis, whether you are running an automated manual or a full automatic.
Identifying Your Drivetrain and Cooling Needs
Peterbilt integrates several drivetrain options depending on the model year and spec. Before buying a cooler, you must identify what you are cooling, as fluid flow rates and pressure tolerances vary wildly.
- PACCAR TX-18 / Eaton Fuller Endurant (Automated Manuals): These rely heavily on the chassis liquid-to-liquid cooler integrated into the engine's radiator stack or a dedicated frame-rail oil cooler. They run exceptionally hot during stop-and-go creep modes or heavy hauls. According to Eaton's drivetrain documentation, maintaining strict temperature thresholds is critical for the longevity of the automated shift actuators and clutch materials.
- Allison 4000 / 4500 Series (Automatics): Common in vocational Peterbilts (like the 567 dump trucks or mixers). These generate massive heat in the torque converter during stall conditions. They require high-flow auxiliary coolers and specific synthetic fluids like TES 295.
Liquid-to-Liquid vs. Auxiliary Air-to-Oil
A Liquid-to-Liquid (L2L) cooler uses engine coolant to regulate transmission fluid temperature. It is great for fast warm-ups in cold climates but is ultimately limited by engine coolant temps (often 210°F+). An Air-to-Oil (Auxiliary) cooler is a standalone finned core mounted in the airstream. For heavy haul Peterbilts, a stacked-plate air-to-oil cooler (from brands like Modine or Derale Heavy Duty) is the gold standard for dropping temps by 30°F to 50°F under load.
Essential Tools, Fittings, and Torque Specifications
Heavy-duty trucks do not use standard push-clips or hose barbs. You will be dealing with high-pressure hydraulic lines. Below is a reference chart for the most common components you will encounter on a Peterbilt frame rail.
| Component | Specification / Type | Torque / Installation Note | Est. Cost (2026) |
|---|---|---|---|
| JIC 37° Flare Fittings | SAE J514 Standard (e.g., 3/4'-16) | 45-55 lb-ft. Never use thread sealant. | $8 - $15 each |
| ORFS Fittings | O-Ring Face Seal (SAE J1453) | Torque to spec; relies on O-ring, not threads. | $12 - $25 each |
| Hydraulic Hose | SAE 100R5 or 100R2AT | Use constant-tension T-bolt clamps if using barbed adapters. | $10 - $14 / ft |
| Thread Sealant | Loctite 545 or equivalent | ONLY for NPT ports. Keep away from JIC flares. | $18 per tube |
| Trans Fluid (Allison) | TES 295 Approved Synthetic | Capacity varies: ~19-22 qts for 4500 series. | $45 - $60 / gal |
Step-by-Step Peterbilt Transmission Cooler Installation
Phase 1: Preparation and Safe Draining
Safety is your first priority. Class 8 systems hold immense pressure and fluid volume. Park the Peterbilt on a level surface, set the parking brakes, and chock the wheels. Allow the drivetrain to cool to below 120°F to prevent severe burns. Place a 5-gallon drain pan beneath the transmission pan or the existing cooler lines. Disconnect the battery ground to prevent accidental starter engagement. Loosen the return line at the transmission or cooler to drain the fluid from the cooler circuit. If you are replacing an integrated L2L cooler, you must also drain a portion of the engine coolant to prevent cross-contamination.
Phase 2: Mounting the Auxiliary Cooler
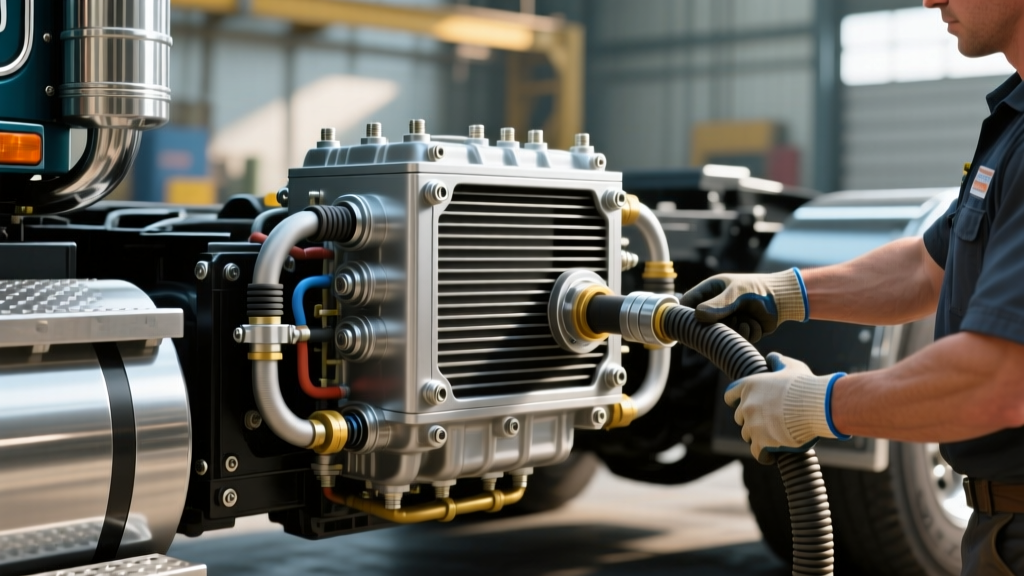
If you are adding an auxiliary stacked-plate cooler to a Peterbilt 579, space behind the front bumper or ahead of the radiator stack is prime real estate. For older models like the 389, frame-rail mounting near the fuel tanks is common. Use heavy-duty L-brackets and isolation rubbers to prevent chassis vibration from cracking the cooler's aluminum brazed joints. Ensure the cooler is mounted vertically or with the inlet/outlet ports facing upward to naturally trap and purge air bubbles.
Phase 3: Routing Hoses Away from Heat
This is where beginners make catastrophic mistakes. The aftertreatment system (DPF and SCR) on modern Peterbilts can reach exterior temperatures exceeding 800°F, with internal temps over 1100°F during regeneration. Route your SAE 100R5 hydraulic hoses along the inside of the frame rail, using nylon cable ties and adel clamps to secure them every 12 inches. Keep all lines at least 6 inches away from the exhaust piping and turbocharger. If you must cross the exhaust, use a high-silicone heat shield sleeve.
Phase 4: Making the Connections
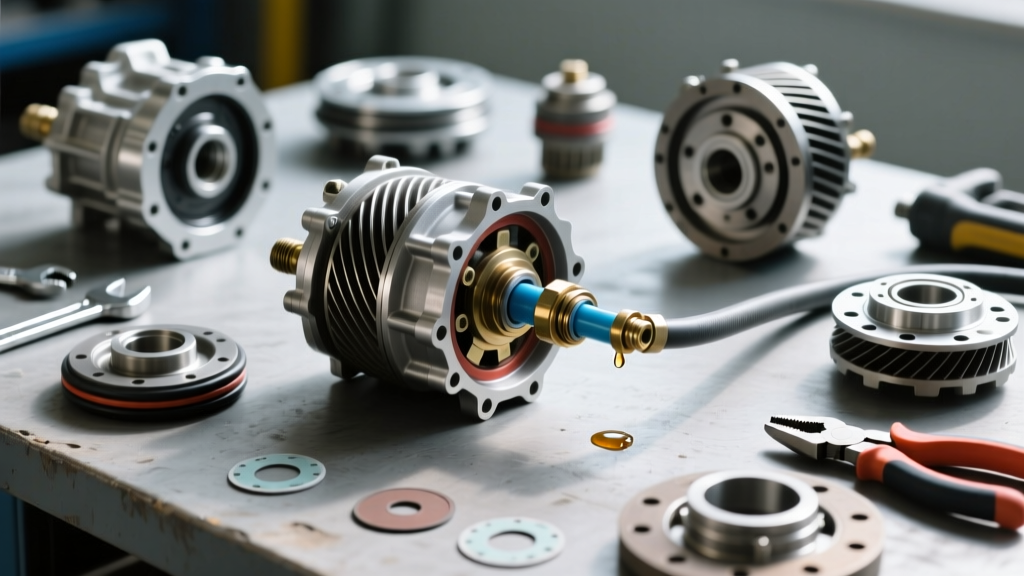
Cut your hydraulic hoses using a dedicated abrasive cutoff wheel to ensure a perfectly square edge. If using reusable socketless fittings, push the hose onto the barbed stem until it bottoms out, then secure it with a constant-tension T-bolt clamp. When threading JIC 37-degree flare fittings into the cooler or transmission ports, thread them in by hand for the first three turns to avoid cross-threading the aluminum ports. Once hand-tight, use a calibrated torque wrench to tighten to the manufacturer's specification (typically 45-55 lb-ft for 3/4' lines). Never use Teflon tape on JIC or ORFS fittings. The seal is made on the metal flare or the rubber O-ring, not the threads. Teflon tape will shred and lodge in the transmission's valve body, causing immediate solenoid failure.
The Bleeding Procedure: Do Not Skip This
Air is the enemy of hydraulic systems. If you fail to bleed the new cooler, the transmission oil pump will cavitate, leading to delayed shifts and clutch burn-up. After filling the transmission pan to the 'Cold' mark on the dipstick, start the engine and let it idle. Cycle the transmission through all forward and reverse gears, pausing for 3 seconds in each. This opens the valve body circuits and forces fluid into the new cooler. Check the Allison Transmission support portal for specific digital shift-selector fluid level readouts if your Peterbilt lacks a physical dipstick. Top off the fluid as the air purges, and recheck the level once the fluid reaches normal operating temperature (180°F - 200°F).
Common Beginner Mistakes to Avoid
The Undersized Hose Trap: Never use 1/2' hose on a system designed for 3/4' or 1' lines. Restricting the return flow will cause the transmission to push fluid past the output shaft seals, resulting in massive leaks and low fluid levels.
Another frequent error is ignoring the cooler's flow direction. Many stacked-plate coolers are directional. Look for the stamped arrows on the aluminum headers. Routing fluid backward reduces cooling efficiency by up to 40% due to internal baffle design. Finally, always perform a post-installation pressure test. Use an inline hydraulic gauge to verify that the pressure drop across the new cooler does not exceed 15-20 PSI at wide-open throttle. If the delta-P is too high, your cooler is too restrictive, and you need to step up to a larger core.
Final Thoughts on Drivetrain Longevity
Upgrading or replacing your Peterbilt transmission cooler is one of the highest-ROI maintenance tasks you can perform. By respecting heavy-duty torque specs, routing lines safely away from DPF heat, and properly bleeding the system, you ensure your rig stays on the road and out of the shop. For more specific chassis schematics, always consult your local Peterbilt dealer support network or your owner's manual before cutting into factory harnesses or brackets.