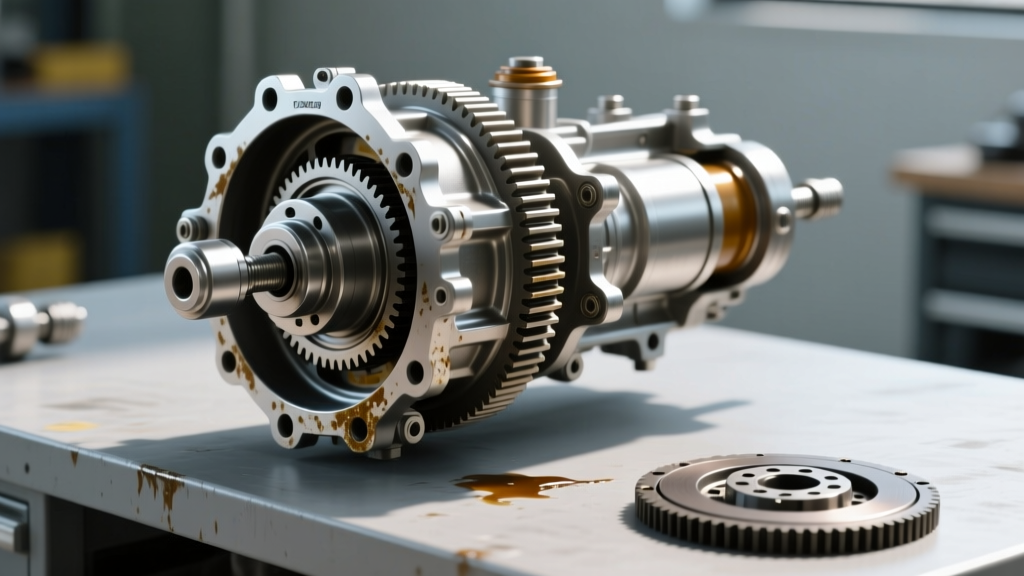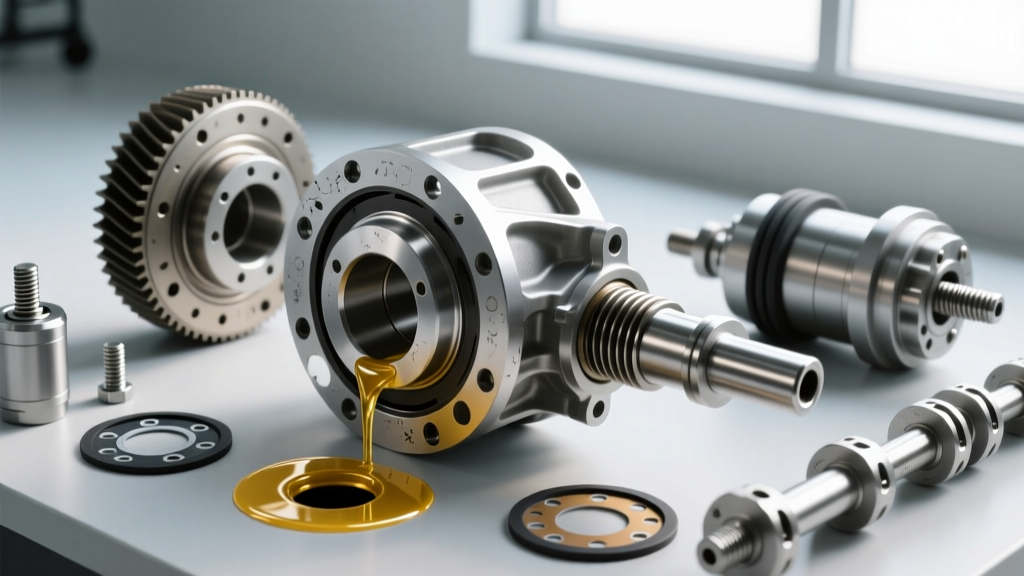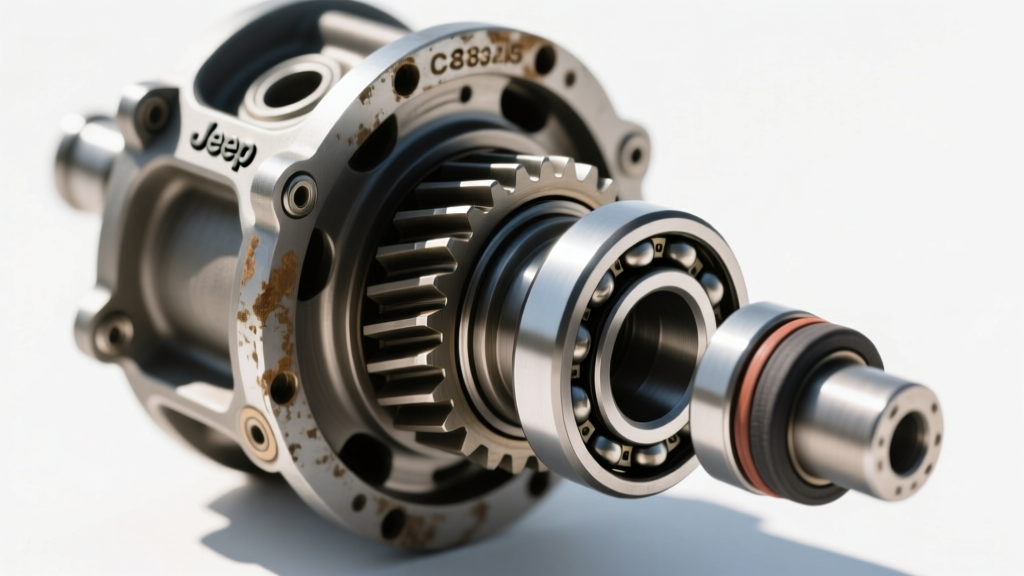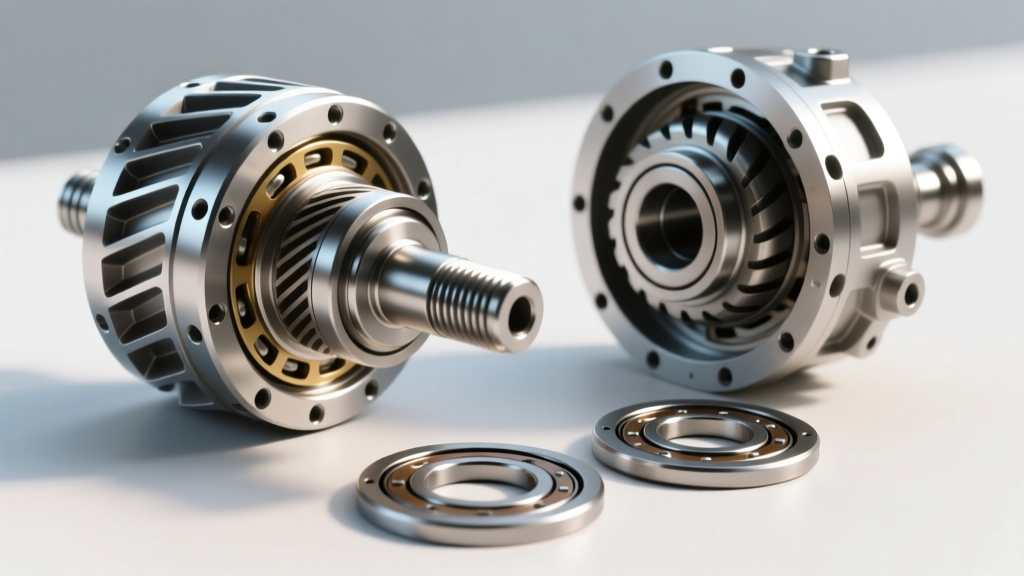
Upgrading to a Locking Differential: The Traction Game-Changer
Upgrading from an open or factory limited-slip differential to a dedicated locking differential is one of the most transformative traction modifications you can make to a truck, SUV, or dedicated off-road rig. Whether you are crawling over Moab slickrock, pulling through deep mud, or launching a drag car, a locking differential ensures that both wheels on an axle receive equal torque, eliminating the single-wheel spin that plagues open differentials. However, selecting the right locker is only half the battle. The true secret to a quiet, reliable, and long-lasting axle assembly lies in the precision setup of the carrier, specifically the meticulous selection and installation of rear differential shims. In this comprehensive performance and upgrade guide, we will break down the types of locking differentials available, how to choose the right one for your build, and the exact technical procedures for shimming your carrier to factory-perfect tolerances.
Selecting the Right Locking Differential for Your Build
Before tearing into your axle housing, you must match the differential type to your specific performance requirements. Locking differentials generally fall into three categories, each with distinct operational characteristics, price points, and installation nuances.
1. Automatic Lockers (Detroit Locker, Spartan Locker, Aussie Locker)
Automatic lockers utilize internal ratcheting mechanisms to lock the axles together under load and unlock during turns to allow for wheel speed differentiation. The Eaton Detroit Locker is the gold standard for heavy-duty applications, featuring forged steel internals and minimal backlash. However, automatic lockers can induce harsh driveline binding and tire chirping on high-traction pavement. They are best suited for dedicated off-road vehicles, rock crawlers, and drag racing applications. Pricing typically ranges from $500 to $850 depending on the axle spline count.
2. Selectable Lockers (ARB Air Locker, Ox Locker, Eaton E-Locker)
Selectable lockers function as standard open differentials until the driver manually engages them via a pneumatic, electric, or mechanical switch. The ARB Air Locker (e.g., part number RD116 for a Dana 44, 30-spline axle) uses compressed air to push an internal clutch ring, locking the side gears to the carrier. Because they remain open on the street, selectable lockers offer zero compromise in daily drivability, making them the ultimate choice for dual-purpose overland and daily-driven trucks. Expect to invest between $900 and $1,300, plus the cost of an onboard air compressor system.
3. Full Spools and Mini Spools
A spool replaces the entire differential carrier, permanently locking both axles together. While this provides maximum strength and zero internal moving parts, it makes street driving dangerous and incredibly hard on axle shafts during turns. Spools are strictly reserved for dedicated race vehicles and trailers.
The Critical Role of Rear Differential Shims in Locker Installs
When you swap an open carrier for a locking differential, the physical dimensions of the new carrier casing rarely match the old one down to the thousandth of an inch. This dimensional variance directly impacts two vital measurements: carrier bearing preload and ring and pinion backlash. This is where rear differential shims become the most important components in your rebuild kit.
Rear differential shims are precision-ground steel washers that sit between the carrier bearings and the axle housing bores (in Dana and Chrysler axles) or behind the bearing races (in Ford and some GM axles). By adjusting the thickness of these shims, you move the ring gear closer to or further away from the pinion gear. If you attempt to force a locking differential into the housing without measuring and adjusting the shims, you risk catastrophic failure. Too tight, and the bearings will overheat and seize within 50 miles; too loose, and the ring gear will hammer against the pinion under load, shearing teeth and destroying your new locker.
Precision Setup: Backlash, Preload, and Torque Specifications
Achieving the correct setup requires a methodical approach and high-quality measuring tools. You will need a magnetic base dial indicator with 0.001-inch resolution, a beam-style inch-pound torque wrench, and a comprehensive shim kit like the Yukon Gear & Axle Carrier Shim Kit (Part# SK SS-02 for Dana 44 applications).
Target Backlash Specifications
Backlash is the amount of rotational 'slop' or clearance between the ring gear and pinion gear teeth. For a street-driven limited-slip, 0.005 to 0.008 inches is common. However, locking differentials subjected to high-shock off-road loads or drag racing launches require slightly more clearance to account for thermal expansion and extreme torque deflection. Target 0.008 to 0.012 inches of backlash for heavy-duty locking differentials. Always reference the specific manufacturer's tolerances stamped on the ring gear or included in the locker manual.
Carrier Bearing Preload
Preload is the friction applied to the carrier bearings when the assembly is clamped into the housing. Proper preload ensures the carrier cannot shift under load. When setting up rear differential shims for bearing preload, you are looking for a rotational drag of 15 to 25 inch-pounds on new, oiled bearings. If you are reusing broken-in bearings, the target drops to roughly 10 to 15 inch-pounds.
Hardware Torque Specs
When bolting the ring gear to the new locking differential carrier, hardware integrity is paramount. For standard 7/16-20 Grade 8 ring gear bolts (common on Dana 44 and GM 12-bolt axles), apply a high-strength threadlocker like Red Loctite 272 and torque them to 75 to 85 lb-ft in a crisscross star pattern. Never reuse old ring gear bolts, as the stretching from previous installations compromises their clamping force.
Step-by-Step Shimming and Carrier Installation Procedure
Follow this professional workflow to ensure your rear differential shims are perfectly calibrated:
- Install Dummy Bearings: Press a set of 'dummy' bearings (bearings with the inner diameter slightly honed out for easy slip-fit removal) onto the locking differential carrier. This allows you to test-fit the carrier multiple times without damaging your new, tight-fitting final bearings.
- Baseline Measurement: Install the carrier into the housing with a baseline set of shims. Use a dial indicator mounted to the housing, resting the probe on the ring gear tooth face. Pry the carrier back and forth to measure the initial backlash.
- Calculate Shim Adjustments: The rule of thumb for most solid-axle housings is a 1:1 shim-to-backlash transfer ratio. If your backlash is 0.015 inches and your target is 0.010 inches, you need to move the ring gear 0.005 inches closer to the pinion. You will add 0.005 inches of shim thickness to the drive side (ring gear side) and remove 0.005 inches from the opposite side to maintain overall bearing preload.
- Swap and Verify: Pull the carrier, swap the rear differential shims to your calculated thicknesses, and reinstall. Rotate the carrier three full revolutions to seat the shims, then re-measure backlash and rotational preload. Repeat until both numbers fall perfectly within the specified window.
- Final Assembly: Once the math is proven, pull the carrier one last time. Freeze your new, final carrier bearings in a freezer for two hours, heat them with an induction heater or carefully with a heat gun, and press them onto the carrier. Install the final calculated shims and drive the carrier into the housing using a dead-blow hammer and a brass drift or specialized carrier case spreader.
Pro-Tip: Never use a prybar between the ring gear and the pinion gear to pop the carrier out of the housing. This will instantly chip the gear teeth and ruin your expensive locking differential. Always use a specialized carrier bearing puller or a housing spreader tool.
Locker Selection and Shimming Tolerance Chart
| Differential Type | Application Focus | Ideal Backlash Target | Bearing Preload Target (New) | Fluid Additive Required? |
|---|---|---|---|---|
| Automatic (Detroit/Spartan) | Off-Road, Drag, Mud | 0.008' - 0.012' | 15 - 25 in-lbs | No |
| Selectable (ARB/Ox/E-Locker) | Daily/Off-Road Dual Purpose | 0.006' - 0.010' | 15 - 25 in-lbs | No |
| Clutch-Type LSD (OEM Style) | Street, Light Trail | 0.005' - 0.008' | 15 - 20 in-lbs | Yes (Friction Modifier) |
| Full Spool | Dedicated Race/Trailer | 0.008' - 0.015' | 15 - 25 in-lbs | No |
Post-Install Break-In and Differential Fluid Selection
After meticulously setting your rear differential shims and torquing the housing cover, the final step in your performance upgrade is fluid selection and break-in. Locking differentials, particularly those with internal clutches or ratcheting rings, generate significant localized heat during their initial seating phase.
For heavy-duty off-road trucks and vehicles running larger-than-stock tires, step up to a 75W-140 Full Synthetic Gear Oil (such as Amsoil Severe Gear or Lucas Heavy Duty). The higher viscosity maintains a protective hydrodynamic film over the ring and pinion teeth during low-speed, high-torque crawling scenarios where gear deflection is at its highest. If your vehicle is primarily a street-driven daily driver with a selectable locker, a 75W-90 Full Synthetic is preferable to reduce parasitic drag and improve fuel economy.
Crucially, do not add friction modifiers to a locking differential or a spool. Friction modifiers are designed for clutch-type limited-slip differentials to prevent chatter. In an automatic or selectable locker, these additives can cause the internal locking mechanisms to slip or fail to fully engage under load. Perform your initial break-in by driving the vehicle for 15-20 miles at varying speeds, allowing the axle to cool completely, and then drain and refill the fluid to remove the microscopic metallic particulates generated by the initial lapping of the ring and pinion gears. By combining the right locking differential with a master-level rear differential shims setup, your axle will deliver relentless traction and bulletproof reliability for years to come.