The Performance Hydraulic Bottleneck: Why Diagnosis Precedes Replacement
When upgrading to a high-performance clutch assembly—such as a McLeod RST twin-disc or an Exedy Mach 500—many enthusiasts immediately experience stiff pedals, incomplete disengagement, or premature throwout bearing wear. The knee-jerk reaction is often a straightforward clutch slave cylinder replacement. However, swapping a slave cylinder without performing a comprehensive clutch hydraulic system diagnosis is a costly mistake that will leave your performance build stranded on the starting line.
Modern performance transmissions like the Tremec T56 Magnum or the Porsche G50 require precise hydraulic displacement to overcome the immense clamp load of multi-disc clutches. A stock 3/4-inch master cylinder paired with an undersized external slave simply cannot generate the required fluid volume and line pressure. Before you order parts and drop the transmission, you must map the hydraulic circuit, calculate bore ratios, and identify the exact point of failure.
Step-by-Step Clutch Hydraulic System Diagnosis
A proper diagnosis isolates the variable causing the hydraulic failure. We break this down into three critical phases: mechanical pedal geometry, master cylinder efficiency, and slave cylinder actuation.
Phase 1: Pedal Ratio and Pushrod Clearance
Hydraulic pressure begins at the pedal assembly. Performance vehicles often utilize a pedal ratio between 4:1 and 6:1. If your pedal feels spongy or fails to return, measure the master cylinder pushrod clearance. According to Wilwood Engineering, there must be exactly 0.005 to 0.015 inches of free play between the pushrod and the master cylinder piston. Zero clearance will block the compensation port, trapping pressure in the line and causing the clutch to slip under high RPMs.
Phase 2: Master Cylinder Bore Sizing and Line Pressure
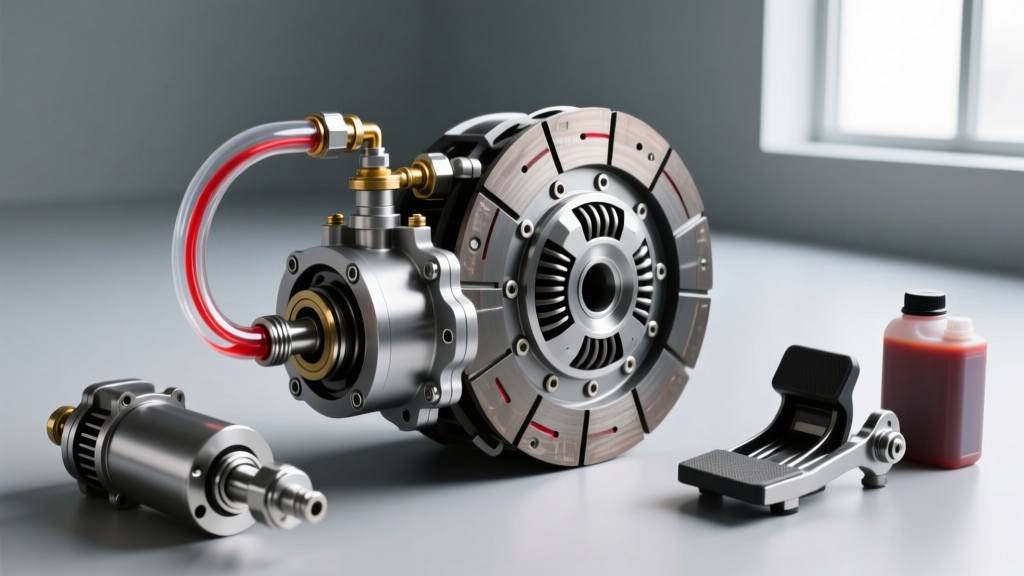
The bore size of your master cylinder dictates the volume of fluid displaced per inch of pedal travel. A smaller bore (e.g., 3/4") increases line pressure but requires more pedal travel. A larger bore (e.g., 1" or 7/8") moves more fluid with less travel but requires significantly more leg effort. If you are running a heavy pressure plate (over 2,800 lbs clamp load), a 7/8" bore is typically the sweet spot. Use a hydraulic pressure gauge inline with the clutch line to verify you are hitting the 400–800 PSI target required to fully actuate heavy-duty slave cylinders.
Phase 3: Evaluating the Slave Cylinder and Throwout Bearing
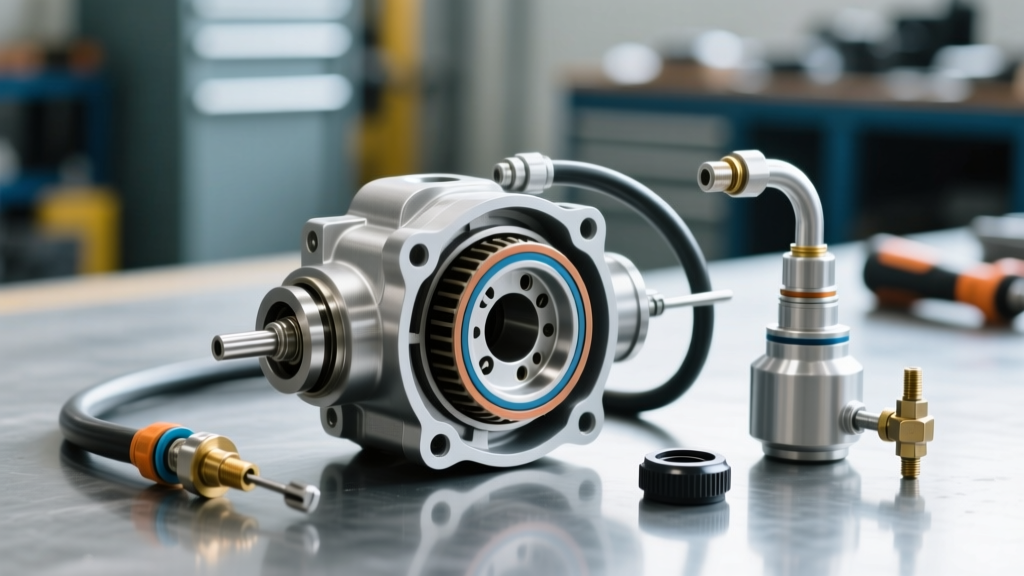
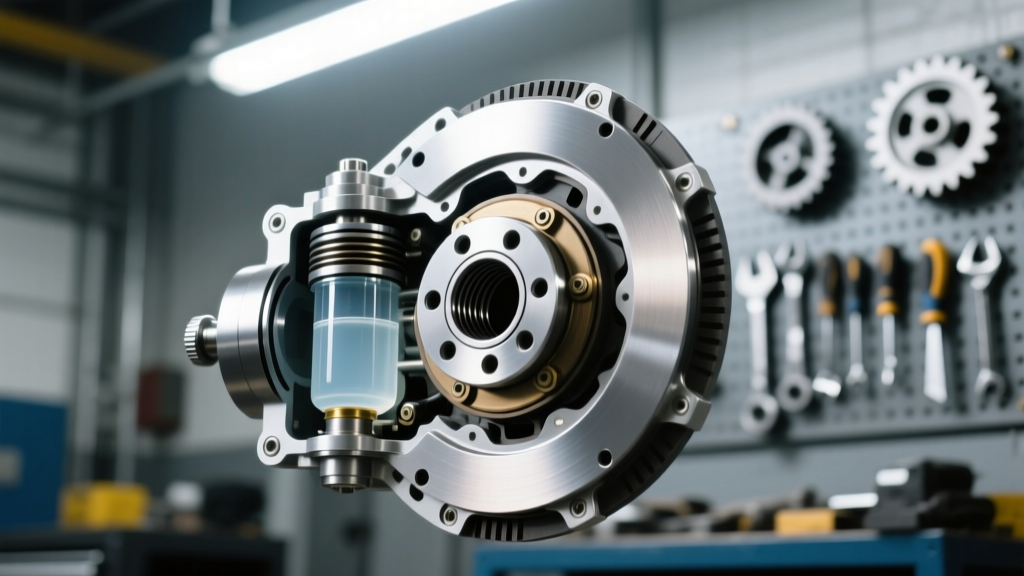
External slaves (common on older Mustangs and imports) suffer from pivot geometry loss as the clutch fingers wear down. Concentric slaves (hydraulic throwout bearings), like those used in T56 Magnum swaps, maintain constant geometry but are highly sensitive to setup depth. If your concentric slave is bottoming out or failing to disengage, measure the distance from the bellhousing mounting face to the clutch fingers. You may need to add precision shims behind the slave cylinder to achieve the mandatory 0.100-inch to 0.150-inch air gap.
Data Table: Master/Slave Bore Combinations for Performance Transmissions
Use the chart below to cross-reference your transmission and clutch setup with the optimal hydraulic bore sizing. Mismatched bores are the leading cause of failed clutch slave cylinder replacement attempts.
| Transmission Model | Clutch Kit Type | Recommended Master Bore | Slave Type / Bore | Target Line Pressure |
|---|---|---|---|---|
| Tremec T56 Magnum | McLeod RXT Twin Disc | 7/8" (Wilwood P/N 260-1304) | Concentric (McLeod P/N 1408) | 500 - 650 PSI |
| Ford MT-82 (Mustang GT) | Exedy Mach 500 | 3/4" (OEM or UPR) | External (Tick Elite) | 400 - 550 PSI |
| Porsche G50 (911) | Sachs Performance HD | 5/8" (ATE) | External (ATE / OEM) | 350 - 450 PSI |
| GM LS T56 (F-Body) | RAM Pro 9.5 Twin | 7/8" (Wilwood P/N 260-1304) | Concentric (RAM P/N 78125) | 550 - 700 PSI |
When Diagnosis Dictates a Clutch Slave Cylinder Replacement
Once you have verified the master cylinder is functioning, the lines are free of restrictions, and the pedal geometry is correct, a failing slave cylinder is the definitive culprit. However, a performance-oriented clutch slave cylinder replacement is not about buying an OEM part from the local auto store; it is about upgrading the metallurgy and seal design to handle the thermal and pressure demands of track use.
External Slave Upgrades
For vehicles utilizing an external slave (like the Ford Mustang or Nissan 370Z), the OEM plastic-bodied slaves are notorious for cracking under the increased line pressure of upgraded clutches. We recommend upgrading to a CNC-machined billet aluminum unit, such as the Tick Performance Elite Series. These feature larger internal pistons and Viton seals capable of withstanding sustained fluid temperatures exceeding 300°F. Expect to pay between $250 and $320 for a premium billet external slave.
Concentric Slave (Hydraulic Throwout Bearing) Precision
Replacing a concentric slave requires transmission removal. When installing a unit like the McLeod 1408 hydraulic throwout bearing, the setup depth is non-negotiable. Use a digital caliper to measure the distance from the transmission bearing retainer collar to the clutch fingers. Subtract the required air gap (typically 0.125") to determine the exact thickness of the shims needed. Mounting bolts for these units should be torqued to 18-22 lb-ft using a medium-strength threadlocker to prevent backing out under high-frequency drivetrain vibrations.
High-Pressure Bleeding Protocols
The most common reason a clutch slave cylinder replacement fails to restore pedal feel is improper bleeding. Performance hydraulic systems with long braided stainless lines and remote reservoirs trap micro-bubbles that standard pedal-pumping will never dislodge.
- Reverse Bleeding: Using a syringe to push fluid from the slave cylinder bleeder valve up to the master cylinder reservoir is the most effective way to force trapped air upward. This is mandatory for vehicles where the master cylinder sits lower than the slave (e.g., mid-engine layouts or certain Corvette C5/C6 conversions).
- Fluid Selection: Standard DOT 3 fluid boils at roughly 401°F (dry). For track-driven performance cars, upgrade to a high-performance DOT 4 or DOT 5.1 fluid. Castrol SRF Racing (Boiling point 590°F dry / 518°F wet) remains the gold standard for heavy-duty clutch hydraulics, though Motul RBF 600 is a highly capable and more affordable alternative at roughly $22 per liter.
- Line Upgrades: If you are replacing the slave, replace the soft rubber OEM hydraulic line. Rubber lines expand under high pressure, robbing you of pedal feel. Swap to an AN4 braided stainless steel line with proper firewall grommets to prevent chafing and heat transfer from the exhaust.
Expert Insight: Never use DOT 5 silicone-based fluid in a performance clutch hydraulic system. While it does not absorb water, it is highly compressible compared to glycol-based fluids, resulting in a notoriously spongy pedal feel that makes heel-toe downshifts nearly impossible to modulate.
Final Verification and Break-In
After completing your clutch slave cylinder replacement and executing a thorough reverse bleed, perform a static disengagement test. With the vehicle safely on jack stands and the rear wheels free to spin, depress the clutch pedal and shift into gear. The driveline should remain completely stationary. If the axles continue to turn, you have hydraulic drag—either from an improperly shimmed concentric slave, a blocked master cylinder compensation port, or trapped air. By treating the hydraulic system as a complete, interconnected circuit rather than a collection of isolated parts, you ensure your high-dollar clutch investment performs flawlessly at the limit.