The High-Horsepower Dilemma: Chatter and Pedal Effort
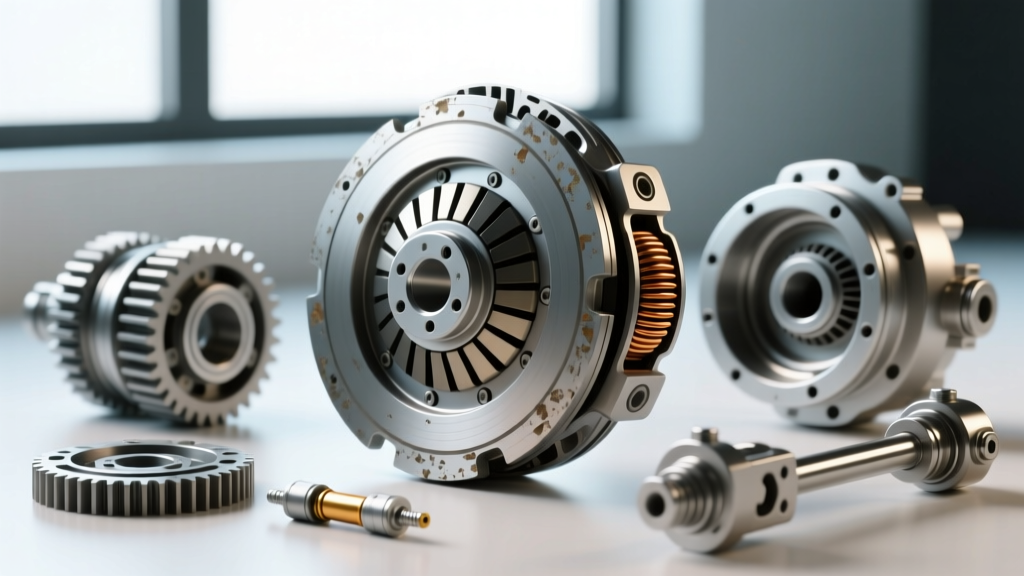
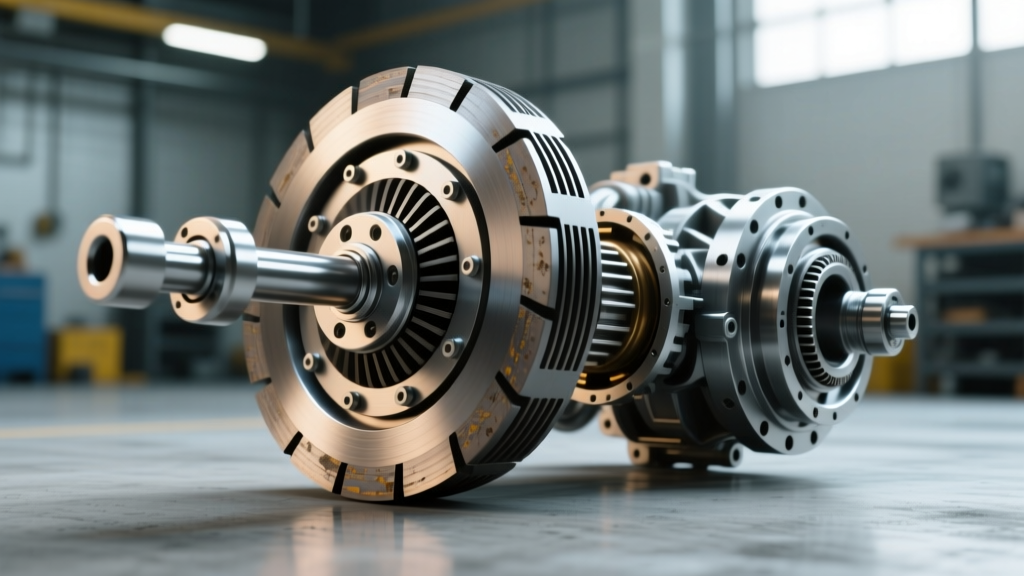
As we navigate the 2026 performance build season, the trend of pushing 1,000+ wheel-horsepower on street-driven platforms—ranging from C8 Corvette Z06 conversions to classic muscle cars running Gen-V LT4 swaps—has made heavy-duty twin-disc and ceramic puck clutches more common than ever. However, upgrading from a factory organic clutch to a high-clamp-load performance unit frequently introduces two severe drivability issues: aggressive clutch chatter and a remarkably stiff clutch pedal.
Many enthusiasts mistakenly attribute drivetrain vibration and heavy pedal effort to the inherent nature of 'race clutches.' In reality, severe chatter and binding pedal feel are almost always the result of improper diagnostic setup, incorrect flywheel step heights, or ignored clutch fork geometry. This performance and upgrade guide will break down the exact mechanical reasons behind these symptoms and provide actionable, shop-level solutions to tame your drivetrain.
The Physics of Performance Clutch Chatter
Clutch chatter is a high-frequency torsional vibration that occurs during the engagement phase. It happens when the static friction coefficient of the clutch disc drastically exceeds its kinetic friction coefficient. When you release a stiff clutch pedal, the high clamp load of a performance diaphragm spring forces the disc against the flywheel. If the friction material (like sintered iron or aggressive ceramic pucks) grabs too suddenly, it locks the drivetrain momentarily. The engine's rotational inertia then overcomes the static grip, causing the disc to slip, re-grab, and slip again in rapid succession.
This cyclical grabbing sends shockwaves through the transmission input shaft, the engine mounts, and ultimately the chassis. While unsprung hubs (common in 4-puck or 6-puck race discs) eliminate dampening springs to handle extreme torque, they transmit 100% of this NVH (Noise, Vibration, and Harshness) directly into the driveline. If your chatter is accompanied by a stiff clutch pedal that feels 'notchy' or binding near the top of its travel, you are likely dealing with a geometric mismatch rather than just aggressive friction material.
Why Your Pedal Feels Like a Brick Wall
A factory GM LS or Ford Coyote clutch typically exerts between 1,800 and 2,200 lbs of clamp load. A performance upgrade, such as an Exedy Mach 500 or a McLeod Street Twin, can push clamp loads to 2,800–3,600 lbs. This increase inherently requires more hydraulic pressure to disengage the diaphragm spring fingers.
However, a truly stiff clutch pedal that worsens as you push it toward the firewall is often a symptom of the diaphragm spring passing 'over-center.' If the release bearing travels too far, or if the flywheel step height is incorrect, the spring fingers are pushed past their neutral plane. At this point, the mechanical advantage reverses, and the spring actually fights the hydraulic system, resulting in a pedal that feels like it is made of solid lead and causes severe release bearing misalignment, leading to violent chatter upon engagement.
Diagnostic Matrix: Chatter vs. Pedal Stiffness
Use the following diagnostic table to isolate the root cause of your drivetrain vibration and pedal effort issues before tearing down the transmission.
| Symptom Profile | Probable Root Cause | Verification Method | Performance Upgrade / Fix |
|---|---|---|---|
| Chatter on takeoff + light pedal | Oil contamination or warped flywheel | Inspect disc for hot spots; check rear main seal | Replace with sprung-hub ceramic disc; resurface/replace flywheel |
| Severe chatter + stiff pedal at top of travel | Incorrect flywheel step height | Measure step with dial indicator and straight edge | Machine flywheel to OEM spec (e.g., 0.010' - 0.020' positive) |
| Binding pedal + chatter + release noise | Clutch fork pivot ball misalignment | Check release bearing angle against pressure plate fingers | Install adjustable pivot ball (e.g., Moroso or ICT Billet) |
| Stiff pedal + incomplete disengagement | Undersized master cylinder bore | Measure hydraulic volume vs. throwout bearing travel | Upgrade to 7/8' or 1' bore master cylinder |
Flywheel Step Height: The Silent Culprit
The most frequently overlooked specification in performance clutch installations is flywheel step height. Step height is the distance between the friction surface of the flywheel and the mounting pad where the pressure plate bolts down. This dimension dictates the exact resting position of the diaphragm spring.
For example, most GM LS and LT engines require a positive step height of 0.010 to 0.020 inches. If you install a flat, zero-step aftermarket aluminum flywheel on an engine designed for a positive step, the pressure plate is pushed 0.020 inches closer to the engine block. This pre-loads the diaphragm spring, drastically increasing pedal effort and altering the release geometry, which directly induces clutch chatter because the bearing cannot properly modulate the spring fingers.
How to Measure: Place a precision machinist's straight edge across the flywheel friction surface. Use a dial indicator or feeler gauges to measure the drop to the pressure plate mounting pad. Always consult the specific clutch manufacturer's tech department, as companies like ACT Clutches provide exact step-height requirements for their specific pressure plate models based on the application.
Clutch Fork Geometry and Pivot Ball Alignment
When upgrading to a twin-disc clutch or a high-clamp-load single disc, the overall height of the pressure plate fingers often changes. If you reuse the factory fixed clutch fork pivot ball, the release bearing will contact the diaphragm fingers at an incorrect angle.
Ideally, the face of the release bearing should be perfectly parallel to the pressure plate fingers, or tilted no more than 1 to 2 degrees positive (top of the bearing slightly closer to the engine). If the pivot ball is too short, the bearing tilts forward, digging the edge of the bearing into the fingers. This causes extreme wear, a stiff clutch pedal that binds mid-travel, and violent chatter as the bearing skips across the fingers during engagement.
The Fix: Discard the OEM fixed pivot ball and install an adjustable pivot ball (such as the Moroso part #62050 or ICT Billet adjustable pivot). With the transmission removed, bolt the clutch fork and bearing in place, and adjust the pivot ball length until the bearing face sits perfectly flush against the diaphragm fingers. This single adjustment is often the magic bullet for curing high-horsepower clutch chatter.
Hydraulics: Taming the Heavy Pedal
If your mechanical geometry is perfect but the pedal remains uncomfortably stiff, your hydraulic system is likely the bottleneck. High-clamp-load pressure plates require more fluid volume and pressure to displace the release bearing the necessary 0.450 to 0.550 inches.
- Master Cylinder Bore Size: A factory 3/4-inch bore master cylinder may not provide enough volume for a large aftermarket hydraulic throwout bearing. Upgrading to a 7/8-inch or 1-inch bore master cylinder (like those from Tilton) increases fluid volume, but be aware that a larger bore increases pedal effort while decreasing pedal travel.
- Adjustable Hydraulic Throwout Bearings: For platforms like the T56 Magnum or Tremec TKX, utilizing an adjustable hydraulic throwout bearing (such as the McLeod 1400 series) eliminates the clutch fork entirely. This removes pivot ball geometry issues and fork flex from the equation. The critical step here is setting the air gap (typically 0.100 to 0.150 inches) using the provided shims. Too little air gap causes the bearing to ride on the fingers, creating immense heat, a stiff pedal, and premature failure.
Installation Torque Specs and Bed-In Protocol
Even with perfect geometry, improper torque sequences will warp the pressure plate ring, leading to uneven clamping and instant chatter. When installing an aftermarket billet flywheel, always use high-grade hardware. For GM LS applications using ARP 200-2806 flywheel bolts, ARP's official instructions dictate torquing to 74 lb-ft using 30-weight motor oil as the lubricant (do not use standard ARP Ultra-Torque on flywheel-to-crank bolts unless explicitly stated for that specific part number, as over-torquing can stretch the bolt and yield the crank threads).
For the pressure plate, use a star-pattern sequence, tightening in 10 lb-ft increments until reaching the manufacturer's spec (usually 35-45 lb-ft). This ensures the diaphragm spring is loaded evenly, preventing the warped-ring condition that causes localized grabbing and chatter.
The Mandatory Bed-In Procedure
Finally, ceramic and sintered iron clutches require a thermal bed-in process to mate the friction material to the flywheel surface. Failure to do this guarantees chatter. Find a safe, empty road and perform 10 to 12 controlled slips: accelerate to 40 MPH in 4th gear, and slip the clutch while applying light throttle to decelerate to 20 MPH. This generates the necessary heat to cure the friction resin and lay down an even transfer layer on the flywheel. Allow the drivetrain to cool completely before subjecting it to high-torque, wide-open-throttle launches.
Conclusion
A stiff clutch pedal and aggressive drivetrain chatter are not unavoidable taxes you must pay for high-horsepower capability. By meticulously verifying flywheel step height, dialing in clutch fork geometry with an adjustable pivot ball, and properly sizing your hydraulic system, you can achieve a performance clutch setup that holds 1,200 lb-ft of torque while remaining docile and chatter-free in stop-and-go traffic. Respect the tolerances, follow the torque specs, and your drivetrain will reward you with seamless, violent acceleration on demand.