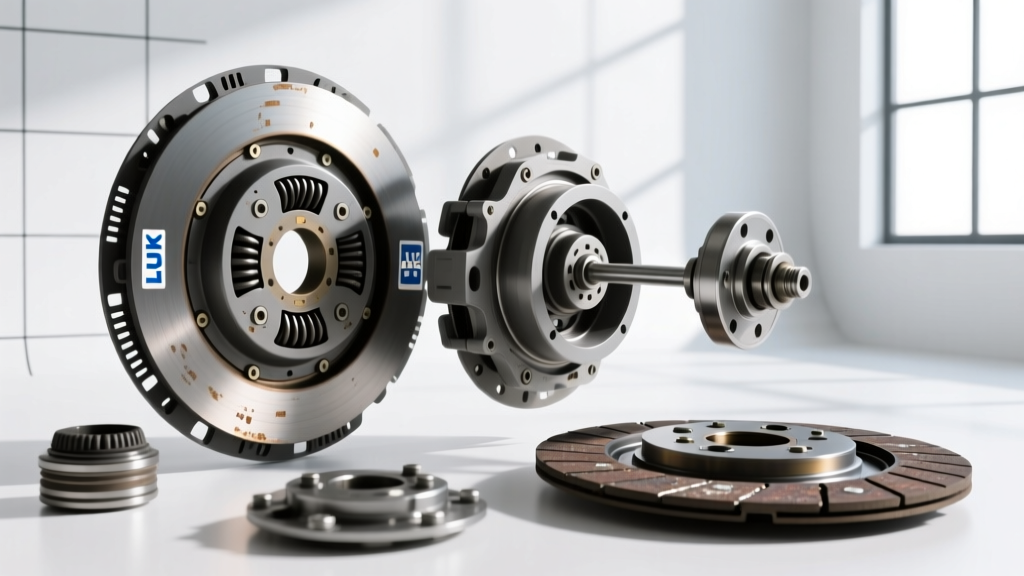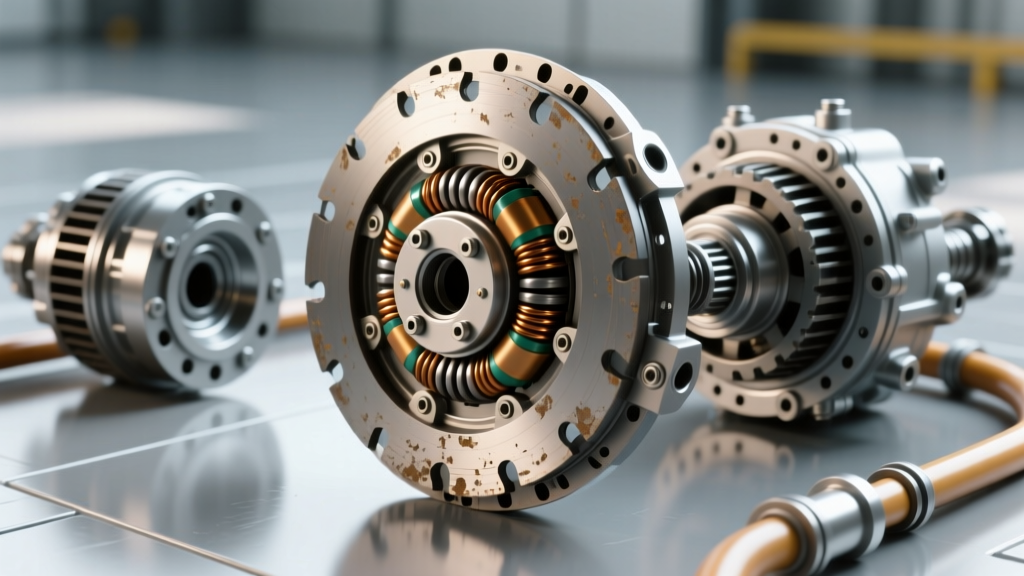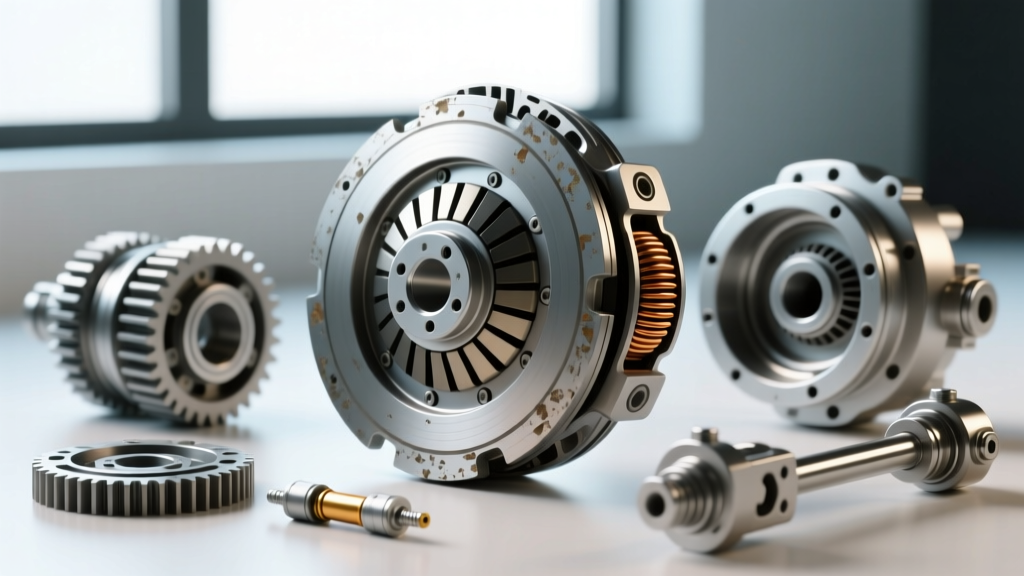
While AutogearNexus primarily focuses on transmission and drivetrain clutches, the front-end accessory drive (FEAD) system houses another critical friction component: the A/C compressor clutch. When a faulty compressor clutch exhibits drag and release problems, it doesn't just compromise cabin cooling. It introduces severe parasitic rotational drag that can mimic torque converter clutch (TCC) shudder, cause idle stall, or create harmonic vibrations often misdiagnosed as a failing dual-mass flywheel or manual clutch drag.
In 2026, with the proliferation of aggressive auto stop-start systems and 48V mild-hybrid architectures, compressor clutches cycle more frequently than ever, accelerating mechanical wear and electrical fatigue. A clutch that fails to fully disengage (drag) or fails to fully engage (slip/release issues) places abnormal torsional stress on the serpentine belt and crankshaft harmonic balancer. This step-by-step guide details how to diagnose and resolve compressor clutch drag and failure-to-release issues on common automotive A/C systems.
Tools and Equipment Required
- Digital Multimeter (DMM) with min/max hold
- Feeler gauge set (metric and SAE)
- Clutch hub puller and snap ring pliers
- Infrared thermometer
- Shim kit (assorted thicknesses from 0.1mm to 1.0mm)
- Torque wrench (inch-pounds and Newton-meters)
Step 1: Verify the Symptoms of Clutch Drag vs. Bearing Failure
Before tearing down the clutch assembly, you must isolate whether the drag is mechanical (friction plate rubbing), electrical (coil remaining energized), or bearing-related. A failing pulley bearing will emit a continuous grinding or whining noise regardless of whether the A/C is commanded on or off. Conversely, a clutch drag issue will present as a metallic scraping or cyclical ticking that only occurs when the compressor is commanded off, but the friction plate fails to retract from the pulley rotor.
The FEAD Torsional Impact
When a compressor clutch drags, it creates a continuous parasitic load. On vehicles with sensitive transmission control modules (TCMs), such as those equipped with the ZF 8HP or GM 6L80 transmissions, this unexpected engine load at idle can cause the TCM to incorrectly modulate transmission line pressure. The result is often a low-RPM shudder that feels exactly like a failing torque converter clutch, leading to unnecessary transmission fluid flushes or torque converter replacements. Always rule out FEAD drag before condemning the drivetrain.
Step 2: Test the Electrical Circuit and Relay (Failure to Release)
If the clutch does not release when the cabin reaches the target temperature, or when the A/C button is pressed off, the issue is frequently electrical rather than mechanical. Modern vehicles use Pulse Width Modulation (PWM) or PCM-controlled ground circuits to manage the compressor clutch relay.
- Check the Relay: Locate the A/C compressor relay in the under-hood fuse box. A sticking relay contact will continue to feed 12V to the clutch coil even after the PCM drops the ground signal. Swap the relay with a known-good identical relay (e.g., the horn relay) and retest.
- Measure Voltage at the Coil Connector: Disconnect the clutch coil pigtail. With the engine running and the A/C commanded OFF, probe the harness side with your DMM. You should read 0.0V. If you read 12V-14V, you have a short to power in the wiring harness or a failed PCM driver.
- Test Coil Resistance: Measure the resistance across the clutch coil terminals. A healthy 12V coil typically reads between 3.0 and 4.5 ohms at room temperature. If the coil reads infinite (open) or near zero (shorted), the internal winding has failed, often causing the coil to overheat, swell, and physically drag against the friction plate.
Step 3: Measure and Adjust the Mechanical Air Gap
If the electrical system checks out, the most common cause of a faulty compressor clutch dragging is an improper air gap. Over time, the friction plate wear surface degrades, or the pulley face develops rust jacking, altering the precise clearance required for clean engagement and release.
If the air gap is too tight (under 0.3mm), the clutch will drag when disengaged due to residual magnetic fields or minor thermal expansion. If the gap is too wide (over 0.8mm), the magnetic field cannot overcome the air resistance, resulting in clutch slip, severe overheating, and eventual burnout.
Air Gap Specifications for Common Compressors
| Compressor Model | Typical Air Gap | Coil Resistance (12V) | Center Bolt Torque |
|---|---|---|---|
| Sanden SD7V16 / SD7H15 | 0.40mm - 0.60mm (0.016" - 0.024") | 3.2 - 3.8 Ω | 10 - 12 Nm (88 - 106 lb-in) |
| Denso 10S17C / 10PA17C | 0.35mm - 0.55mm (0.014" - 0.022") | 3.0 - 3.5 Ω | 12 - 15 Nm (106 - 132 lb-in) |
| Delphi (Harrison) V5 / V7 | 0.45mm - 0.75mm (0.018" - 0.030") | 3.5 - 4.2 Ω | 15 - 18 Nm (132 - 159 lb-in) |
Shimming Procedure
To adjust the gap on most Sanden and Denso Automotive HVAC compressors, remove the center retaining bolt (usually 6mm or 8mm hex). Pull the friction plate hub using a dedicated puller or a small pry bar. Beneath the hub, on the compressor shaft, you will find a series of precision shims. Remove or add shims to achieve the target specification. Reinstall the hub and torque the center bolt to spec. Rotate the hub by hand to ensure it spins freely without metallic scraping.
Step 4: Inspect the Friction Plate and Pulley Rotor
Clutch drag is also caused by physical deformation of the mating surfaces. Inspect the pulley rotor face and the friction plate for the following failure modes:
- Rust Jacking: Moisture intrusion between the pulley bearing and the rotor face causes rust buildup, physically pushing the friction plate outward and eliminating the air gap.
- Thermal Warping: Previous clutch slip events generate extreme heat (often exceeding 400°F / 204°C). This heat can warp the friction plate, causing high spots that drag against the pulley even when the coil is de-energized.
- Glazing and Oil Contamination: While oil contamination usually causes slipping, severe glazing combined with a weak return spring can cause the plate to 'stick' to the pulley face via surface tension and vacuum effects.
If the friction plate shows deep scoring, bluing from heat, or warping, the entire clutch assembly must be replaced. Replacement clutch kits (including coil, pulley, and friction plate) from reputable suppliers like Sanden Global or OEM dealerships typically range from $85 to $160, depending on the vehicle application.
Step 5: Verify the Return Spring and Residual Magnetism
The friction plate relies on a series of leaf springs or a diaphragm spring to pull it away from the pulley when the magnetic field collapses. If these springs are fatigued, bent, or broken, the clutch will drag. Additionally, if the clutch coil has been subjected to extreme voltage spikes (often seen in failing alternator diode trios), the coil core can become permanently magnetized. This residual magnetism will hold the friction plate against the pulley even with 0V applied. If the air gap is correct, the springs are intact, the relay is functioning, and the clutch still drags, the coil assembly is internally compromised and must be replaced.
Summary: Protecting the Drivetrain from FEAD Faults
Diagnosing a faulty compressor clutch requires a methodical approach that bridges electrical diagnostics and precision mechanical measurement. By verifying relay operation, testing coil resistance, and meticulously setting the air gap with shims, you can eliminate clutch drag and release problems. More importantly, resolving these FEAD issues prevents parasitic drag from masking as transmission shudder or torque converter failure, saving time, money, and unnecessary drivetrain teardowns. Always consult the specific OEM service manual for your vehicle's exact torque specifications and diagnostic trouble code (DTC) thresholds before beginning repairs.