The Intersection of Shift Motor Failures and Drivetrain Maintenance
When a customer complains of a flashing 'Service 4WD' light or a transfer case that refuses to engage low range, the immediate suspect is often the transfer case shift motor. However, experienced drivetrain technicians know that replacing the encoder motor without investigating the root cause is a temporary fix. In many modern active 4WD systems, electrical failures within the shift motor are actually the secondary symptom of severe internal mechanical binding. This binding is frequently the direct result of deferred maintenance. Understanding the symbiotic relationship between internal chain tension, clutch pack health, and proper lubrication is critical. In this guide, we will explore precise diagnostic procedures for shift motor circuits and explain why a comprehensive differential fluid & transfer case service is the ultimate preventative measure against repeat encoder failures.
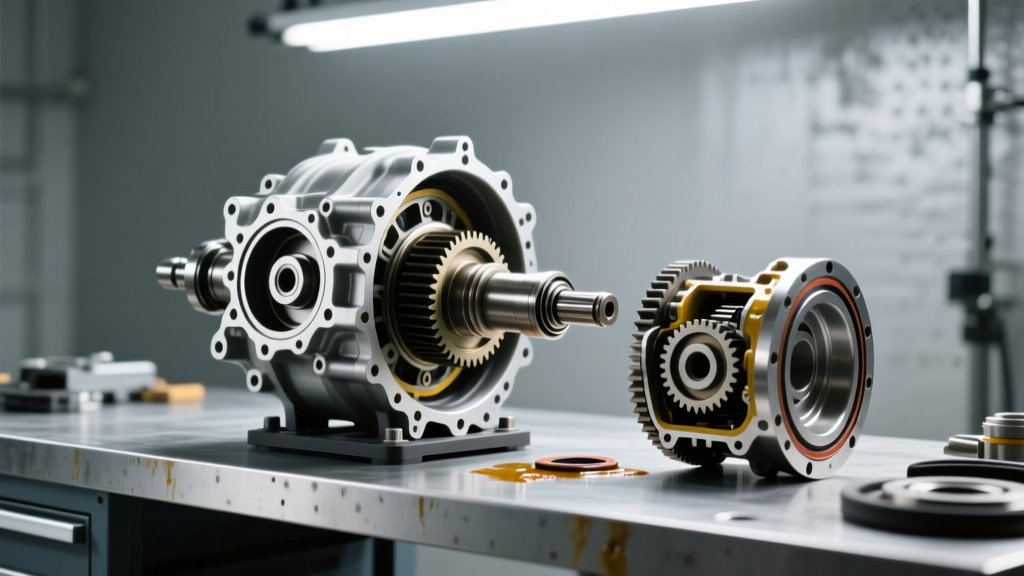
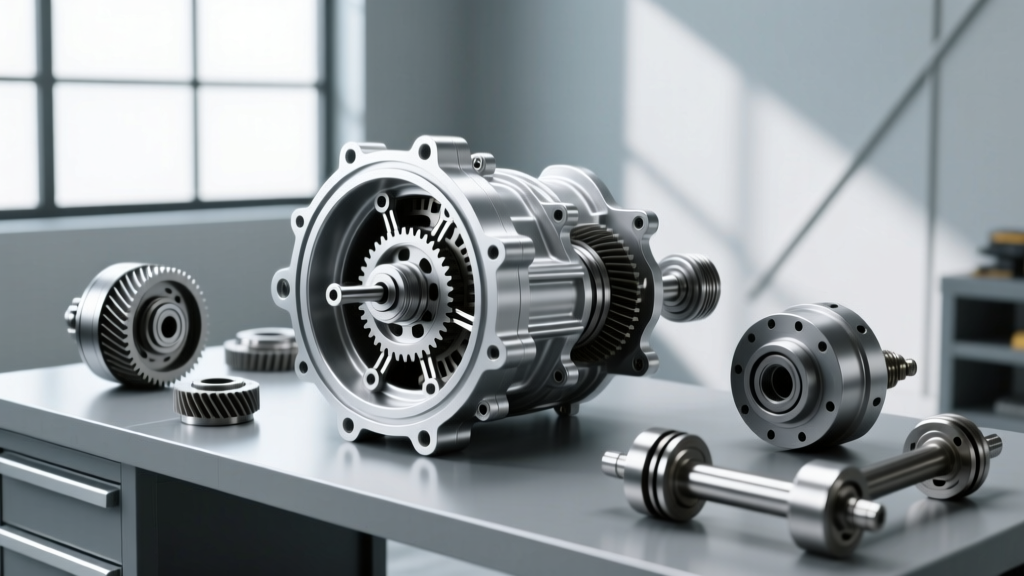
Anatomy of the Modern Transfer Case Shift Motor
Modern shift motors, such as those found on the GM NV246 (AutoTrac) and Ford BW4406, are not simple DC motors. They are complex actuator assemblies containing a DC motor, a planetary gear reduction set, and an optical or resistive encoder ring. The encoder ring provides real-time rotor position feedback to the Transfer Case Control Module (TCCM) via a 5-volt reference circuit and dual signal return wires.
When the TCCM commands a shift from 2WD to 4HI, it powers the DC motor. As the motor turns, the encoder ring rotates, altering the voltage on Signal A and Signal B. If the TCCM detects a voltage discrepancy, an open circuit, or a short to ground, it immediately aborts the shift, defaults to the last known safe state (usually 2WD or 4HI), and illuminates the dashboard warning lamp.
Common Encoder Motor Applications & Market Data
| Application | Transfer Case Model | OEM / Aftermarket Part Number | Mounting Torque Spec | Avg. Price (2026) |
|---|---|---|---|---|
| GM Silverado / Sierra 1500 | NV246 (AutoTrac) | Dorman 600-911 / ACDelco 12606144 | 20 Nm (15 lb-ft) | $145 - $210 |
| GM HD 2500/3500 | NV263 / NV261 | Dorman 600-915 / ACDelco 12577418 | 20 Nm (15 lb-ft) | $160 - $235 |
| Ford F-150 / Super Duty | BW4406 / BW4411 | Motorcraft SW-6750 / Dorman 600-730 | 25 Nm (18 lb-ft) | $130 - $195 |
Note: Always verify part numbers against your specific VIN. Sourcing from reputable vendors like RockAuto or directly from Dorman Products ensures you receive updated PCB revisions that resist moisture ingress.
Symptom Diagnosis: Electrical vs. Mechanical Bind
Before unbolting the shift motor, you must determine if the fault is purely electrical or if the motor is fighting a mechanical bind inside the transfer case.
Step 1: Pinout Testing and Voltage Drop Specifications
Disconnect the shift motor harness and turn the ignition to the 'RUN' position (engine off). Using a digital multimeter (DMM), probe the harness side of the connector:
- 5V Reference Wire: Should read exactly 4.8V to 5.1V. A reading of 4.2V or lower indicates a chafed harness (common near the frame rail) or an internal short in the TCCM.
- Ground Circuit: Perform a voltage drop test. A drop greater than 0.05V under load indicates high resistance in the ground splice pack.
- Signal A & B: These should read near 0V or 5V depending on the exact resting position. If both read 0V with the 5V ref present, the encoder ring is likely shorted internally due to moisture contamination.
Step 2: The 'Hand-Turn' Mechanical Test
If the electrical circuits test perfectly, the motor is likely burning out due to mechanical resistance. Remove the shift motor from the transfer case housing. Inspect the output shaft of the transfer case where the motor mates. Using a pair of snap-ring pliers or a specialized transfer case spanner, attempt to rotate the sector shaft by hand. It should move smoothly through the detents (2WD, 4HI, 4LO). If you encounter severe binding, the issue is internal.
How Differential Fluid & Transfer Case Service Impacts Shift Motor Life
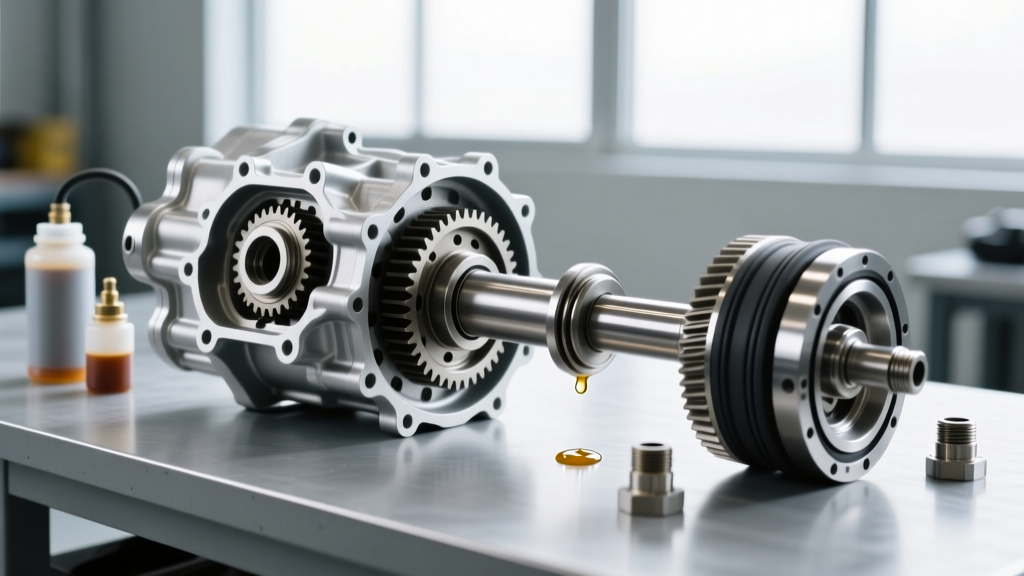
This is where many diagnostic trees fall short. A transfer case does not operate in a vacuum. The health of the shift motor is intrinsically tied to the condition of the drivetrain fluids. Performing a scheduled differential fluid & transfer case service is not just about lubrication; it is about preserving the precise tolerances required for the shift motor to operate without over-amping.
The Chain Stretch and Mode Fork Bind Phenomenon
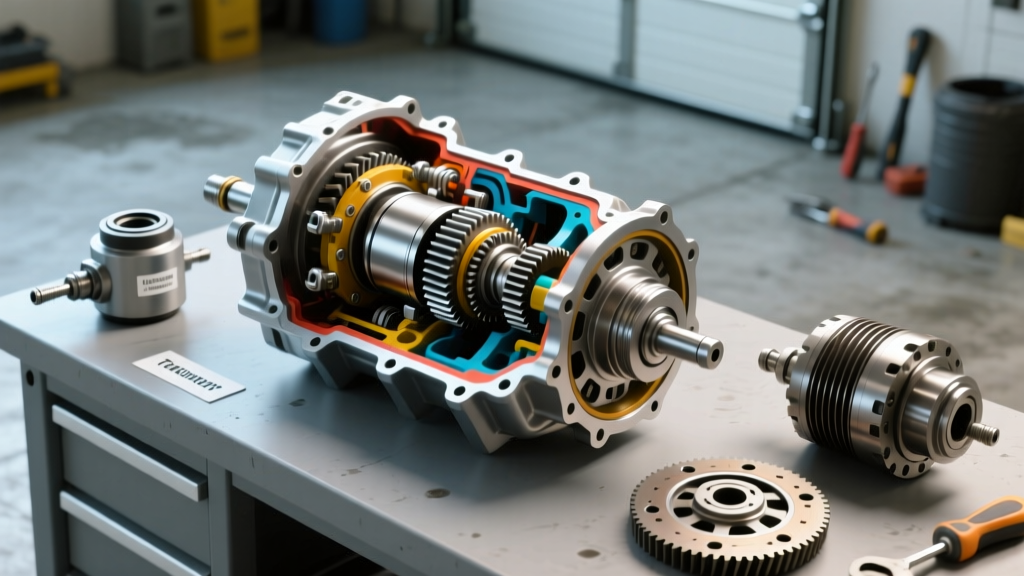
Inside chain-driven transfer cases like the NV246, power is transferred via a Morse-style link chain. When transfer case fluid is neglected, the friction modifiers break down, and the clutch pack (in active-on-demand systems) begins to shed microscopic metallic debris. This debris accelerates wear on the drive chain, causing it to stretch. A stretched chain allows the mainshaft to deflect under load. This deflection misaligns the mode fork rails. When the TCCM commands a shift, the shift motor must exert double or triple its normal torque to force the mode fork past the binding rails. This massive current spike overheats the motor's internal PCB and strips the plastic planetary gears inside the actuator.
Differential Wind-Up and Axle Binding
Furthermore, neglecting the differential fluid can cause the front and rear axle differentials to bind or develop unequal rolling radii due to internal clutch pack degradation (in limited-slip differentials). This creates severe driveline wind-up when driving in 4WD on high-traction surfaces. When the driver attempts to shift back to 2WD, the immense torque trapped in the driveline locks the mode fork against the sector shaft. The shift motor stalls trying to overcome this wind-up, eventually throwing a 'Shift Motor Overcurrent' DTC (such as GM's C0327). Regular fluid service across the entire drivetrain mitigates these binding forces.
Expert Technician Tip: Never use standard Dexron or Mercon ATF in a GM AutoTrac NV246 transfer case. You must use GM Auto-Trak II (Part #88900402). The specialized friction modifiers are required to prevent the internal clutch pack from chattering and shedding the debris that ultimately destroys the shift motor.
Step-by-Step Shift Motor Replacement & Calibration
If diagnosis confirms a failed shift motor, follow these precise steps for replacement and recalibration. Failure to calibrate will result in the TCCM misinterpreting the gear position, potentially engaging the front axle at highway speeds.
- Fluid Drain: Remove the transfer case drain plug (typically a 10mm or 12mm hex). Allow the fluid to drain completely. Inspect for excessive metallic glitter, which indicates internal chain or bearing failure. Torque the drain plug to 20 Nm (15 lb-ft) upon reinstallation.
- Motor Removal: Disconnect the electrical connector. Remove the three or four mounting bolts (usually 10mm or 13mm heads). Note the alignment of the motor's output cog with the sector shaft. Torque new mounting bolts to the manufacturer spec (e.g., 20 Nm for GM NV246).
- Refill: Fill the transfer case with the exact specified fluid (e.g., 2.0 quarts of Auto-Trak II or Motorcraft XL-12) until it reaches the bottom of the fill plug threads.
- TCCM Calibration Sequence: For most GM applications, turn the ignition to 'RUN' (engine off). Wait for the transfer case encoder motor to complete its self-test cycle (you will hear a series of distinct clicks and whirs lasting up to 45 seconds). Do not interrupt this process. Once the clicking stops, start the engine, shift the transmission to Neutral, and cycle the dash switch through 2WD, 4HI, Neutral, and 4LO to verify full range of motion.
Summary Checklist for Drivetrain Technicians
- Always verify the 5V reference and ground circuits before condemning a shift motor.
- Perform the manual 'hand-turn' test on the sector shaft to rule out internal mode fork binding.
- Recommend a complete differential fluid & transfer case service to customers experiencing repeat shift motor failures.
- Verify the exact fluid specification; incorrect fluid causes clutch chatter, chain stretch, and subsequent motor overload.
- Complete the TCCM software relearn/calibration procedure after every encoder motor replacement.